Minds On
Let’s get started!
What type of drawing?
Explore the following image with different types of movements.
- What do you notice?
- What might the following types of drawing be called?
- What elements of design were used to create the drawings?
Describe the types of movements in the following image. Share your ideas with a partner, if possible.

Multiple gesture drawings created of people performing different actions. For example, dancing, stretching, breakdancing, stretching to catch something, walking across a slippery path, walking across a tightrope.
Elements of design
The elements of design are the basic attributes, ideas, and parts of artwork that are used to create an artwork. The seven elements are line, shape, colour, value, form, texture, and space.
Press the following tabs to check out the elements of design.

Line
A variety of lines. Horizonal lines go side to side. Vertical lines go top to bottom. Diagonal lines lean from one side to the other. Zigzag lines bend at sharp angles. Curved lines arc and loop.
Lines are the paths left by a moving point, such as a pencil or a digital drawing tool. A line can be a mark, a guide, or a boundary that leads the audience’s attention in an artwork. Diversity in the type, orientation, and/or quality of lines can be used to suggest a variety of ideas, shapes, or emotions. For example, horizontal and curving lines can feel restful or inactive. Vertical and diagonal lines can create the idea of movement or action. Horizontal and vertical lines can create stability.

Shape
A variety of shapes. Geometric shapes can be described using a mathematical formula. For example, circles, triangles, and squares. Organic shapes are usually irregular or asymmetrical and are often found in nature. For example, plants and animals. Positive shapes are actual objects, while negative shapes are the outline of the space between objects.
A shape is a form that is enclosed or outlined. For example, when three lines meet, they create the shape of a triangle. A shape has length and width. A shape’s boundary can be created by line, value, colour, and/or texture. Shapes may be geometric or organic. Shapes may be positive or negative.

Colour
A colour wheel. Going counter-clockwise the colours are red, red-orange, orange, yellow-orange, yellow, yellow-green, green, blue-green, blue, blue-purple, purple, red-purple.
In scientific terms, colour is an attribute of an object when light bounces off it. The four characteristics of colour are hue, value, intensity, and temperature. Colour categories include primary, secondary, and tertiary. Colours can be warm or cool. Cool colours include blue, green, and purple. Warm colours include red, orange, and yellow.

Value
Value scales for green, purple, and black. Each tone changes from dark to light over several steps.
Value is the lightness or darkness in an artwork. Value is created by the gradual changes in the lightness or darkness of an artwork even when colour is absent. Changes in value can be created by adding white or black to a colour and/or by erasing or adding more art medium to an art piece. Value is used to create the illusion of texture and light in art.

Form
A variety of forms. There is a cube and a sphere with dotted lines indicating their 3-dimesional shapes, as well as a block of cheese.
Form is the shape and dimensions of an artwork, or objects within an artwork. Forms can be three-dimensional. Form can also mean creating the illusion of a two-dimensional object being three-dimensional. The illusion of form can be created by using shading. Forms can be geometric or organic.

Texture
A photograph of a rock capturing real texture, and an illustration of a rock creating the illusion of texture with colour, value, and line.
Texture is the feeling and appearance of a surface. Texture can be smooth, rough, furry, or soft. Texture can be the illusion of texture or real texture.

Space
A 2-dimensional illustration of a mountain lake creating the illusion of space with an overlapping foreground, middle ground, and background. The foreground contains rocks, bushes, and grass that have the darkest values and most detail. The middle ground contains trees and a deer on the shoreline of a lake that have lighter values and less detail. The background contains the sky and mountains that have the lightest values and least detail.
Space can be the area around, inside, or between parts of an artwork. Space can be a physical distance between objects. Space can also be an illusion of distance in a two-dimensional piece. The illusion of space can be created by a variety of techniques, including overlapping parts, a variety of sizes, changing value or colour, the use of detail, and perspective.
Action
Get ready, get set…
What is a gesture drawing?
A gesture drawing is a drawing of the action, form, and/or pose of a figure. The purpose of gesture drawing is to understand human form. It allows one to explore the way the body moves and is connected.
A gesture drawing could be simple curved lines that indicate the gesture the person is taking. With longer poses, one can start adding more details, such as clothes.
Start off with just a few lines to represent what the person is doing. You can capture the movement by creating an action line.
Action line
The longest line that shares the direction of the main movement.
Over time, you can add some depth or details to make it more complete. We can add depth by adding more lines to a particular area of the drawing to create contrast to other areas. This helps the subject appear two-dimensional and more realistic.
Depth
Depth is the apparent distance from the front of an artwork to the back of an artwork. Depth can be created by having a foreground, a middle ground, and a background in an artwork.
Two-dimensional
Dimension is an object’s size in space. A two-dimensional object has length and width.
Explore the following images to learn about all kinds of lines.
Explore the following image to learn about creating gesture drawings.

Three drawings of a person running. The first drawing is made of single lines that indicate the base of the body. The second drawing includes the base form of the body as well as circles and ovals to represent the joints. The third drawing includes the base form, joints, and an outline, indicating the different muscles of the body.
In the first drawing, the basic form is created. In the second drawing, more details can be added. The artist has created an action line through the center of the body. They have used circles to show some of the joints (i.e. shoulders, knees, and hands). In the third drawing, the artist has added more lines to show the outline of the body. This helps create depth. The final lines that outline the body shape are called contour lines.
Go!
Your turn
Explore the following images of athletes. They are all performing different types of sports.
What would you do first in a gesture drawing for each subject?
Use a drawing tool (i.e., pencil, marker, pen) and paper, a digital drawing application, or record a description of the steps you might take to create a gesture drawing. Include what kinds of lines you might use.
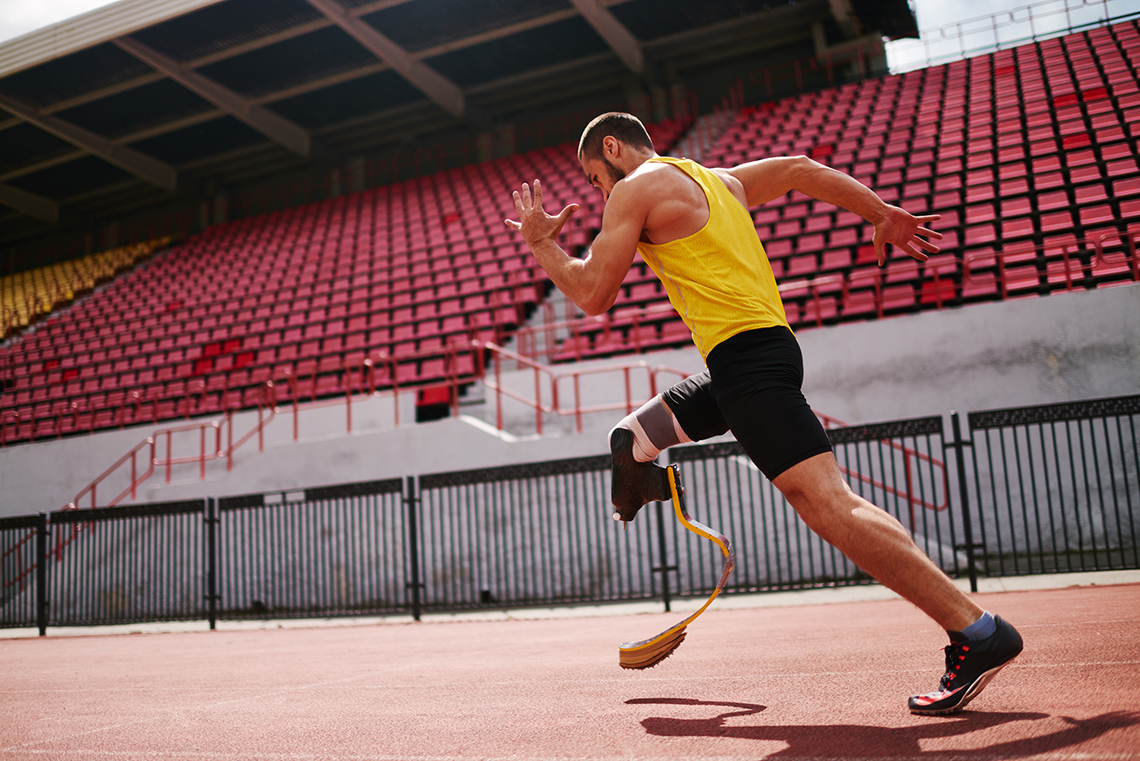
Image 1
Press ‘Hint’ to check out the outline of the athlete’s body position.

The outline of the athlete's body captures their head and back leaning forward. Their right arm and left leg stretch backwards as their left arm and right leg bend forwards.The outline of the athlete's body captures their head and back leaning forward. Their right arm and left leg stretch backwards as their left arm and right leg bend forwards
Image 2
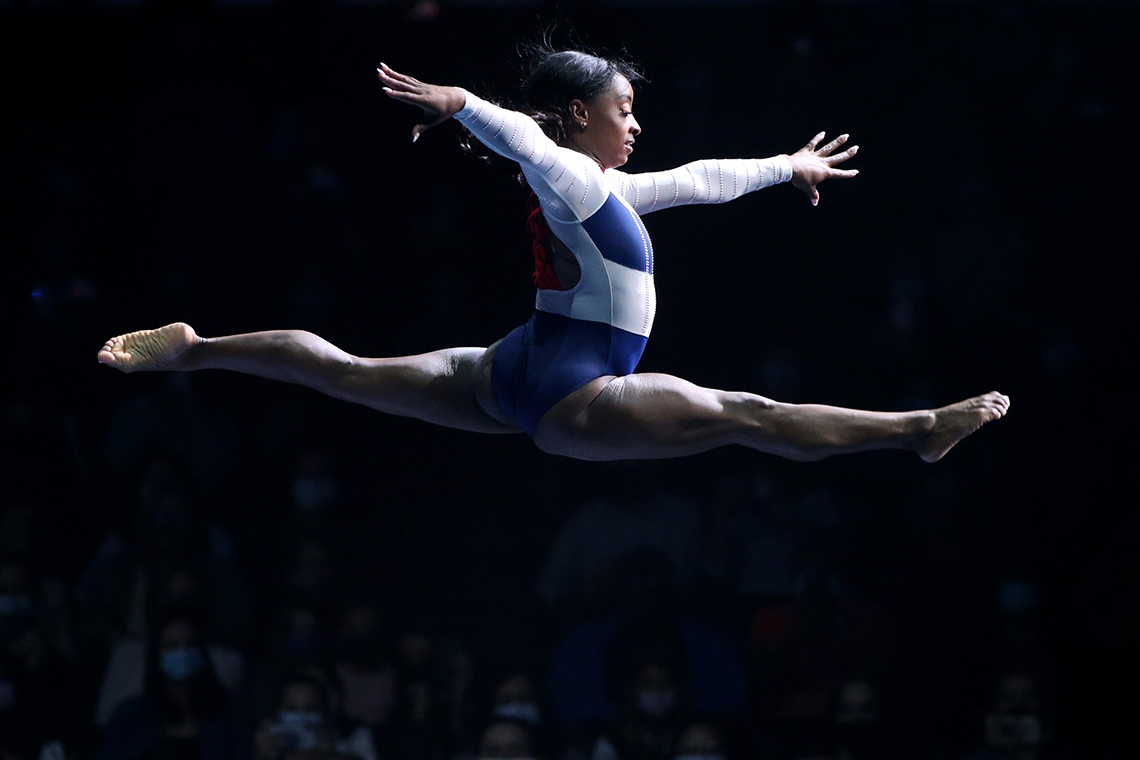
Press ‘Hint’ to check out the outline of the athlete’s body position.

The outline of the athlete's body captures their head and back upright. Their right arm and left leg stretch backwards as their left arm and right leg stretch forwards.
Image 3
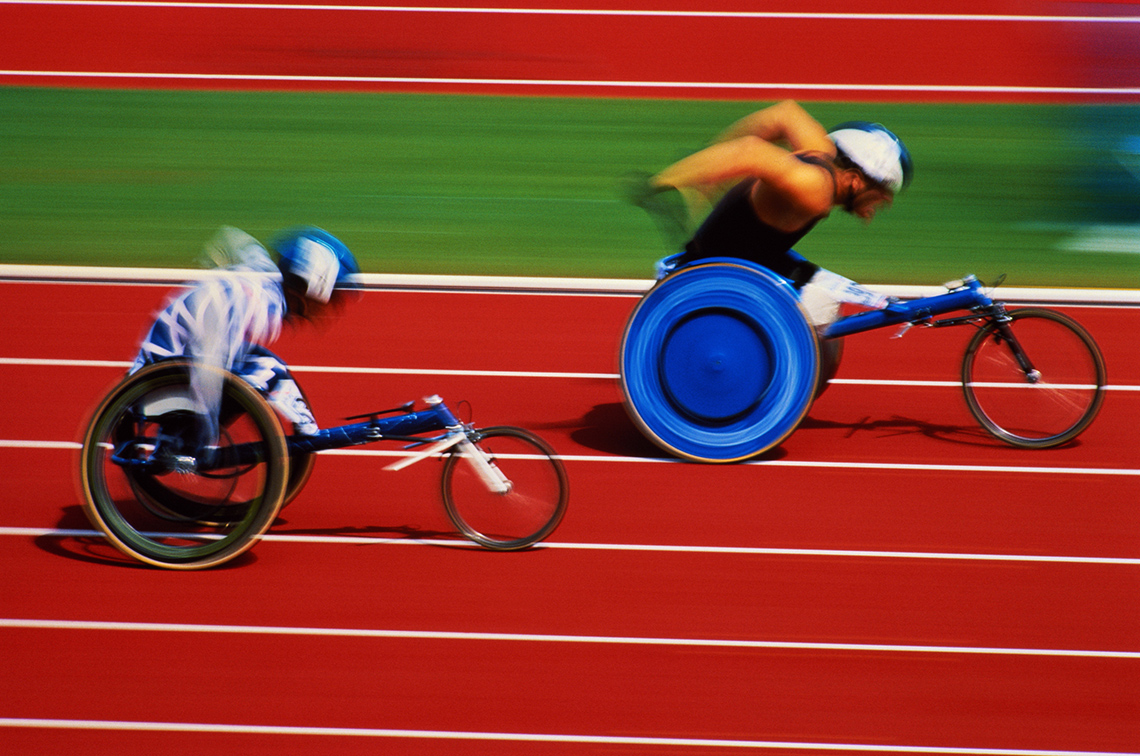
Press ‘Hint’ to check out the outline of the athletes’ body position.

The outlines of the athletes' bodies capture their heads and backs leaning forwards. One has their arms bent backwards while the other has their arms stretching downwards.
Image 4
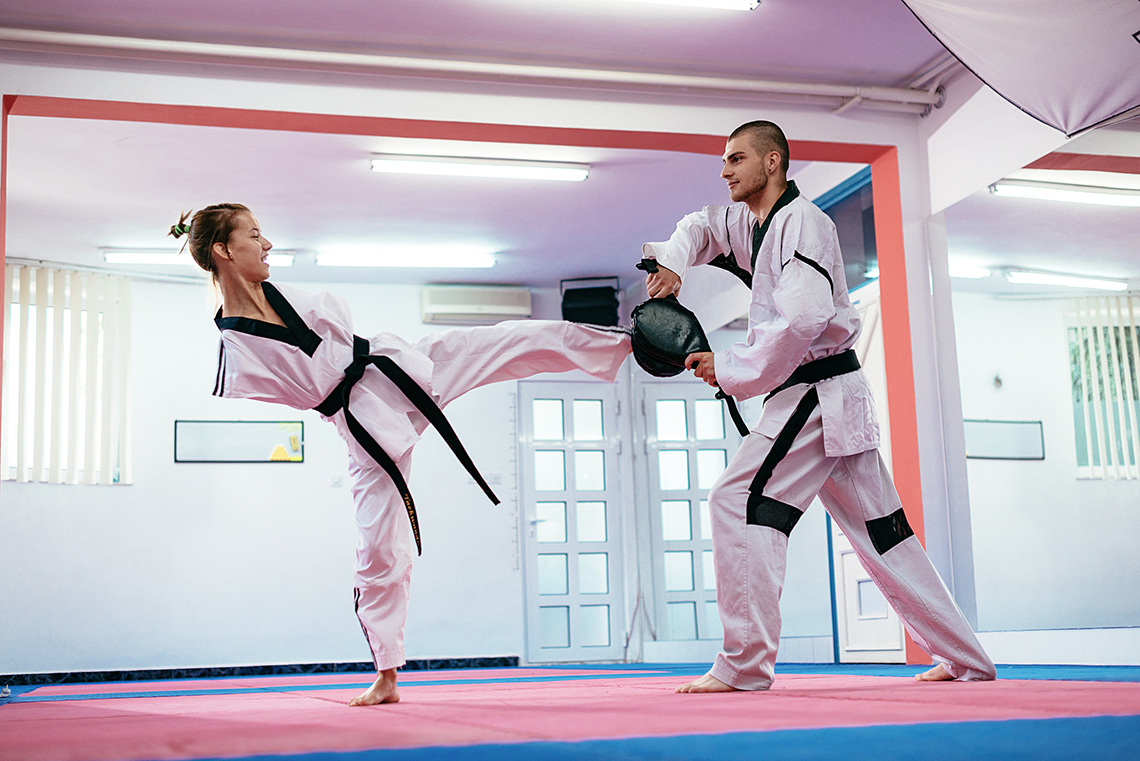
Press ‘Hint’ to check out the outline of the athlete’s body position.

The outline of the athlete's body captures their head upright and back leaning backwards. Their legs are straight, but their right leg is vertical and their left leg is horizontal.
Consolidation
Putting it all together
Creating a gesture drawing
Dancers, gymnasts, and athletes move their bodies in various ways, and they provide examples of interesting poses while creating gesture drawings.
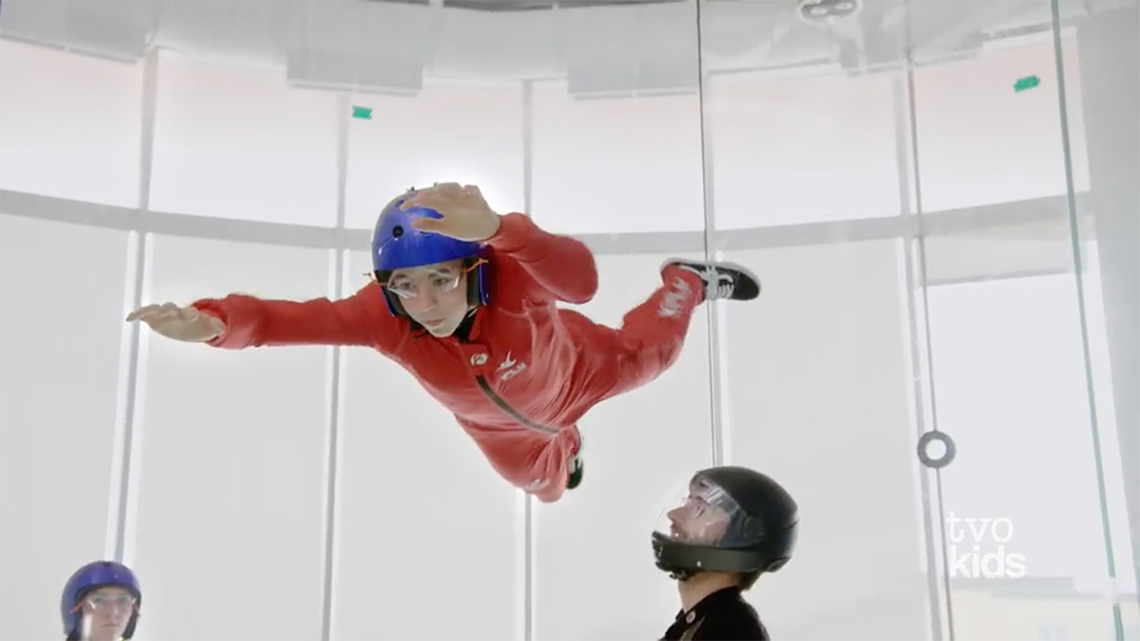
In the following video clips, some young athletes experience learning gymnastics. They start off with a special experience at IFly.
- While exploring the video clips, create a gesture drawing or description of the athletes in different positions.
- You may also select your own image from a magazine or online of an athlete or person in an interesting pose or think of your own example of an interesting pose for which you will create a gesture drawing.
Clip 1
Explore the following short clip from the video entitled “All-Round Champion: Gymnastics” to check out how the young athletes start off with a special experience at IFly.
Press ‘Example’ to access the movement capture in the IFly experience.
Clip 2
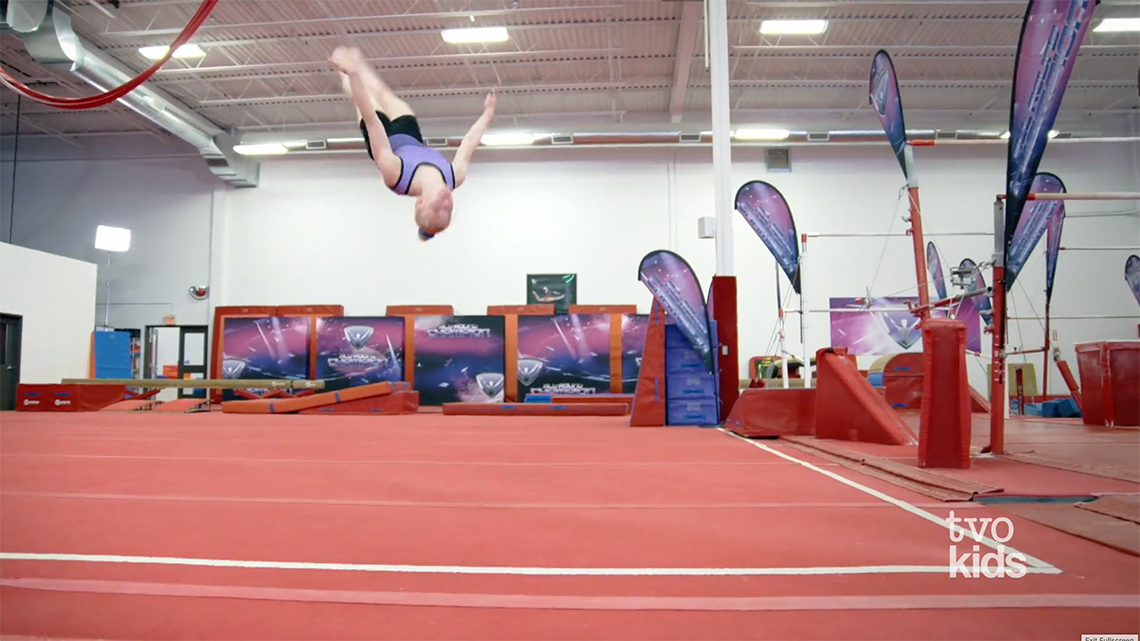
Now explore the following short clip from the video entitled “All-Round Champion: Gymnastics” to check out an athlete named Sydney during a floor routine.
Press ‘Example’ to access the movement capture of Sydney’s floor routine.
Clip 3
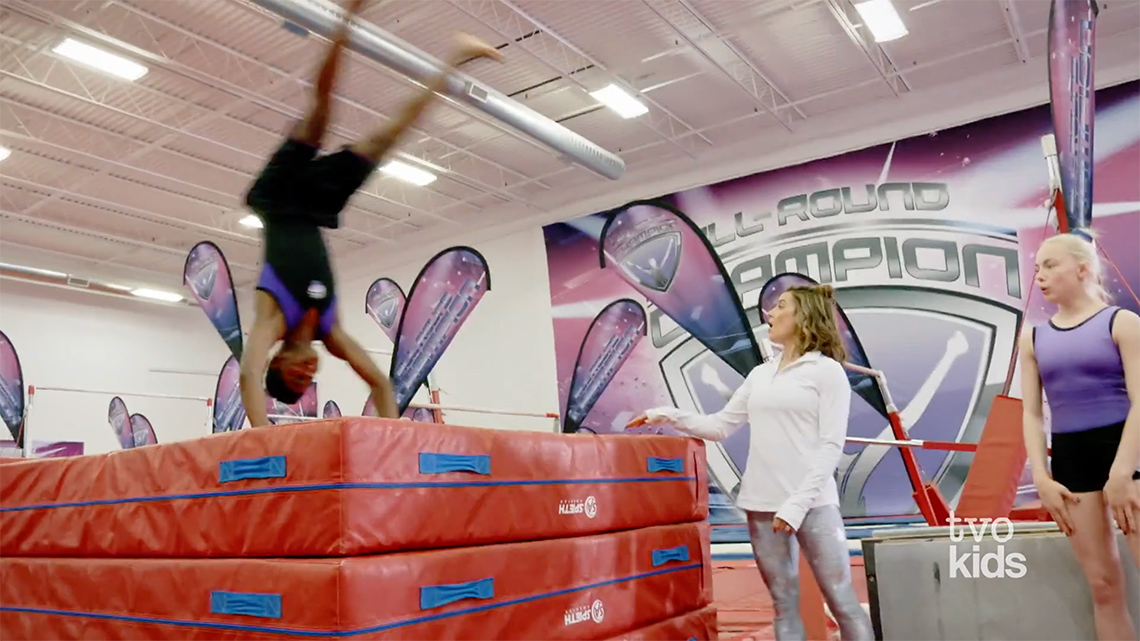
Finally, explore the following short clip from the video entitled “All-Round Champion: Gymnastics” to check out an athlete practising handspring flatbacks.
Press ‘Example’ to access the movement capture of an athlete practising handspring flatbacks.
Let us create our gesture drawing now!
Materials Needed
Materials you might need
Possible materials you might need for this learning activity:
- paper or cardboard
- pencil, marker, pen
Student Success
Exploring digital creation options
When you are considering digital creation options, explore the variety of digital applications available!
Note to teachers: See your teacher guide for collaboration tools, ideas and suggestions.
Safety
Always be sure to do your safety checks before you do an activity.
Before you begin:
Option 1: Description
Create an audio or written description of your gesture drawing.
Option 2: Materials
Possible materials you might need for this learning activity:
- paper or cardboard
- pencil, marker, pen
Press the following tabs to check out the steps to create your gesture drawing.
Start by creating a few lines that capture the position of the subject.

Add more details. You may choose to create an action line and use circles to show the joints of the subject’s body.

Fill out the gesture lines to create a two-dimensional person.

Add a background with just basic things, like a horizonal line if it’s outside, or whatever is behind them. When a horizontal line is created across an artwork, it represents the place where the sky and the earth appear to meet.
Add some equipment, such as a ball or a net, if they are playing a sport.

Option 3: Digital creation
Create a gesture drawing using a digital application of your choice.
Portfolio
Track your progress
Choose one of the following prompts and share your thoughts in your art portfolio or using a method of your choice.
- Exploring the theme of movement through sports allowed me to…
- The big idea of movement and gesture drawing really connected with me in this learning activity when I…
- Expressing the theme of movement allowed me to…
Reflect on what you have learned by exploring gesture drawing and what you might want to practise in the future.
Consider adding your gesture drawing to your art portfolio. If possible, share your beautiful art and/or description with a partner!
Reflection
As you read through these descriptions, which sentence best describes how you are feeling about your understanding of this learning activity? Press the button that is beside this sentence.
I feel…
Now, record your ideas using a voice recorder, speech-to-text, or writing tool.


