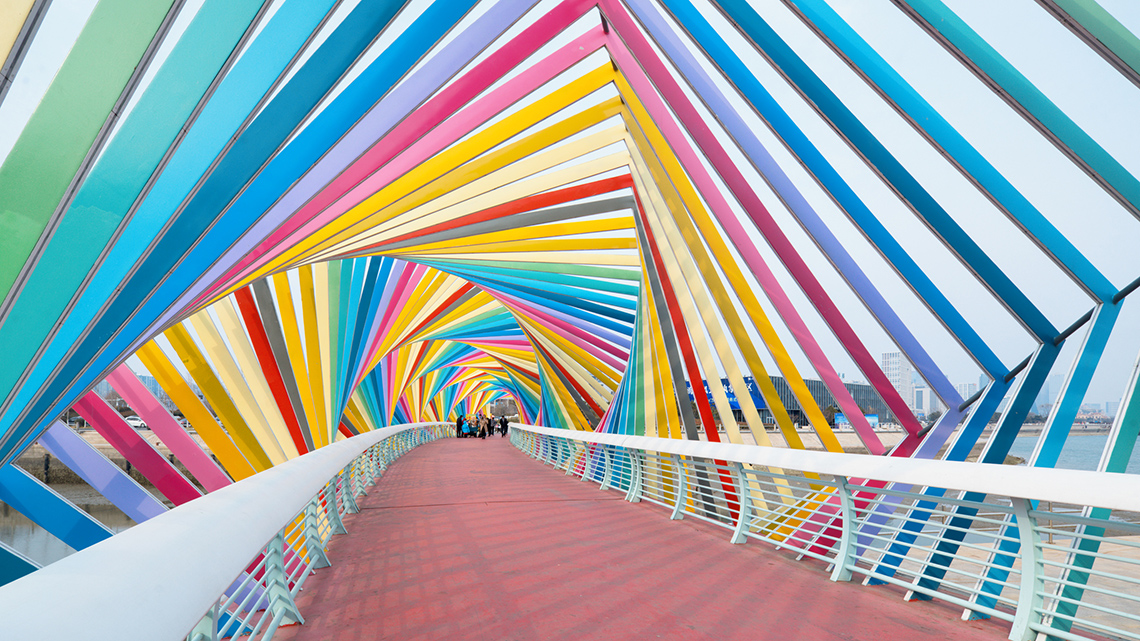
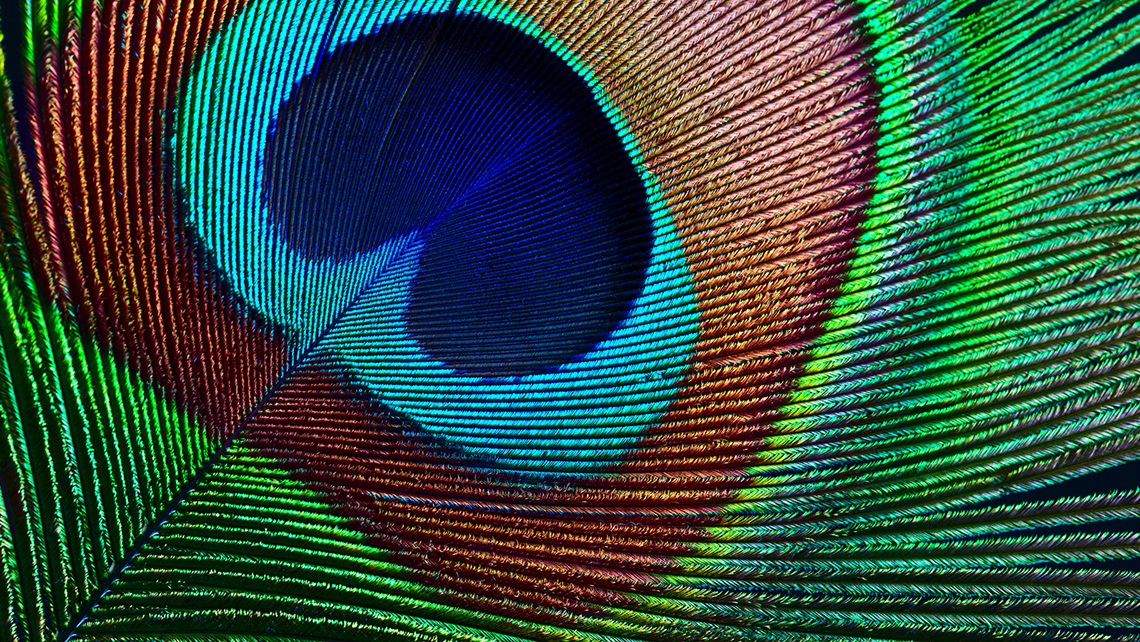
Minds On
Let’s get started!
Notice and wonder
Observe the following images and think about the following questions.
- Which elements of design do you notice in the images?
Elements of design
The elements of design are the basic attributes, ideas, and parts of artwork that are used to create an artwork. The seven elements are line, shape, colour, value, form, texture, and space.
Press the following tabs to check out the elements of design.

Line
A variety of lines. Horizonal lines go side to side. Vertical lines go top to bottom. Diagonal lines lean from one side to the other. Zigzag lines bend at sharp angles. Curved lines arc and loop.
Lines are the paths left by a moving point, such as a pencil or a digital drawing tool. A line can be a mark, a guide, or a boundary that leads the audience’s attention in an artwork. Diversity in the type, orientation, and/or quality of lines can be used to suggest a variety of ideas, shapes, or emotions. For example, horizontal and curving lines can feel restful or inactive. Vertical and diagonal lines can create the idea of movement or action. Horizontal and vertical lines can create stability.

Shape
A variety of shapes. Geometric shapes can be described using a mathematical formula. For example, circles, triangles, and squares. Organic shapes are usually irregular or asymmetrical and are often found in nature. For example, plants and animals. Positive shapes are actual objects, while negative shapes are the outline of the space between objects.
A shape is a form that is enclosed or outlined. For example, when three lines meet, they create the shape of a triangle. A shape has length and width. A shape’s boundary can be created by line, value, colour, and/or texture. Shapes may be geometric or organic. Shapes may be positive or negative.

Colour
A colour wheel. Going counter-clockwise the colours are red, red-orange, orange, yellow-orange, yellow, yellow-green, green, blue-green, blue, blue-purple, purple, red-purple.
In scientific terms, colour is an attribute of an object when light bounces off it. The four characteristics of colour are hue, value, intensity, and temperature. Colour categories include primary, secondary, and tertiary. Colours can be warm or cool. Cool colours include blue, green, and purple. Warm colours include red, orange, and yellow.

Value
Value is the lightness or darkness in an artwork. Value is created by the gradual changes in the lightness or darkness of an artwork even when colour is absent. Changes in value can be created by adding white or black to a colour and/or by erasing or adding more art medium to an art piece. Value is used to create the illusion of texture and light in art.

Form
Form is the shape and dimensions of an artwork, or objects within an artwork. Forms can be three-dimensional. Form can also mean creating the illusion of a two-dimensional object being three-dimensional. The illusion of form can be created by using shading. Forms can be geometric or organic.

Texture
Texture is the feeling and appearance of a surface. Texture can be smooth, rough, furry, or soft. Texture can be the illusion of texture or real texture.

Space
A 2-dimensional illustration of a mountain lake creating the illusion of space with an overlapping foreground, middle ground, and background. The foreground contains rocks, bushes, and grass that have the darkest values and most detail. The middle ground contains trees and a deer on the shoreline of a lake that have lighter values and less detail. The background contains the sky and mountains that have the lightest values and least detail.
Space can be the area around, inside, or between parts of an artwork. Space can be a physical distance between objects. Space can also be an illusion of distance in a two-dimensional piece. The illusion of space can be created by a variety of techniques, including overlapping parts, a variety of sizes, changing value or colour, the use of detail, and perspective.
- How do the following images make you feel?
Record your ideas in a method of your choice. If possible, share your ideas with a partner.
Action
Get ready, get set…
Types of lines
Lines can be found in nature and in buildings and structures. Artists might also use the element of line in drawings, paintings, sculpture, and other media.
Lines
A line is an element of design. A line is the path left by a moving point, such as a pencil or a digital drawing tool. A line is a mark that leads the audience’s attention in an artwork. There are five kinds of lines: vertical, horizontal, diagonal, zigzag, and curved.
What types of lines are there? Lines come in all different thicknesses, they can be solid or broken, and they can be parallel or intersecting.
Parallel lines
Parallel lines are always the same distance apart, never cross, and do not have an endpoint in common.
Intersecting lines
Intersecting lines are lines that cross and have one point in common.
Explore the following images to learn about all kinds of lines.
Let’s return to the images from the Minds On section. Identify the type of lines in the following images.
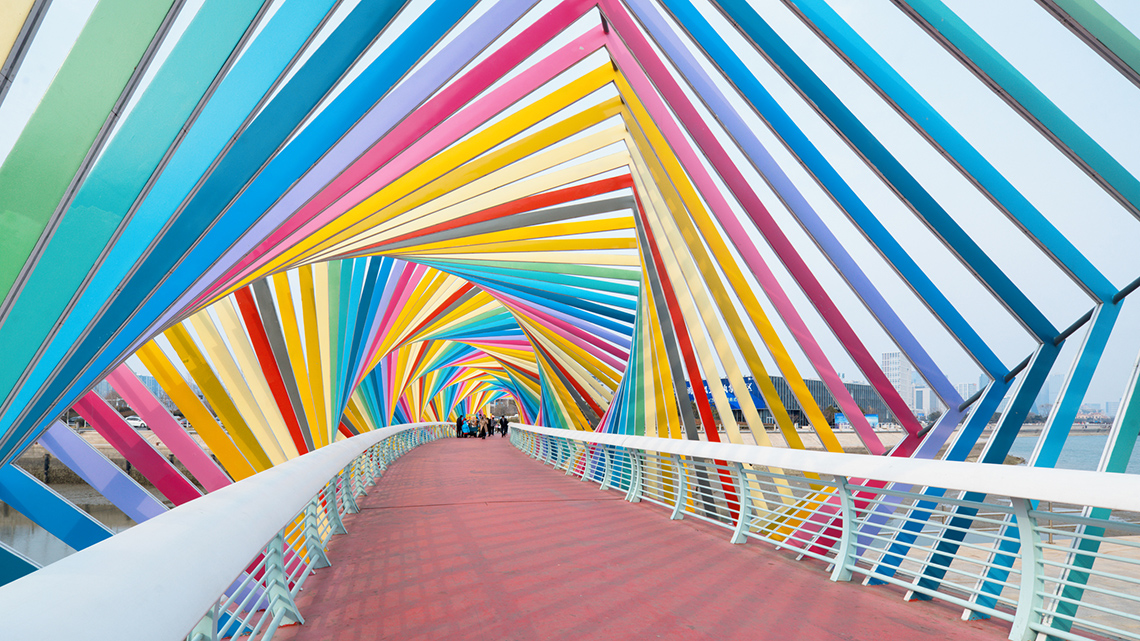
The cover of the bridge is made of strips of diagonal lines. Each line runs parallel to the other, with equal spaces in between. The lines intersect at different points, which gives the effect of a geometric rainbow pattern.
Press ‘Answer’ to learn about the types of lines used in the preceding image.
- diagonal
- intersecting

A silhouette of a person appears in front of a lit backdrop. The backdrop is made of a straight, vertical line pattern. The lines are equal distance apart and run parallel to each other.
Press ‘Answer’ to learn about the types of lines used in the preceding image.
- vertical
- parallel
- straight

Press ‘Answer’ to learn about the types of lines used in the preceding image.
- curved
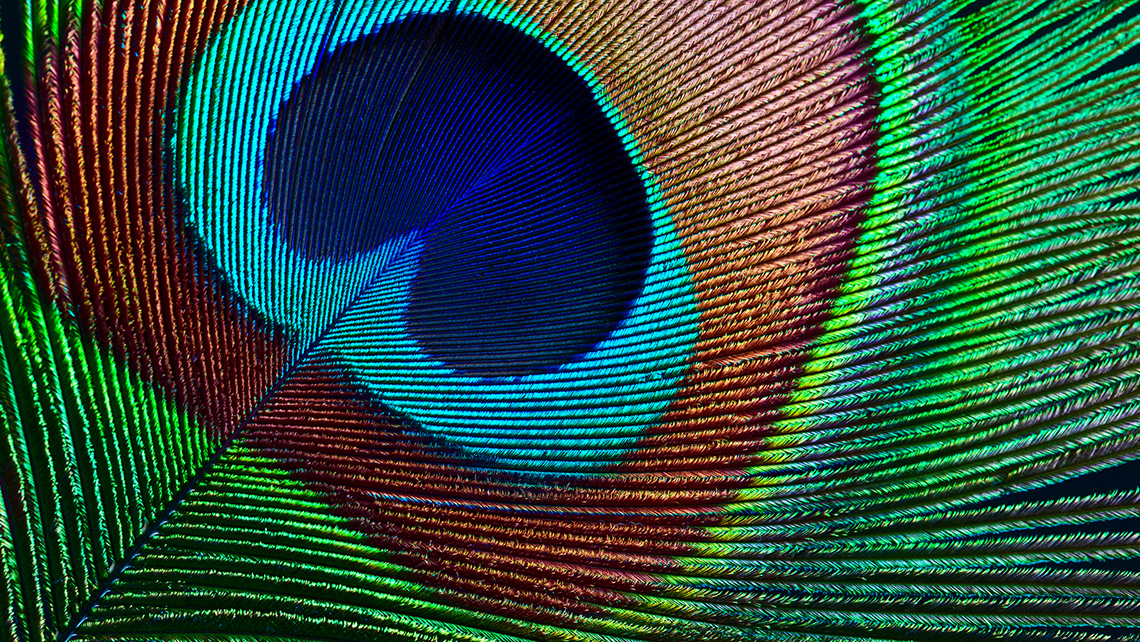
Press ‘Answer’ to learn about the types of lines used in the preceding image.
- curved
- parallel
- intersecting

Press ‘Answer’ to learn about the types of lines used in the preceding image.
- horizontal
- parallel
Artists and architects use lines to create interesting designs. They can also use lines to represent different feelings.
For example, one artist might use curly lines to represent feeling excited, while another might use thick, straight lines to show happiness.
Go!
What is the Zentangle® Method?
We can use line to express feelings and ideas. One way of doing this is by using the Zentangle® Method. The Zentangle® Method was created by Rick Roberts and Maria Thomas. In the Zentangle® Method, patterns called tangles are created. These patterns can be unplanned and created based on what a person feels at that moment. Tangles can be made using a combination of the following:
- dots
- lines
- simple curves
- s-curves
- orbs
The patterns are created on small pieces of paper called tiles. This can also be done using a digital application. They are called tiles because they can be assembled into a mosaic made up of several tiles.
Mosaic
An artwork made with small pieces of a material, such as stone, glass, paper, or tile. The small pieces create a larger design that can be figurative or abstract.
Artwork made using the Zentangle® Method can be simple or complex. It depends on how you’re feeling and how complex you want your creation to be.
For example, if you make your lines close together, your design in that section may appear darker, or you can even shade or colour in parts to add depth. If you make larger empty spaces, it might appear lighter in tone.
Tone
A tone is a dark value of a colour. A tone can be made by adding black to a colour. For example, if red is mixed with black, it creates a tone of dark red.
Explore the following image. What types of patterns do you notice?
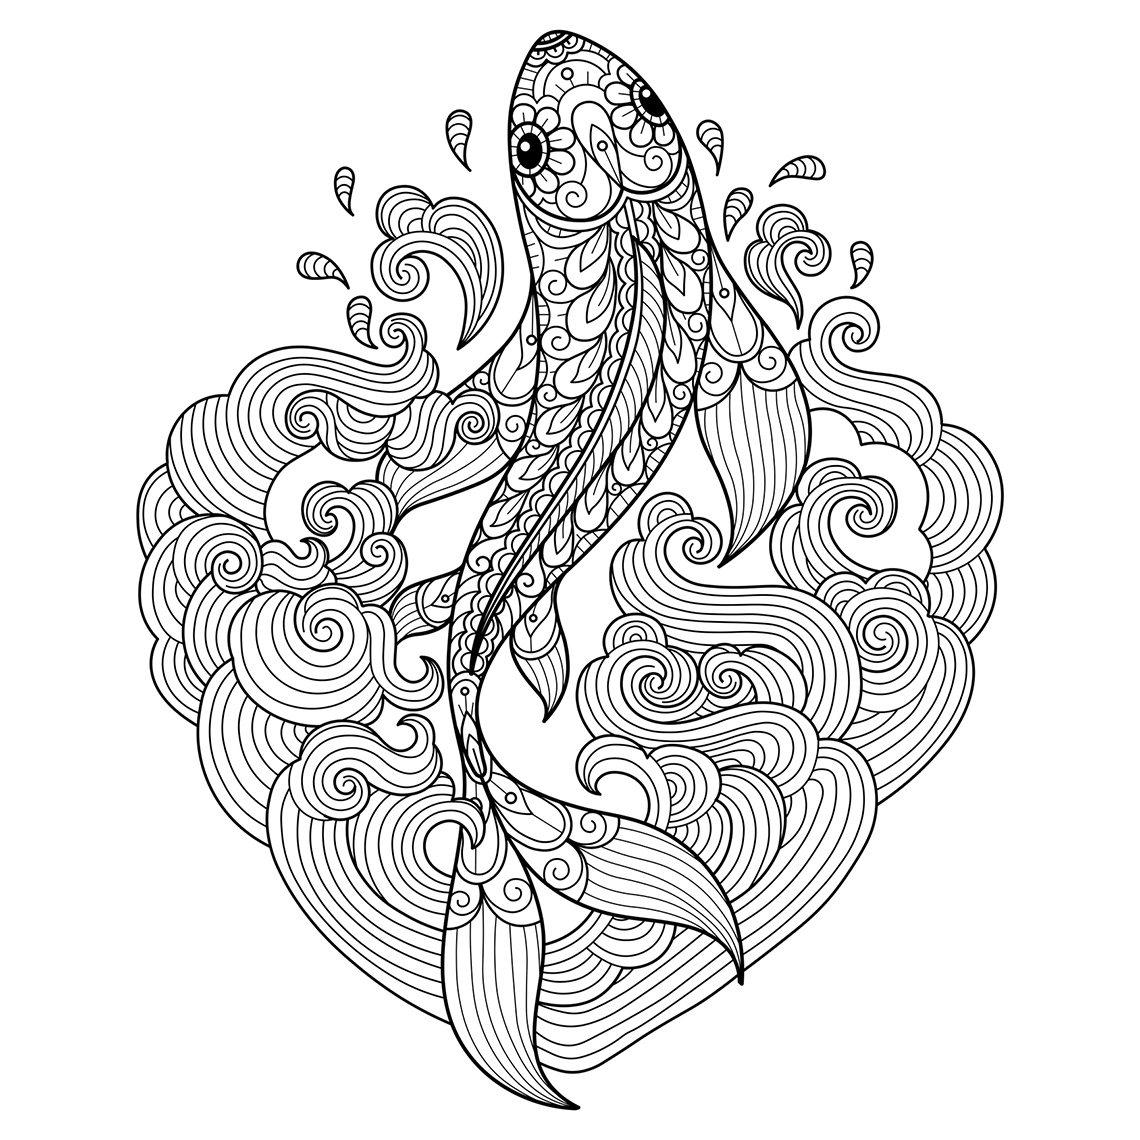
Zentangles sample
Let’s tangle!
Your turn
Take a piece of paper and fold it so it has eight sections.
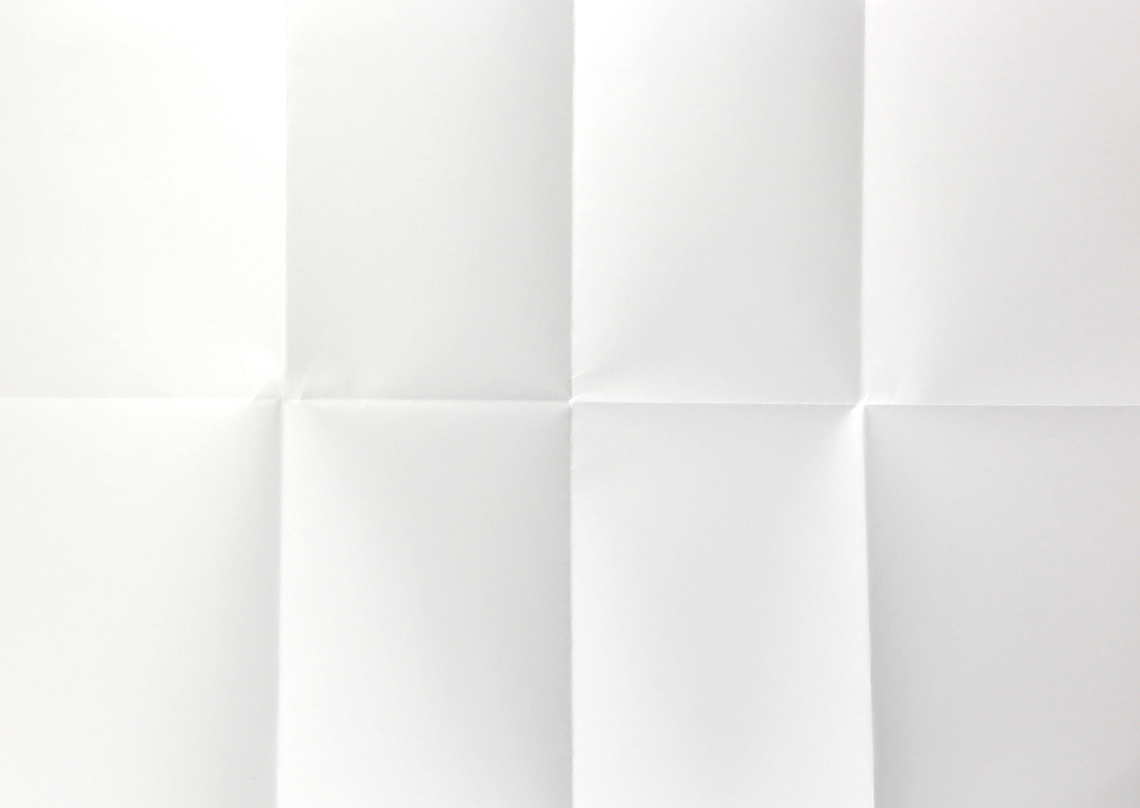
Folded paper
Optional: You can also measure out 3 cm square sections with a ruler.
You can also do this using a digital application or create a description of the types of lines you would like to use.
Explore the following examples of simple patterns made using the Zentangle® Method.

Simple patterns made using the Zentangle® Method.
12 squares containing different patterns. The patterns are repeating black hearts; repeating happy faces; intersecting circles; large scales; flower blooms; long, spiraling tendrils; spirals; black-and-white alternating zigzags; a zigzag weave; large, tight curves; triangles and diamonds; a horizontal and vertical weave.
Using a thick, medium, or thin pencil, marker, or digital drawing tool, create a variety of line patterns or tangles. The more detail and line variety you add, the more intricate the patterns can become.
Variety
A principle of design. Variety is created by using different elements in your art for contrast. Variety can be created by using diverse shapes, sizes, colours, and textures.
Consolidation
Putting it all together
Creating a Zentangle® Method design
It’s time to try creating your own Zentangle® Method design! Use the following “Types of Lines” anchor chart to help you get started.
Materials Needed
Materials you might need
Possible materials you might need for this learning activity:
- paper
- pencil
- fine line marker (optional)
- colour pencils or markers (optional)
Student Success
Exploring digital creation options
When you are considering digital creation options, explore the variety of digital applications available!
Note to teachers: See your teacher guide for collaboration tools, ideas and suggestions.
Safety
Before you begin:
Let’s create our own Zentangle® Method design!
Option 1: Description
Create an audio or written description. Decide the number of tangles you would create and describe what kinds of lines and patterns you would create for each.
Make sure to describe at least four tangles!
Option 2: Materials
Possible materials you might need for this learning activity:
- paper
- pencil
- fine line marker (optional)
- colour pencils or markers (optional)

Steps to make a Zentangle® Method design.
The steps to create a Zentangle® Method design. Create four corners, outline the tile shape, split tile into sections, begin creating a design in one section at a time until all sections are complete. Create different patterns in each section to add contrast.
Press the following tabs to check out the steps to create your Zentangle® Method design.
Draw, cut, or fold your paper into a square that is about 10 cm in both length and width.
Make a 1 cm border around it and make another square inside your tile that is 9 cm in both length and width.
You can also place a light pencil dot in each corner, about a pencil’s width from the edges.
You can make this border line with straight or wavy lines.

Now separate your tile into sections to draw your tangles in. A section can be any shape and can be made with any kind of solid line. These can be parallel or they can intersect.
You will want about four sections this time. Lines should go from one side of the border to the next.

Next, it’s time to start creating your pattern. You may choose to use a variety of lines and/or shapes in your pattern.

Explore the following examples of simple patterns made using the Zentangle® Method.

12 squares containing different patterns. The patterns are repeating black hearts; repeating happy faces; intersecting circles; large scales; flower blooms; long, spiraling tendrils; spirals; black-and-white alternating zigzags; a zigzag weave; large, tight curves; triangles and diamonds; a horizontal and vertical weave.
Continue your pattern until you complete the first section.

Continue for all four sections of your tile.

Option 3: Digital artwork
Create a digital Zentangle® Method artwork using a digital application of your choice.
Portfolio
Track your progress
Consider adding the answers to the following reflection questions to your art portfolio.
- How else could line be used to represent an artist’s thoughts and feelings?
- Which part of the activity did you enjoy? Why?
- Reflect on one thing you did well, and one thing that you are going to continue to practise.
Record your ideas using a method of your choice.
Consider adding your Zentangle® Method artwork to your art portfolio. If possible, share your beautiful design and/or description with a partner!
Reflection
As you read through these descriptions, which sentence best describes how you are feeling about your understanding of this learning activity? Press the button that is beside this sentence.
I feel…
Now, record your ideas using a voice recorder, speech-to-text, or writing tool.
