Minds On
Let’s get started!
Drawing methods in art
The Zentangle® Method was created by Rick Roberts and Maria Thomas. It is a drawing method which encourages relaxation and creativity. It is a fun way to create designs as there are no mistakes and the results are unexpected and beautiful.
When you create using The Zentangle® Method, you create structured patterns. These patterns can be dots, lines, or curves, it is your creation! Your patterns can be simple or complex, and you may create a pattern where lines are closer together to create a darker appearance or a pattern with larger empty spaces to appear lighter.
Explore the following carousel of images for examples of The Zentangle® Method:
Image 1: This Zentangle creation uses many different patterned sections that are all branching out from the centre of the piece.
Each branch contains a different pattern. Those with patterns of lines are tight together. Those with more circular patterns are spread apart. Each branch includes only black or white.
Image 2: This Zentangle creation is a hand that is positioned with the index and middle finger extended, forming a V shape and the other fingers and thumb tucked into the palm.
Each finger has a variety of patterned sections including some with patterned lines and others with dots. The palm of the hand is a series of divided sections using rounded lines and a thick outline for each section. Like the fingers there is a variety of patterned lines or dots in each section.
Image 3: This Zentangle creation includes a white circular shape in the centre that has patterned sections of lines that are all the same.
One portion of the circle is left white with two black circles. Behind this circular shape are larger sections that each include a pattern of black lines in different patterns. Some are darker and tight together while others are lighter and further apart.
Action
Get ready, get set…
Brainstorm
What do you notice?
Let’s further explore The Zentangle® Method!
- What do you notice about the types of lines used?
- What kind of texture is created from the lines?
- Do you notice any particular patterns of shapes?
Line
Line is an element of design. The path left by a moving point, such as a pencil or a digital drawing tool. A mark, guide, or boundary that leads the audience’s attention in an artwork. Diversity in the type, orientation, and/or quality of lines can be used to suggest a variety of ideas, shapes, or emotions. For example, horizontal and curving lines can feel restful or inactive. Vertical and diagonal lines can create the idea of movement or action. Using horizontal and vertical lines can suggest stability.
Texture
Texture is an element of design. The feel, appearance, thickness, or stickiness of a surface or substance. Texture examples could be smooth, rough, furry or soft. Texture can be the illusion of texture or real texture.

This Zentangle creation is a series of 12 squares, each square having a different pattern. 4 of the patterns are circular–one having a series of circles, one having a series of spirals and two having a series of semi-circles. All of these patterns are tightly packed together. One of the squares has a pattern created with black hearts that have space between each heart. One square has a pattern of happy faces that are similar to the hearts. The other squares all involve patterns using lines. Most are thin black lines but one has thick black lines.
Explore the following video clip on creating different patterns using The Zentangle® Method.
When creating a pattern, consider that parallel lines, repeating shapes, and/or colouring in sections can take a simple design to a complex design.

This image shows a variety of patterns that can be created in a Zentangle. Some are alternating black and white patterns and others are lines that are created using curves or zig zag patterns.
You may practice some patterns by creating a sample page of your own! Divide a page into 12 or more equal rectangles, or use the following fillable template.
Complete the Patterns Template in your notebook or using the following fillable and printable document. If you would like, you can use speech-to-text or audio recording tools to record your thoughts.
Press the ‘Activity’ button to access Patterns Template.
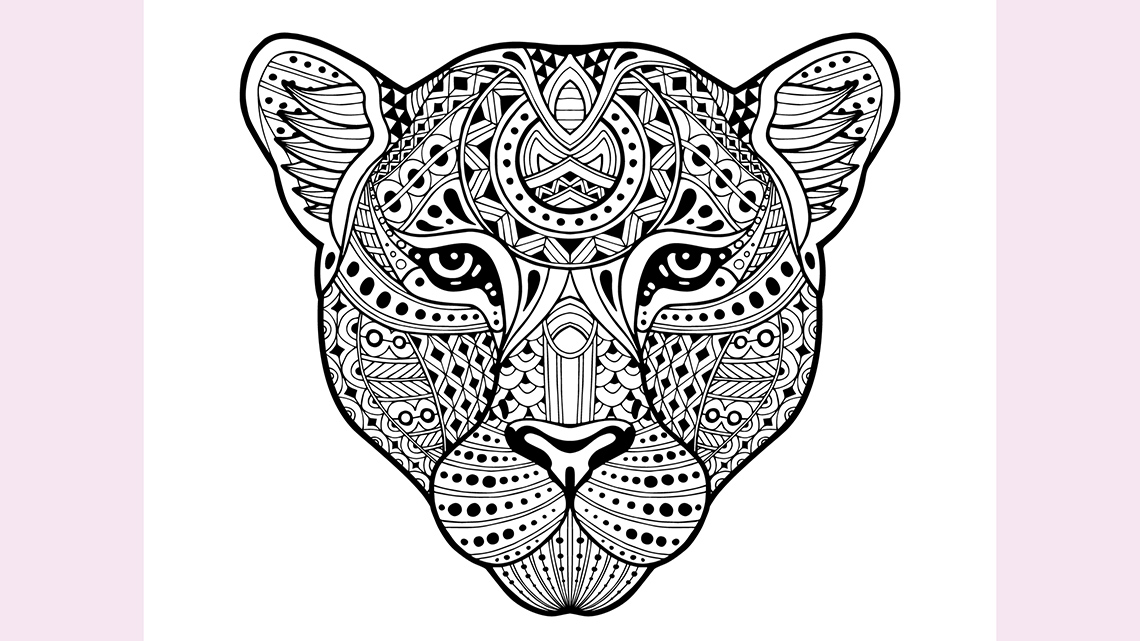
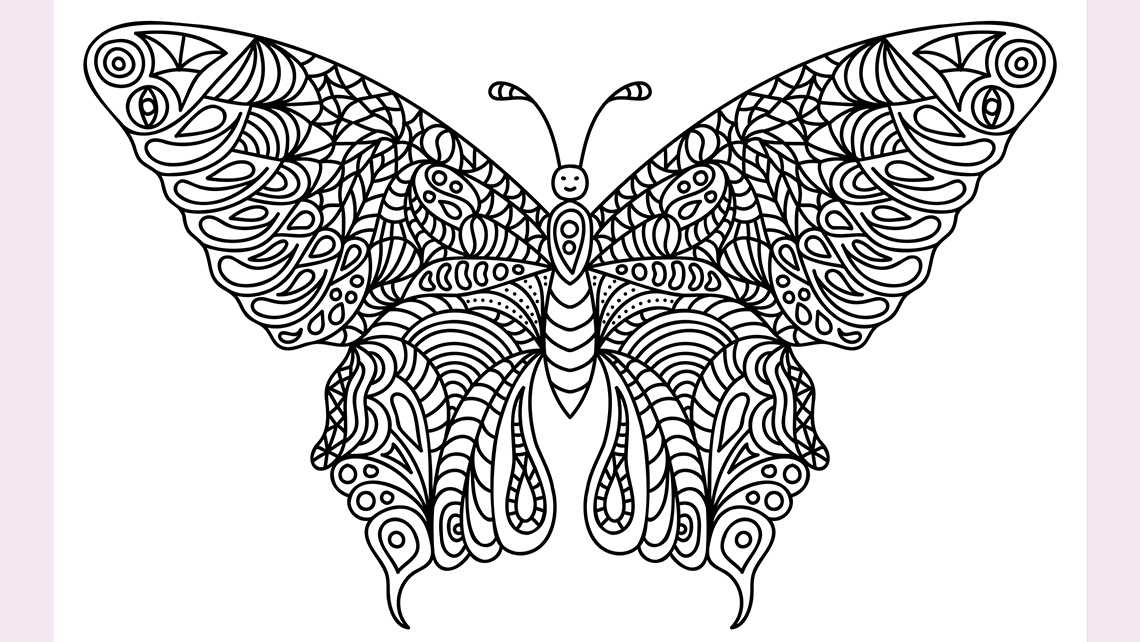
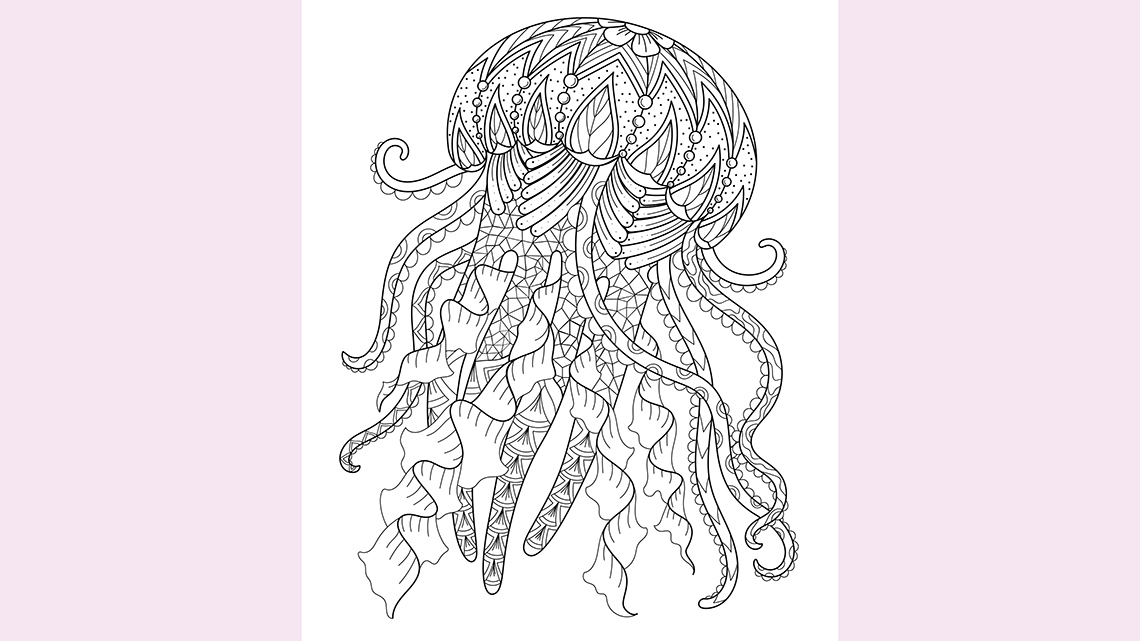
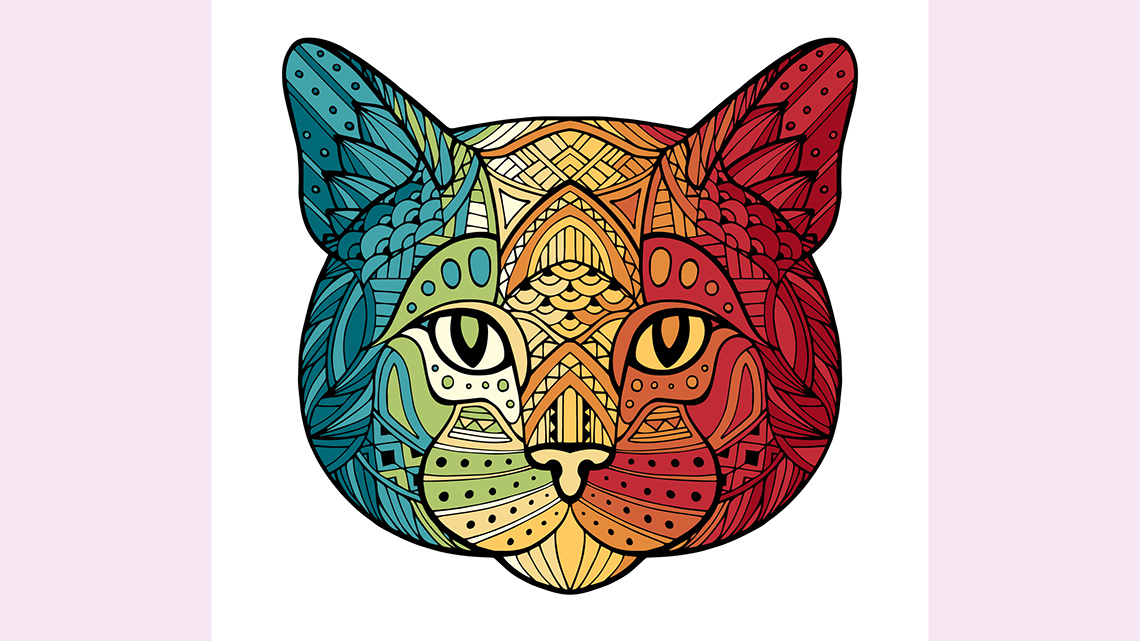
Explore the following carousel of images to discover examples of animals created using the The Zentangle® Method.
While examining the images, consider the facial features added to the animals. Also, examine the size of the animal in proportion to the size of the paper used to create an effective balance of space.
Proportion
A principle of design. The relationship between objects and their sizes. Proportion includes the relationship between the parts of a whole. Proportion can be used to create the illusion of space. For example, the proportion of a house in front of a mountain gives the illusion of space between the house and the far-off mountain. When proportions are created correctly, an artwork gives the illusion of being realistic.
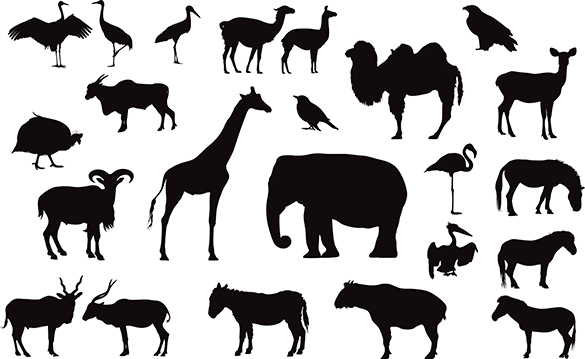
Various black animals silhouettes on a white background. There are: addax, arui, barasingha, blackbird, camel, crane, donkey, eagle, eland, elephant, giraffe, flamingo, guinea fowl, llama, pony, pelican, stork, takin, zebra.
Think about which animal you would like to create for your own art using The Zentangle® Method.
Would you like to include the face only or the entire body?
Consider the following image of various animal shapes to help you get started.
Once you have selected your animal, create an outline of your chosen animal.
You may create your outline using paper, a digital application or create a detailed written or audio recording.
Think about how you will divide it to create smaller areas for your design.
Once you have created the outline of your chosen animal, think about where you will place your animal on your paper.
Rule of thirds
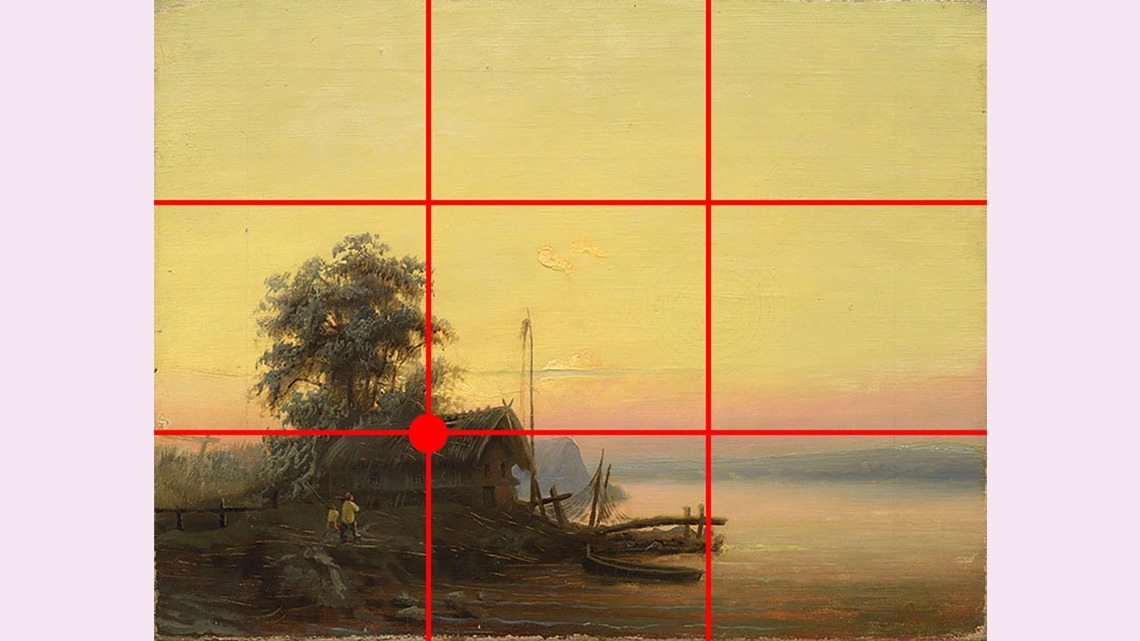
When considering how to position and size a subject in a portrait or other work of art, an artist has to consider the composition. One way to create a balance in a portrait, or any work of art, is by using the Rule of Thirds as a guideline.
Using the rule of thirds, if an artist divides their artwork into 3 even sections, or a grid of 3 x 3 squares, their focal points will be where the lines intersect, which is in 4 places. This means that these 4 places are the optimal places for the focal point.

An artist hopes that an audience spends time first at the focal point, then wandering around the piece, then returning back to the focal point. Explore the following carousel to learn how the rule of thirds can be used in different types of artwork.
Image 1: This painting has been divided into 9 squares.
The image of a landscape appears only in 4 of the squares. This is the focal point of the painting.
Image 2: There is an image of a cartoon cat.
This piece has been divided into 9 equal sections. The cat’s face appears at the meeting place of 4 of the sections. The bulk of its body and tail appears in 4 other sections.
As you plan your animal design, consider using the rule of thirds. Divide your space into 3 even sections and place your focal point (your animal) into one of these intersections. This way, you may create more visual interest than if your animal was placed into the centre of the page.
Consolidation
Putting it all together

Using The Zentangle® Method
Once you have completed your sketch, it is time to create your final draft. You may choose from the suggested materials or use any other material of your choice.
Option 1: Description
Create an audio or written description of what you would do to create your art piece. Include details about what you would create.
- Which animal would you choose?
- What shapes would you use?
- What lines would you use?
- Would you use colour?
Option 2: Digital
Create your art piece using a digital application of your choice. Use the drawing tools to create different patterns in at least 7 sections, then fill with the fill tool.
Student Success
Exploring digital creation options
When you are considering digital creation options, explore the variety of digital applications available!
Option 3: Materials
Safety
Before you begin, consider these safety precautions:
Materials Needed
Materials needed
Possible materials you might need for this learning activity:

- watercolour paper (24cm x 27cm or 18cm x 34 cm))
- watercolour paints
- paint brushes (varying sizes of round, flat and angled)
- scissors
or
- any paper with fine tip markers for creating the design and pencil crayon for the colouring
If you are using watercolour:
- Create a watercolour animal using watercolour paper, watercolour paint or watercolour pencil crayons and markers (black fine tip permanent markers).
- Cut the watercolour paper to suggested size (8 1/2” x 11” to 11” x 17”). If you don’t have watercolour or permanent markers, check the marker for mixing with water. If your marker isn’t permanent, do the painting first then add the marker work on the dry paper.
Press the following tabs to finish the last steps of your art creation.
If you are using colour, explore the following colour wheel to plan your colour scheme.
- Decide on your colour scheme (cool, warm, complementary, monochromatic).
- Test your colour scheme on a separate piece of watercolour paper and decide if you would like to make any changes. Add more water to make the colour lighter and less water to intensify the colour.
Line chart
What are lines?
A line is an element of design. A line is the path left by a moving point, such as a pencil or a digital drawing tool. A line is a mark that leads the audience’s attention in an artwork. There are five kinds of lines: vertical, horizontal, diagonal, zigzag and curved. Explore the following carousel to learn about all kinds of line!

Monochromatic colours are three shades of one colour.
This is the colour wheel. It features turquoise, light blue, violet, purple, pink, red-violet, red, orange, yellow, yellow-green, light green, green and green-blue. The highlighted colours are the three shades of orange which are at the top of the wheel.
Monochromatic colour scheme
A colour scheme in which only one hue is used, along with its tints (i.e., the hue plus white) and shades (i.e., the hue plus black).
Complementary colours
Colours that are directly opposite each other on the colour wheel (e.g., red and green, blue and orange, yellow and violet). A secondary colour’s complement is always the primary colour that is not used to create it (e.g., red and yellow make orange; the only primary not used to create orange is blue, therefore blue is the complementary colour or opposite of orange).
Portfolio
Track your progress
Reflect on your learning in this activity.
- What do you think about your final product?
- What animal did you choose? Why?
- If using colours, what colours did you choose? Why?
- What lines did you choose to use? Why?
Share your art with a peer, if possible.
If you have a portfolio, you can put your art there to track your progress over time.
Reflection
As you read the following descriptions, select the one that best describes your current understanding of the learning in this activity. Press the corresponding button once you have made your choice.
I feel...
Now, expand on your ideas by recording your thoughts using a voice recorder, speech-to-text, or writing tool.
When you review your notes on this learning activity later, reflect on whether you would select a different description based on your further review of the material in this learning activity.


