Minds On
Take a breath

Breathing in and out
In this learning activity, you will be learning all about aerobic exercises. Before you explore aerobic exercise, let’s take a moment to breathe.
Performing breathing exercises on a regular basis can help improve your lung capacity and help with managing emotions in stressful situations.
Do one of the following breathing exercises for two to five minutes.
Press the following tabs to access the breathing exercises.
- Get in a comfortable position whether it is lying down or sitting.
- Close your eyes.
- Slowly inhale through your nose.
- Then hold the breath for a few seconds.
- Slowly exhale through your mouth.
- Repeat the breathing sequence for two to five minutes. As you breathe, be sure to clear your mind by focusing on only your breath.
- Get in a comfortable position whether it is lying down or sitting.
- Think of a word, an image or a phrase that brings you positive thoughts.
- Close your eyes.
- Slowly inhale through your nose.
- Then hold the breath for a few seconds.
- Slowly exhale through your mouth.
- Repeat the breathing sequence for the set duration. As you breathe, be sure to clear your mind by imagining words, images and/or phrases that bring you positive thoughts.
After you have completed the breathing exercise, respond to the following prompts using a method of your choice:
- How did you feel before, during, and after the breathing exercise?
- What are some factors do you think could affect your breathing? Would these factors increase or decrease your breathing?
In aerobic, exercises you will be increasing your breathing rate for a prolonged period of time to train your muscles to be more efficient. This will allow your overall breathing rate to decrease over time as you require less oxygen to move.
Did You Know?
Word meaning
Did you know that the word aerobic originates from the two Greek roots, “aero” (meaning air) and “bios” (meaning life)? The term aerobic is used when oxygen is present.
The opposite of aerobic is anaerobic. When you add “an” in front of the word to make anaerobic, it means that oxygen is not present.
Action
Aerobic exercises

Aerobic Exercises
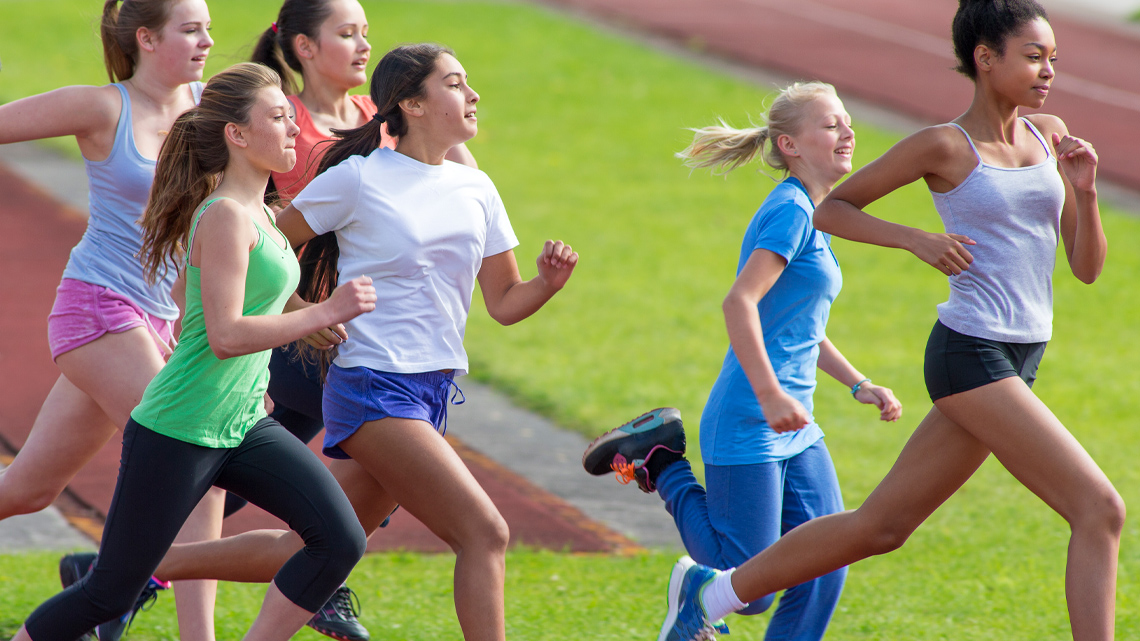
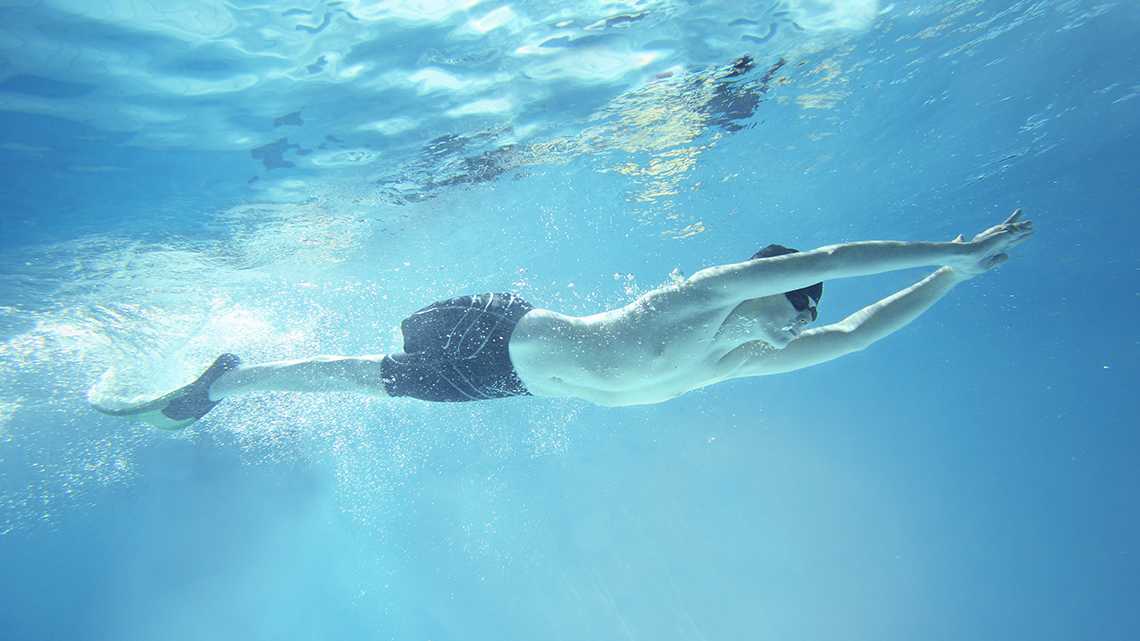
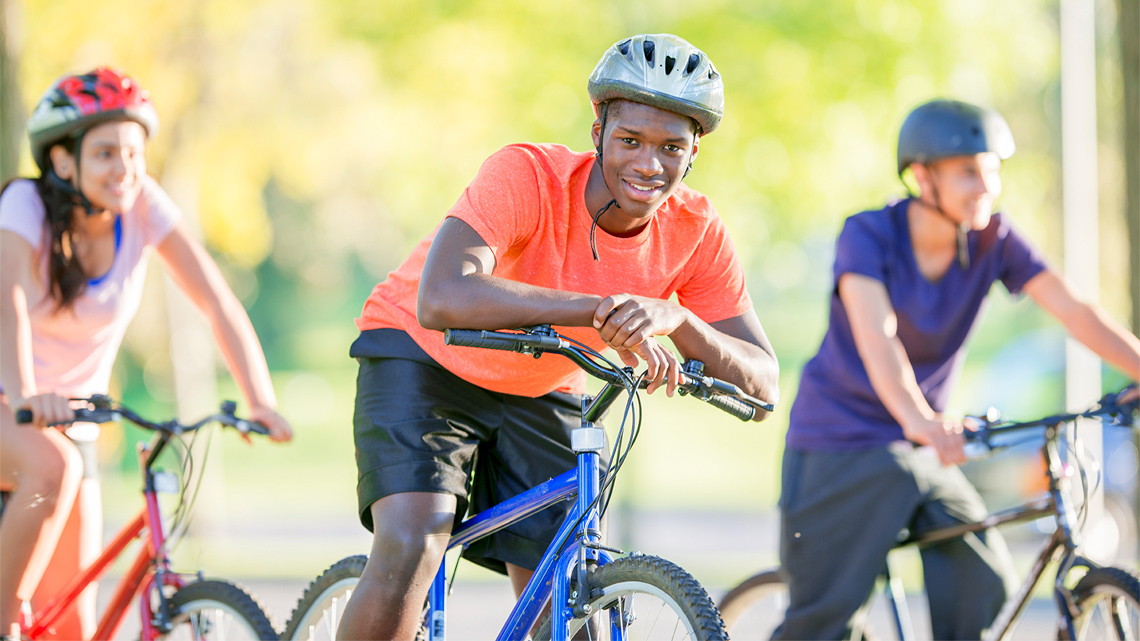
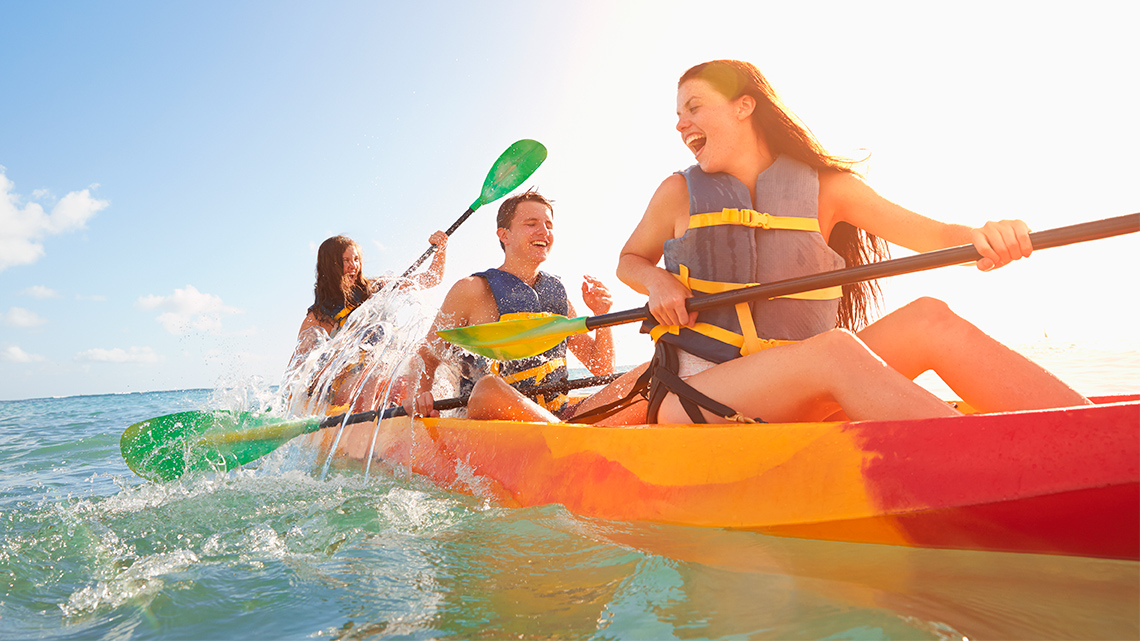
Aerobic exercises, which also may be known as cardiovascular or endurance exercises, are ones that aim at improving your cardiorespiratory health. They do so by getting your heart rate and breathing maintained at a higher rate for an extended duration of time. When you are doing aerobic exercises, you are trying to maintain a steady pace in your activity.
Let’s try and identify what types of physical activities may be considered aerobic exercises.
Select the correct answer.
Explore the following carousel for some examples of aerobic exercises.
Safety
Before you begin, consider these safety precautions:
Warm Up
Warm up
Let’s do a warm up before we get into our main activities! Warm ups will help you better perform a movement/activity while also greatly reducing your chance of injury.
Depending on what activities you are performing, choose one of the following warm ups, or you may do a combination of them.
Press the following tabs to access the warm ups.

- Jogging: Let’s start off with a relaxed jog for 5 minutes. You can jog in one place or back and forth in your space.
- Jumping jacks: Now do 10 jumping jacks! To perform a jumping jack, position your body straight up with hands to your sides. Then jump and spread legs apart and bring arms above the head. After that, jump back into starting position.
- Toe touch: Time to touch our toes! Have your body straight up. Then lean and bend forward and try your best to touch your toes. Hold the position for 10-20 seconds, return to straight upward position and repeat 10 times.
- Sit-up: Now do 10 sit-ups! To set-up a sit-up, lay on your back and bend your knees to form a ‘V’ shape with your legs. Bend your upper body towards your knees to perform the sit-up.
- Mountain climber: Finally, do the mountain climber for 60 seconds. To perform the mountain climber set yourself up in the push up position, then bring each knee forward as if you were climbing.

- Neck Tilts and Rotations: Slowly tilt your head side to side 10 times and then slowly and carefully rotate your neck 10 times in each direction.
- Arm Circles: Straighten your body and put your arms straight out to the sides. Then start forming circles in one direction, start with small circles and work your way up to large circles. Do this 10 times and then repeat with the opposite direction.
- Chest Expansions: Straighten your body and put your arms out straight to the sides with palms of hand facing forward. Bring your hands together in a clapping motion slowly, then return to the starting position. Do this 10 times.
- Wrist Circles: Clasp your wrists together and start to circle your wrists in one direction. Do this 10 times and then repeat with the opposite direction.
- Shoulder Rolls: Put your arms to the side keeping your posture straight. Rotate your shoulders forward to make a circle. Do this 10 times and then repeat with the opposite direction.

- High Knee Jog: Standing straight with shoulder-width apart perform a jog but raise your knees to about waist level. Do this for two minutes.
- Side-to-Side Hops: Standing straight with hands to side and feet hip-width apart hop side to side quickly. Do this for two minutes.
- Lunges: Stand straight with feet hip-width apart and arms grabbing the side of your hips. Take a step forward and bend your knees so that you form two 90-degree angles with your legs with one leg forward and one leg behind. Hold the position for 20-30 seconds then switch legs and repeat. Do this three times.
- Squat Side Kick: Go into a squat position so that your feet are shoulder-width apart and your hips are back. Then gradually get up and shift your weight towards one leg so that you can lift your other leg out to the side in a slow kick motion. Then return to the squatting position. Do this 10 times for each leg.
- Lateral Leg Swing: Stand upright, holding onto a wall with one hand for support and the other hand placed on the side of your hip. Swing one leg in front carefully across your body from side to side for 10 times. Then repeat with other leg.
Try It
Aerobic workout stations

In this learning activity, you will be exploring and trying three aerobic exercises. If you wish, you can even add some music so you can exercise to the rhythm and mood of the song!
Remember to perform your safety checks right before you participate in any of the exercises!
As you go through the various exercises, reflect on the following question:
- When doing series of movements in each of the exercises, what helps you maintain control and make the movement transitions in the exercise smooth?
- Which body parts did you use in the exercise? How would you describe the motion you are performing with that body part?
- Which exercises did you find harder or easier to perform and why?
Record your thoughts using a method of your choice.
Exercise 1: Step-up

Step-ups are exercises that mainly targets the lower body. In step-ups, you are stepping on and off a raised surface. You might be already doing this every day if you travel up and down stairs on a daily basis.
Equipment
You will need something stable to step up onto such as a stool, bench, or block of wood. If you want a more challenging workout, you may also hold dumbbells, cans, or bottles.
Step-up routine
Now let’s step-up! If you can, try one or all the step-up exercises for yourself or create your own.
Press the following tabs to access some step-up exercises.
Access the following video entitled “Step Up” to learn more about performing a front step-up.
A learner stands in front of a raised bench. The learner raises one foot from the ground and steps on to the bench. The learner brings their second foot onto the bench as well until they are standing on the bench. The learner then lowers their second foot back down on the ground, followed by their first foot. The learner finishes with both of their feet on the ground. A step up alternates between each foot.
Check out the following video to learn more about performing a lateral side-step.
A learner stands parallel next to a bench. Using the foot closest to the bench, the learner raises their foot and steps onto the bench. The learner raises their second foot until they are standing on the bench. The learner then lowers their second foot back on to the ground, followed by their right foot. The learner finishes their lateral step-up with both feet back on the ground. A step up alternates between each foot.
Explore the following video entitled “Step-Up with Knee Raise” to learn more about performing a step-up with a knee raise.
A learner stands in front of a raised bench. The learner raises one foot from the ground and steps on to the bench. The learner brings their second foot onto the bench as well until they are standing on the bench. The learner raises their first foot up until their knee is parallel with the floor, and then returns their first foot to the bench. The learner then lowers their second foot back down on the ground, followed by their first foot. The learner finishes with both of their feet on the ground. A step up alternates between each foot.
Explore the following video to learn more about performing a step-up with crossover.
A learner stands parallel next to a bench. The bench is positioned so the learner has enough room to stand on either side. Using the foot closest to the bench, the learner raises their foot and steps onto the bench. The learner raises their second foot until they are standing on the bench. Now, the learner is going to cross over and step down onto the opposite side of the bench. The learner lowers their first foot on to the ground on the opposite side of the bench, followed by their right foot. The learner finishes their lateral step-up with both feet back on the ground. A step up alternates between each foot.
Explore the following video to learn more about performing an explosive step-up.
A learner stands in front of a raised bench. The learner raises one foot from the ground and steps on to the bench quickly. Using the momentum from their first step onto the bench, the learner swiftly brings their second foot high into the air above the bench, and jumps on their first foot. The learner then lowers their second foot back down on the ground. Their first foot can stay on the bench for the duration of their step ups for their first side. A step up alternates between each foot.
Exercise 2: Just dance
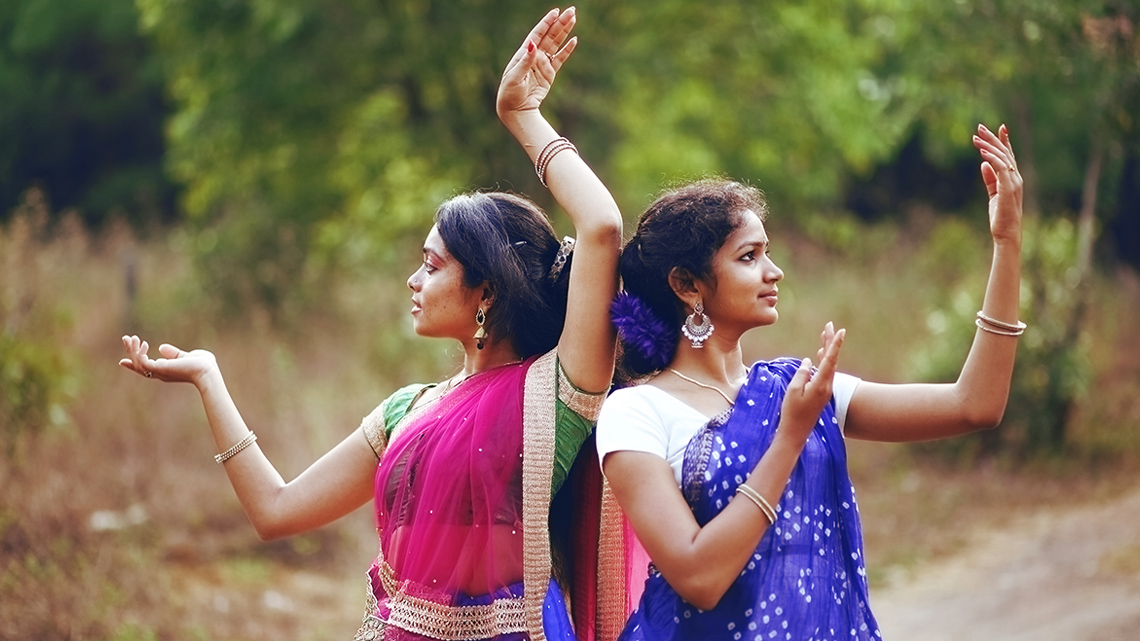
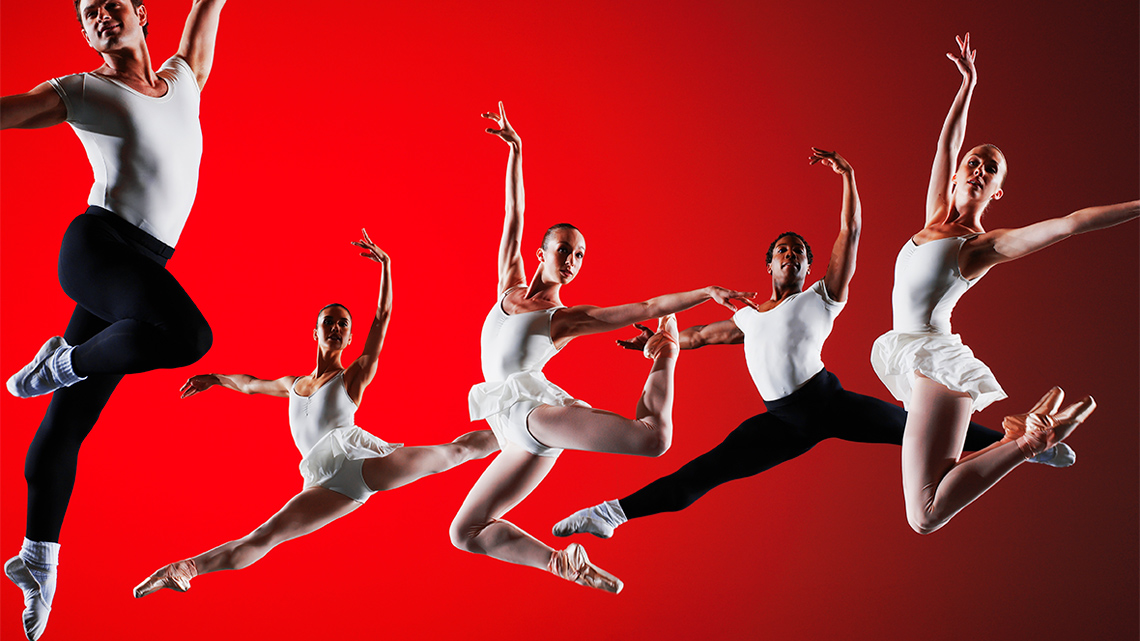
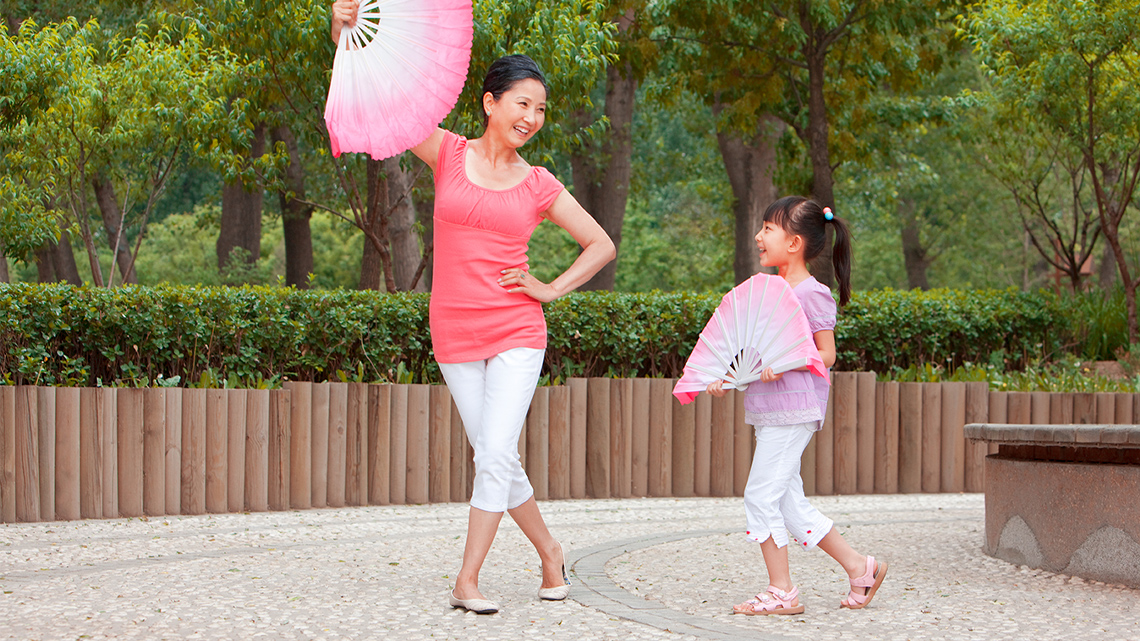
Just like music, dance is a universal language that can help communicate people’s thoughts, emotions, and stories. However, it can also make an amazing aerobic workout as well!
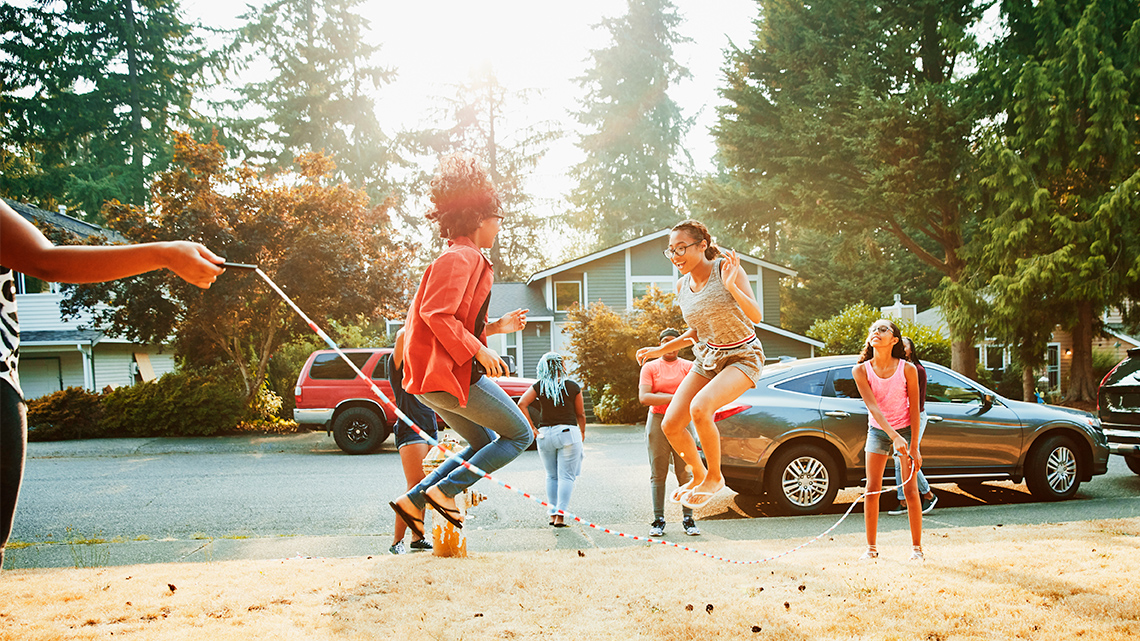
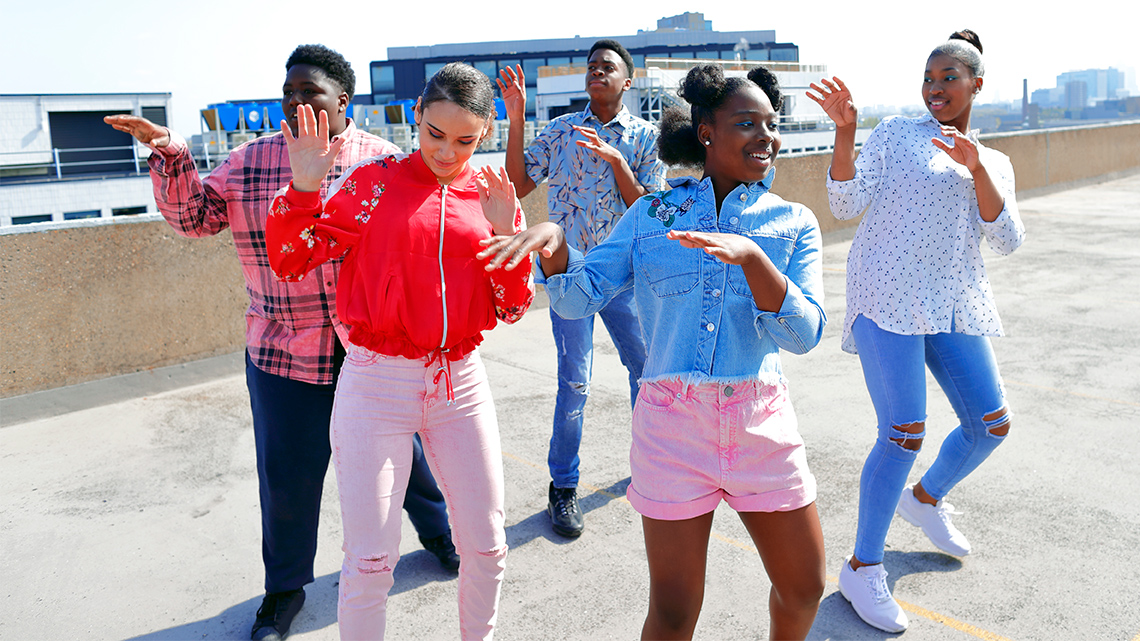
Explore the following carousel for a variety of dance from all over the world.
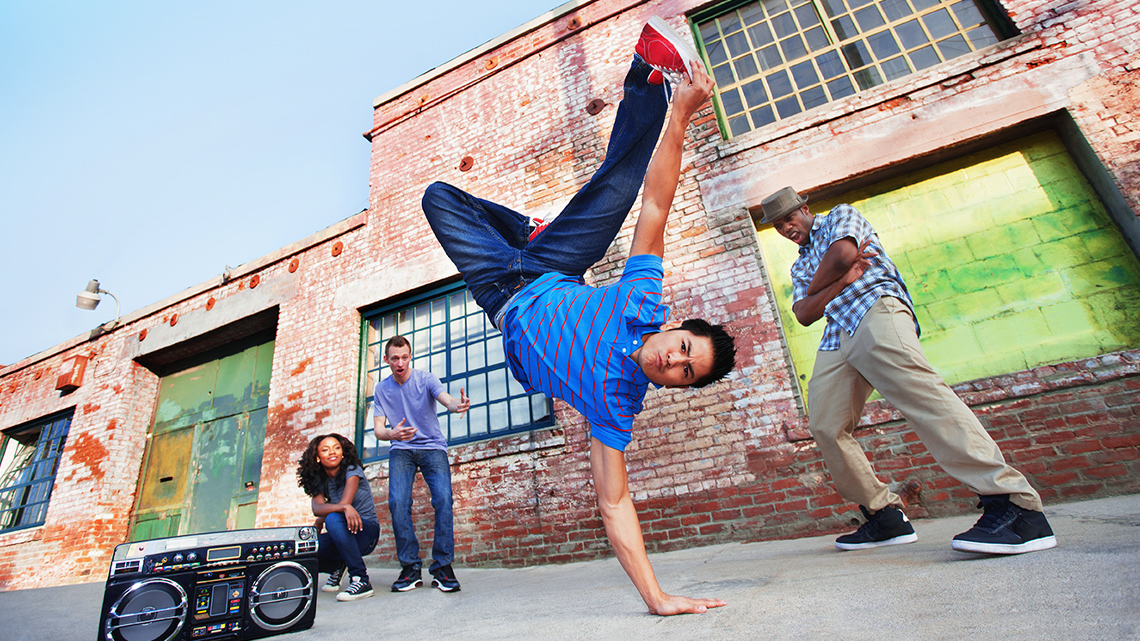

Now let’s explore some dance moves. If you can, try one or all the dance moves for yourself or create your own.
Explore the following demonstrations of several diverse dance moves.
Access the following animation to learn more about the dance move known as ‘The Sprinkler.’


The sprinkler is a dance move that imitates a water sprinkler used for watering lawns. In a standing or seated position, take one hand and place it on the back of your head. This creates a triangular position for your first arm. Hold your second arm straight out in front of you and parallel to the ground. To complete the sprinkler, move your two arms closer together then further apart. This move can be done to a rhythmic beat. When you are finished, return both of your arms to your sides.
Explore the following video to learn more about the dance move known as ‘The Swim.’
This dance move is known as ‘the swim’ and is meant to appear like motions you might make while you are swimming. The first step is raising your arm horizontally in front of your face. While moving your arm from in front of your face to the side, wiggle your fingers as if you are swimming. Repeat this motion with your opposite arm. The second move is meant to appear as if you are sinking deeper into the water. Use one hand to pinch your nose with your thumb and your index finger, as if you were plugging your nose in water. Raise your opposite arm vertically in front of your face. As you move your raised arm downwards, wiggle your whole arm back and forth as if it was sinking in water. Repeat this motion with your opposite hand and arm.
Exercise 3: Hula hoops
Hula hooping is a great aerobic workout that can engage your entire body. Hula hooping with your waist targets both the core and lower body muscles.
Did You Know?
Hoop dancing
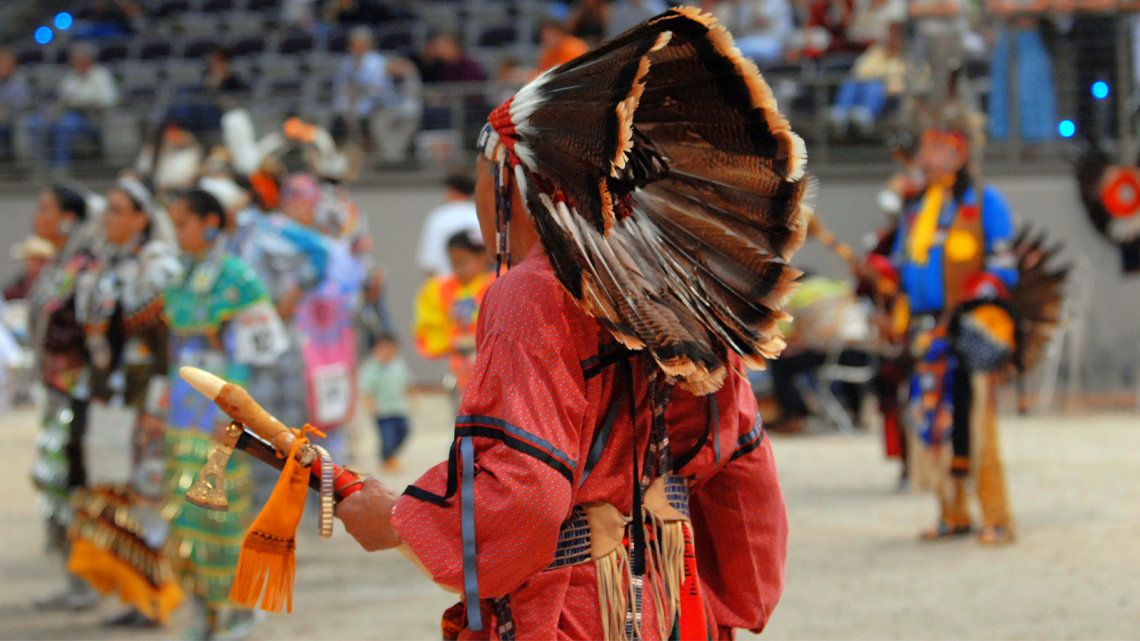
Did you know that the Indigenous peoples have dances that use handmade hoops?
There are several creation stories about the origins of the hoop dance. One story from the Anishinaabe is that a boy named Pukawiss created hoop dancing from watching the animals and mimicking their movements.
In hoop dancing, the dancer tells a story creating shapes with the hoops as they move to music. The dance begins with the first hoop that represents the circle of life and moves outwards by adding additional movements and hoops that represent diverse animals and elements in nature.
Today, many diverse nations across Turtle Island practise the hoop dance. The hoop dance is a competitive event at most powwows.
Explore the following video entitled “Raven’s Quest: Emily” to learn more about Emily, a 12-year-old Mohawk girl who lives in Montreal, Quebec as she demonstrates some hoop dancing moves.
Equipment
You will need a hula hoop. You can make your own hoop out of cardboard, scissors, and tape/glue. Just cut large hoops out of cardboard and attach them together using tape/glue. The more layers you add the firmer the hoop will be.
Hula hooping basics
Explore the following video entitled “Extra Edition: Hula Hoop with Ella” to learn the basics of how to hula hoop.
If you can, try hula hooping yourself. You can try out the moves that Ella did or hula hoop with different parts of your body such as your arms or legs.
Cool Down
Cool down
Now it’s time for a cool down! It’s important to allow your body to gradually return to a resting state after intense physical activity.
Remember to perform your safety check before you begin.
Depending on what activities you are performing, choose one of the following cool downs, or you may do a combination of them.
Press the following tabs to access the cool downs.

- Jogging: Begin with a jog and transition to a walk. Do this for 2-5 minutes.
- Wide Toe Touch: Now do wide toe touches for 60 seconds. To perform a wide toe touch, position your body in the shape of a star, then bend forward and reach with one arm to touch the opposite foot. The other arm which is on the same side as the foot is pointed upwards. Hold this position for 10-15 seconds, then return to the starting position and repeat on the opposite side.
- Quad Stretch: Stand up straight and shift your weight to one leg. Then lift your other leg backwards towards your butt and grab it with the arm on the same side. Hold it for 20-30 seconds and repeat with the other leg. Do this 5 times for each leg.
- Child’s Pose: Do the child pose for 30 seconds. To perform the child pose, get down on your knees and bend your body forwards stretching your arms out. Your forehead should be resting on the floor.
- Abdominal Stretch: Now, do an abdominal stretch for 30 seconds. To perform the abdominal stretch, lie face down with legs straight up and place your arms in a push up position. Push upwards and slowly lift your torso holding the position.

- Shoulder Stretch: Bring one arm across your chest bend your other arm to help support it into position. Hold the position for 30 seconds and then do the opposite side. Repeat three times.
- Triceps Stretch: Bend one arm up and behind towards your shoulder blade. Use the other arm to help support it into position. Hold the position for 30 seconds and then do the opposite side. Repeat three times.
- Overhead Stretch: With your body straight interlock your fingers and bring your arms above your head. Have your palms facing away from you. Hold the position for 60 seconds.
- Torso Stretch: With your body straight fold one arm behind your back and use the other arm to help support it into position. Then bend your torso towards one side. Hold the position for 30 seconds and then do the opposite side. Repeat three times.
- Chest-Cross Arm Swing: With your body straight put your hands horizontally straight out to the sides and then swing your arms to make an ‘X’ shape back and forth for 60 seconds.

- Flutter Kick: Lie on your back with your hands to the side. Lift your legs and perform a kicking motion, alternating the legs back and forth. Do this for one minute.
- Side-Lying Leg Lifts: Lie on your side with one arm supporting your head and one arm bend in front supporting your body in position pushing against the ground. Lift your leg slowly and gradually return it back. Do this five times and then switch to the other leg.
- Single Leg Hug: You can do this lying on your back or standing straight up. With your arms hug your thigh to bring one knee towards your chest. Hold the position for 20-30 seconds then gradually release and switch sides. Repeat three times.
- Butterfly Stretch: Sitting on the floor bring both feet together so they are touching. Use your arms to safely move your knees towards the floor. Hold the position for 20-30 seconds and then release gradually. Repeat three times.
- Hip Flexor Stretch: Kneel on one of your knees and bend your other leg in front of your body at approximately a 90-degree angle. Shift your weight forward until you feel a stretch. Hold the position for 20-30 seconds and switch sides. Repeat three times.
Consolidation
Create your own aerobic workout

Now that you have explored several different aerobic exercises, it is now your turn to design your own workout with the space and objects you find around you. To make your workout more interesting, you will have a theme or story like some of the dances you explored in the Action section. If you can, add some music to your workout as well and create a workout that matches the rhythm of the music.
Check out the following video entitled “Power Up: Under the Sea Energizer 1” to learn more about a themed workout!
Choose one of the following methods or use a method of your choice to explain and demonstrate your aerobic workout.
- live demonstration
- video/audio clips
- slideshow
- poster
- brochure
- webpage
Use the following checklist to help guide your creation.
Aerobic workout checklist
Reflection
As you read the following descriptions, select the one that best describes your current understanding of the learning in this activity. Press the corresponding button once you have made your choice.
I feel…
Now, expand on your ideas by recording your thoughts using a voice recorder, speech-to-text, or writing tool.
When you review your notes on this learning activity later, reflect on whether you would select a different description based on your further review of the material in this learning activity.