Minds On
Getting over it
Get ready!
Through many diverse areas of life, you’ve maybe felt that something was too hard or too challenging. One thing you can do to get over that feeling is to encourage yourself and come up with concrete solutions that will help increase your chance of success in the situation.
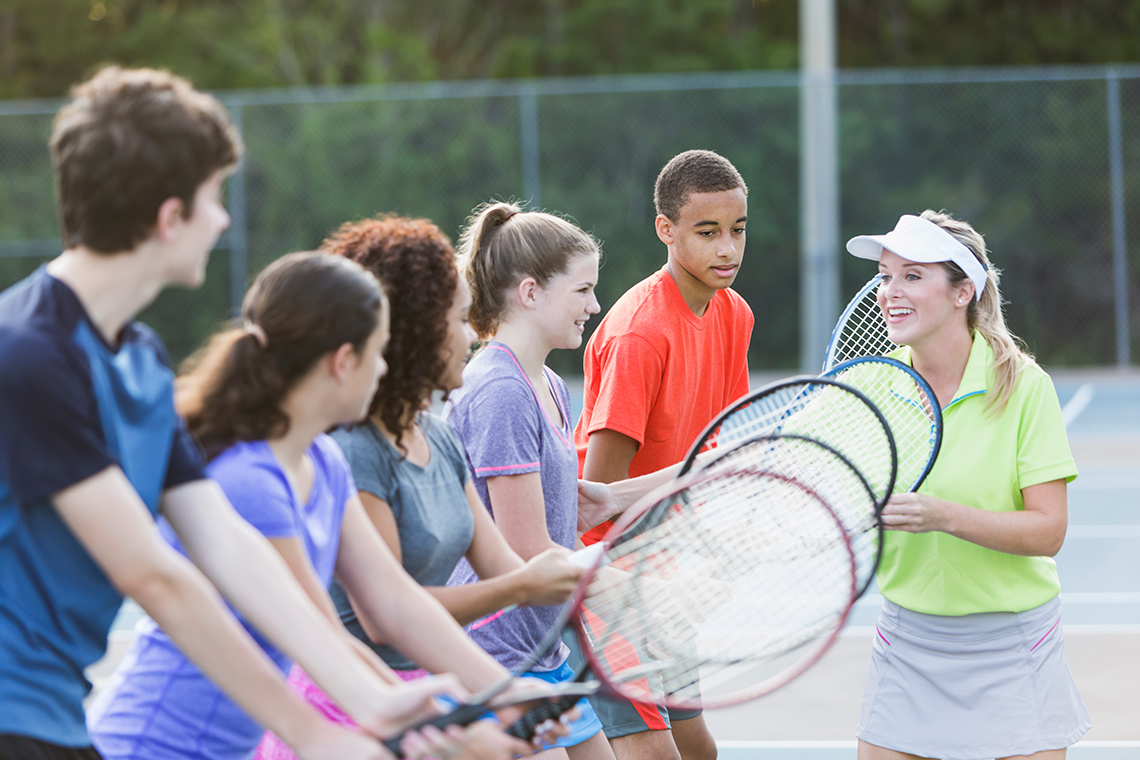
Coaches often do this with their players as they help them build their confidence and self-esteem while also providing words of advice on how to improve their game.
Let’s pause and reflect on the following questions:
- What is an example of something you felt that was extremely challenging or hard?
- If you overcame it, how did you do it?
- Pretend you are a coach. What advice would you give to yourself again if you were put in the same situation?
Record your thoughts with a method of your choice.
Action
Net/wall physical activities
Net/wall physical activities are ones that involve sending and receiving an object either across a net or from a wall. In this learning activity, you will be introduced to some diverse types of tennis shots and footbag net kicks.

Before you begin, let’s do a warm up and safety check!
Safety
Before you begin, consider these safety precautions:
Warm Up
Warm up
Let’s do a warm up before we get into our main activities! Warm ups will help you better perform a movement/activity while also greatly reducing your chance of injury.
Depending on what activities you are performing, choose one of the following warm ups, or you may do a combination of them.
Press the following tabs to access the warm ups.

- Jogging: Let’s start off with a relaxed jog for 5 minutes. You can jog in one place or back and forth in your space.
- Jumping jacks: Now do 10 jumping jacks! To perform a jumping jack, position your body straight up with hands to your sides. Then jump and spread legs apart and bring arms above the head. After jump back into starting position.
- Toe touch: Time to touch our toes! Have your body straight up. Then lean and bend forward and try your best to touch your toes. Hold the position for 10-20 seconds, return to straight upward position and repeat 10 times.
- Sit-up: Now do 10 sit-ups! To set-up a sit-up, lay on your back and bend your knees to form a ‘V’ shape with your legs. Bend your upper body towards your knees to perform the sit-up.
- Mountain climber: Finally do the mountain climber for 60 seconds. To perform the mountain climber set yourself up in the push up position, then bring each knee forward as if you were climbing.

- Neck Tilts and Rotations: Slowly tilt your head side to side 10 times and then slowly and carefully rotate your neck 10 times in each direction.
- Arm Circles: Straighten your body and put your arms straight out to the sides. Then start forming circles in one direction, start with small circles and work your way up to large circles. Do this 10 times and then repeat with the opposite direction.
- Chest Expansions: Straighten your body and put your harms out straight to the sides with palms of hand facing forward. Bring your hands together in a clapping motion slowly, then return to the starting position. Do this 10 times.
- Wrist Circles: Clasp your wrists together and start to circle your wrists in one direction. Do this 10 times and then repeat with the opposite direction.
- Shoulder Rolls: Put your arms to the side keeping your posture straight. Rotate your shoulders forward to make a circle. Do this 10 times and then repeat with the opposite direction.

- High Knee Jog: Standing straight with shoulder-width apart perform a jog but raise your knees to about waist level. Do this for two minutes.
- Side-to-Side Hops: Standing straight with hands to side and feet hip-width apart hop side to side quickly. Do this for two minutes.
- Lunges: Stand straight with feet hip-width apart and arms grabbing the side of your hips. Take a step forward and bend your knees so that you form two 90-degree angles with your legs with one leg forward and one leg behind. Hold the position for 20-30 seconds then switch legs and repeat. Do this three times.
- Squat Side Kick: Go into a squat position so that your feet are shoulder-width apart and your hips are back. Then gradually get up and shift your weight towards one leg so that you can lift your other leg out to the side in a slow kick motion. Then return to the squatting position. Do this 10 times for each leg.
- Lateral Leg Swing: Stand upright, holding onto a wall with one hand for support and the other hand placed on the side of your hip. Swing one leg in front carefully across your body from side to side for 10 times. Then repeat with other leg.
Tennis

Let’s play tennis!
Tennis is a racket sport that is played either in singles (individually) or in doubles (pairs). Players send the ball back and forth until a player is unable to return the ball in which the opposing team then gains a point. Players aim to score four points to win a game, six games to win a set, and at least two sets to win a match.
Tennis shots
Press the following tabs to check out information about three different tennis shots.
Explore the following diagram on how to perform a forehand shot.

A forehand shot
To perform a forehand shot in tennis, start by standing with a tennis racket in one hand at your side. Pull your arm straight back to bring your tennis racket behind you. Keeping your arm straight, move your tennis racket forward and down. Continue moving your racket forward and upwards to connect with the tennis ball. Follow through by continuing to swing your racket even after you connect with the ball.
Note that a forehand shot is performed with holding the racket with your dominant hand.
This is the most basic shot any tennis player will learn and is the strongest shot as it utilizes the dominant hand to perform most of the force.
Explore the following diagram on how to perform a backhand shot.

A backhand shot
To perform a backhand shot in tennis, start by standing with a tennis racket in one hand at your side. Take your racket across your body so that your arm is diagonal across your body. Pull your arm and your racket as far back as comfortable. Start to straighten your arm and move your tennis racket forward and down. Continue moving your racket forward and upwards to connect with the tennis ball. Follow through by continuing to swing your racket even after you connect with the ball.
Note that you can also perform a backhand with either just your dominant hand or both hands.
The one-handed backhand shot comes in handy when you need to reach further for the ball and if the ball is coming towards your body. The two-handed backhand shot allows for better control and stability especially when wanting to hit the ball high.
Explore the following diagram on how to perform an overhead shot.

Overhead shot
To perform an overhead shot, start by standing with your knees slightly bent and your tennis racket in your hand. Move your hand and your tennis racket up and over your shoulder. Bend your elbow to draw your tennis racket back above and behind you. Once you have lined up your racket with the tennis ball, swiftly bring your racket upwards and forward to hit the ball. Follow through by continuing to swing your racket even after you connect with the ball.
An overhead shot is the type of shot you would use when serving the ball but is also used when the ball is in play. This will require more footwork and anticipation on your part to get into the position of where the ball will be when you perform the shot.
Video analysis
Often times when players and their coaches try to identify ways the players can improve, they observe video footage of gameplay.
Explore the following videos for demonstrations of the various shots.
A tennis player draws her racket straight back behind her body and hits the ball. She then moves her tennis racket diagonally across her body and hits the tennis ball again.
Explore the following questions. Select the correct answer, then press “Check Answer” to check how you did.
A tennis player tosses a tennis ball in the air and draws his racket above and behind him to make a shot. When the ball returns, he crosses his racket diagonally across his body and returns the shot. Finally, he draws his racket straight back and behind him and makes his final shot.
Explore the following questions. Select the correct answer, then press “Check Answer” to check how you did.
Try It
Give it a shot
Now let’s try out the different shots with some activities! You may also choose to play a full game of tennis with a partner. Remember to perform your safety checks before each activity. Compare and contrast the different shots as you practice and try out the activities.
Complete the Types of Tennis Shots Chart in your notebook or using the following fillable and printable document. If you would like, you can use speech-to-text or audio recording tools to record your thoughts.
| Tennis Shot | When to use the shot in a game? | Other notes (i.e. pros and cons) |
|---|---|---|
| Forehand Shot | ||
| Backhand Shot | ||
| Overhand Shot | ||
| Which shot do you personally prefer and why? | ||
Press the ‘Activity’ button to access the Types of Tennis Shots Chart.
Press the following tabs to access the equipment needed and activities.
You will need the following:
- A tennis racket. As an alternative you could make your own racket with stiff cardboard cut into a racket or a paper plate duct taped/glued to a popsicle stick.
- A tennis ball. You may also use a balloon, round plush toy, or roll a sock into a ball. Just be mindful of the weight of the ball in relationship to the stiffness of what you use as your tennis racket.
- A tennis net. You may also use a string or blanket and tie to down to two chairs to make a net.
- Targets. This can be hula hoops, t-shirts, and tape that you can mark down where your target areas are on the ground.
- An empty wall for Activity 2 if working alone.
This is best done when you have another partner that can send you the ball. If you are working on your own, you must throw the ball yourself.
Lay your targets on the other side of the net in various directions and distances.
Use diverse shots to try and send the ball to the various targets over the other side of the net.
As you attempt this activity think about:
- Which shot(s) are better in terms of distance?
- Which shot(s) are better in terms of accurate aim?
This activity can be done individually by sending the ball to yourself by bouncing it against a wall or if you wish to work with a partner, you can take turns sending the ball to each other.
Try to rack up a rally and find out how long you can keep the ball in play.
Try out different shots as you are sending the object back and forth and find out which shot(s) you may naturally gravitate towards.
As you attempt this activity, think about:
- Which shot(s) are easier to use when sending the ball back and forth?
- Are there specific situations that caused you to use a specific shot over another?
Footbag net

Footbag net
Footbag net is a combination of soccer, tennis, and volleyball. This involves kicking a footbag (or beanbag) across a net to gain points like in tennis. Also, like in tennis, it can be played in singles or doubles. Players win a game by scoring 15 points and a match by winning the best out of three games.
Basic kicks
Press the following tabs to access information about three basic types of kicks.
Explore the following diagram on how to perform an inside kick.

Inside kick
An inside kick is performed by drawing up one leg and using the inside of your foot to kick the beanbag.
Explore the following diagram on how to perform an outside kick.

Outside kick
An outside kick is performed by lifting up your leg behind you with your knee bent. Use the outside of your foot to kick the beanbag.
Explore the following diagram on how to perform a toe kick.

Toe kick
A toe kick is performed by bending your knee and raising your foot straight up. Use the top of your toe to kick the beanbag.
Try It
Give it a kick
Now let’s try out the different kicks with some activities! You may also choose to play a full game of footbag net with a partner. Remember to perform your safety checks before each activity. Compare and contrast the different shots as you practice and try out the activities.
Complete the Types of Footbag Kicks Chart in your notebook or using the following fillable and printable document. If you would like, you can use speech-to-text or audio recording tools to record your thoughts.
| Kick | When to use the kick in a game? | Other notes (i.e. pros and cons |
|---|---|---|
| Inside Kick | ||
| Outside Kick | ||
| Toe Kick | ||
| Which kick do you personally prefer and why? | ||
Complete Types of Footbag Kicks Chart in your notebook or using the following fillable and printable document.
Press the ‘Activity’ button to access the Types of Footbag Kicks Chart.
Press the following tabs to access the equipment needed and activities.
You will need the following:
- A bean bag. You can also use a ball, roll socks into balls, crumple paper into balls, or make your own bean bag. To make your own bean bag, you will need some fabric and something like rice to stuff the fabric with. You can glue the fabric or stitch it to make the bean bag.
- A tennis/badminton net. You may also use a string or blanket and tie to down to two chairs to make a net.
- Targets. This can be hula hoops, t-shirts, or tape that you can mark down where your target areas are on the ground.
- An empty wall for Activity 2 if working alone.
This is best done when you have another partner that can send you the footbag. If you are working on your own, you must throw the ball yourself.
Lay your targets on the other side of the net in various directions and distances.
Use different shots to try and send the footbag to the various targets over the other side of the net.
As you attempt this activity, think about:
- Which kick(s) are better in terms of distance?
- Which kick(s) are better in terms of accurate aim?
This activity can be done individually by sending the ball to yourself by bouncing it against a wall or if you wish to work with a partner, you can take turns sending the ball to each other.
Try to rack up a rally and find out how long you can keep the footbag in play.
Try out different kicks as you are sending the object back and forth and find out which kick(s) you may naturally gravitate towards.
As you attempt this activity think about:
- Which shot(s) are easier to use when sending the footbag back and forth?
- Are there specific situations that caused you to use a specific kick over another?
Cool Down
Cool down
Now it’s time for a cool down! It’s important to allow your body to gradually return to a resting state after intense physical activity.
Remember to perform your safety check before you begin.
Depending on what activities you are performing, choose one of the following cool downs, or you may do a combination of them.
Press the following tabs to access the cool downs.

- Jogging: Begin with a jog and transition to a walk. Do this for 2-5 minutes.
- Wide Toe Touch: Now do wide toe touches for 60 seconds. To perform a wide toe touch, position your body in the shape of a star, then bend forward and reach with one arm to touch the opposite foot. The other arm which is on the same side as the foot is pointed upwards. Hold this position for 10-15 seconds, then return to the starting position and repeat on the opposite side.
- Quad Stretch: Stand up straight and shift your weight to one leg. Then lift your other leg backwards towards your butt and grab it with the arm on the same side. Hold it for 20-30 seconds and repeat with the other leg. Do this 5 times for each leg.
- Child’s Pose: Do the child pose for 30 seconds. To perform the child pose, get down on your knees and bend your body forwards stretching your arms out. Your forehead should be resting on the floor.
- Abdominal Stretch: Now, do an abdominal stretch for 30 seconds. To perform the abdominal stretch, lie face down with legs straight up and place your arms in a push up position. Push upwards and slowly lift your torso holding the position.

- Shoulder Stretch: Bring one arm across your chest bend your other arm to help support it into position. Hold the position for 30 seconds and then do the opposite side. Repeat three times.
- Triceps Stretch: Bend one arm up and behind towards your shoulder blade. Use the other arm to help support it into position. Hold the position for 30 seconds and then do the opposite side. Repeat three times.
- Overhead Stretch: With your body straight interlock your fingers and bring your arms above your head. Have your palms facing away from you. Hold the position for 60 seconds.
- Torso Stretch: With your body straight fold one arm behind your back and use the other arm to help support it into position. Then bend your torso towards one side. Hold the position for 30 seconds and then do the opposite side. Repeat three times.
- Chest-Cross Arm Swing: With your body straight put your hands horizontally straight out to the sides and then swing your arms to make an ‘X’ shape back and forth for 60 seconds.

- Flutter Kick: Lie on your back with your hands to the side. Lift your legs and perform a kicking motion, alternating the legs back and forth. Do this for one minute.
- Side-Lying Leg Lifts: Lie on your side with one arm supporting your head and one arm bend in front supporting your body in position pushing against the ground. Lift your leg slowly and gradually return it back. Do this five times and then switch to the other leg.
- Single Leg Hug: You can do this lying on your back or standing straight up. With your arms hug your thigh to bring one knee towards your chest. Hold the position for 20-30 seconds then gradually release and switch sides. Repeat three times.
- Butterfly Stretch: Sitting on the floor bring both feet together so they are touching. Use your arms to safely move your knees towards the floor. Hold the position for 20-30 seconds and then release gradually. Repeat three times.
- Hip Flexor Stretch: Kneel on one of your knees and bend your other leg in front of your body at approximately a 90-degree angle. Shift your weight forward until you feel a stretch. Hold the position for 20-30 seconds and switch sides. Repeat three times.
Consolidation
Tactical solutions
Ready to practise!
Now it’s time to take what you have learned about tennis shots or footbag kicks to provide tactical solution advice to a new person playing the sport using a method of your choice.
You may consider the following questions to help guide you:
- Which shot/kick might you use for a certain game situation?
- What factors can affect which shot/kick to use in a certain game situation?
- Which shot/kick would you use when the ball is farther away from you? Closer to you?
- Which shot/kick might give you more distance, control, and/or force?
You may use the following checklist to help guide development of your tactical solutions advice.
Tactical solutions advice success criteria
Reflection
As you read the following descriptions, select the one that best describes your current understanding of the learning in this activity. Press the corresponding button once you have made your choice.
I feel…
Now, expand on your ideas by recording your thoughts using a voice recorder, speech-to-text, or writing tool.
When you review your notes on this learning activity later, reflect on whether you would select a different description based on your further review of the material in this learning activity.