Minds On
Projectile Prediction

Kinds of projectiles
The world of sports is vast and diverse. Humans have devised a multitude of ways to entertain themselves, and we’ve invented specific equipment to enhance each sport’s performance. When we think of something that we throw or kick, we most likely imagine a ball or a spherical object. Each sport, however, has its own unique projectile to suit the skills, strategies, and movements required for that activity.
In this learning activity, you will be experimenting with the sending of diverse projectiles.
Before you begin exploring, let’s make some predictions based on our prior experiences and knowledge of the projectile on how you think they will perform in the tests. Find four appropriate projectiles in your learning space that you will perform your tests on.
You will be testing each projectile for accuracy and distance in one sending method. You will choose one of three methods to send the object: throwing, kicking, or using a secondary object.
Press ‘Projectiles’ to access examples of what you may use for your experiment.
Projectiles you may use:
- ball (football, tennis ball, basketball, etc.)
- rolled up sock
- birdie
- frisbee
- bean bag
- balloon
- toy plushie
- paper airplane
- scarf
- hockey puck
Secondary objects you may use:
- baseball/cricket bat
- badminton/tennis racket
- hockey stick
- lacrosse stick
- golf club
- broom
Complete the Projectile Predictions in your notebook or using the following fillable and printable document. If you would like, you can use speech-to-text or audio recording tools to record your thoughts.
In the chart, record the objects that you will be using for your experiment and rank them from 1 to 4 for both accuracy and distance.
Accuracy: 1 is the most accurate to send to a specific target and 4 the least accurate to send to a specific target.
Distance: 1 is the object that travels the longest distance and 4 is the object that travels the shortest distance.
Press the ‘Activity’ button to access Projectile Predictions.
Action
Phases of movement

Sending a projectile
An learner moving through the three phases of movement. The first phase is preparation, with a learner holding a ball. The second phase is execution, with a learner drawing back their arm holding the ball and moving their arm forward to release the ball. The third and final phase is follow through, where the learner has released the ball and continues to move their arm forward to complete their motion.
When sending a projectile, there are always three phases of movement: preparation, execution, and follow-through. Even though each projectile and sport has its own specific techniques, they all require these three steps, and there are often transferable skills between sports and activities.
Press the following tabs to access a description of each of the phases of movement.
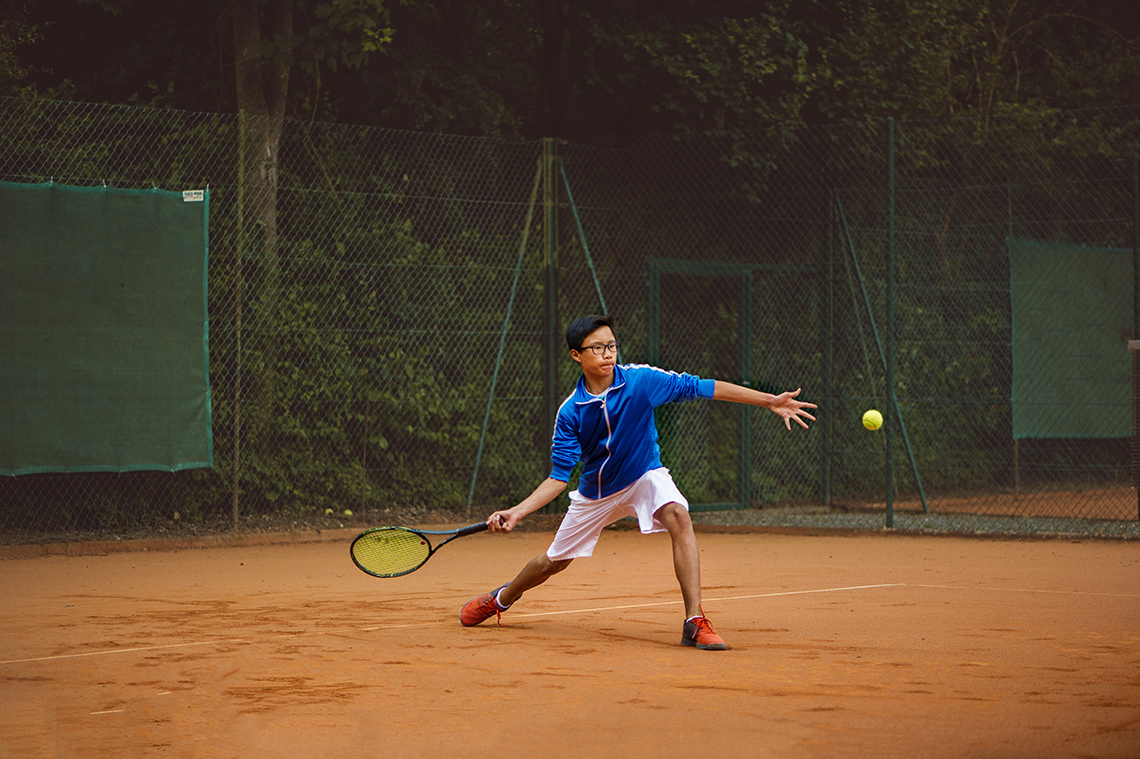
An athlete preparing to hit a tennis ball
Preparation, or the “ready position,” contains all of the movements required to get ready and set up for sending a projectile. This may involve positioning the hand on the projectile, getting into a proper stance, and mentally preparing for the action.
Execution is the phase where you are sending the projectile. Execution can be further broken down into two sub-phases: force production and critical instant.
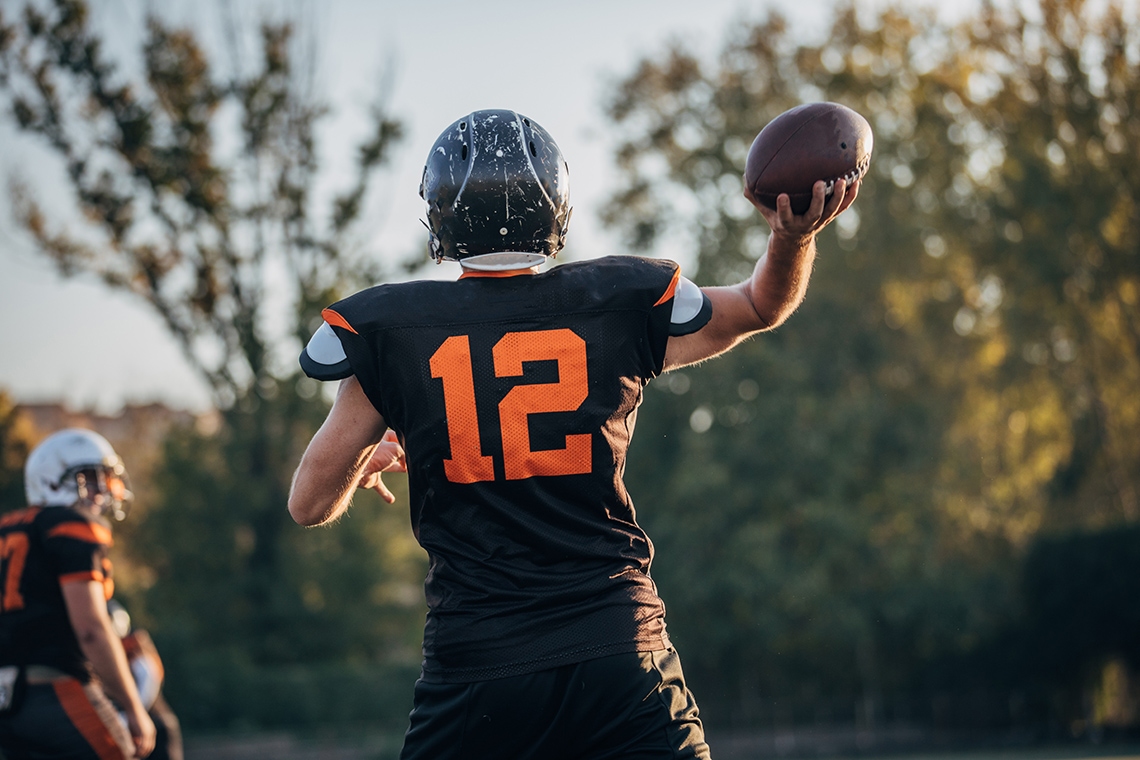
Beginning to send a football
Force production: Once an athlete has established their starting posture, they need to use their body to produce force to send the projectile. Force production involves synchronizing the skeletal and muscular systems to generate the energy required and send the body, and projectile, into motion.
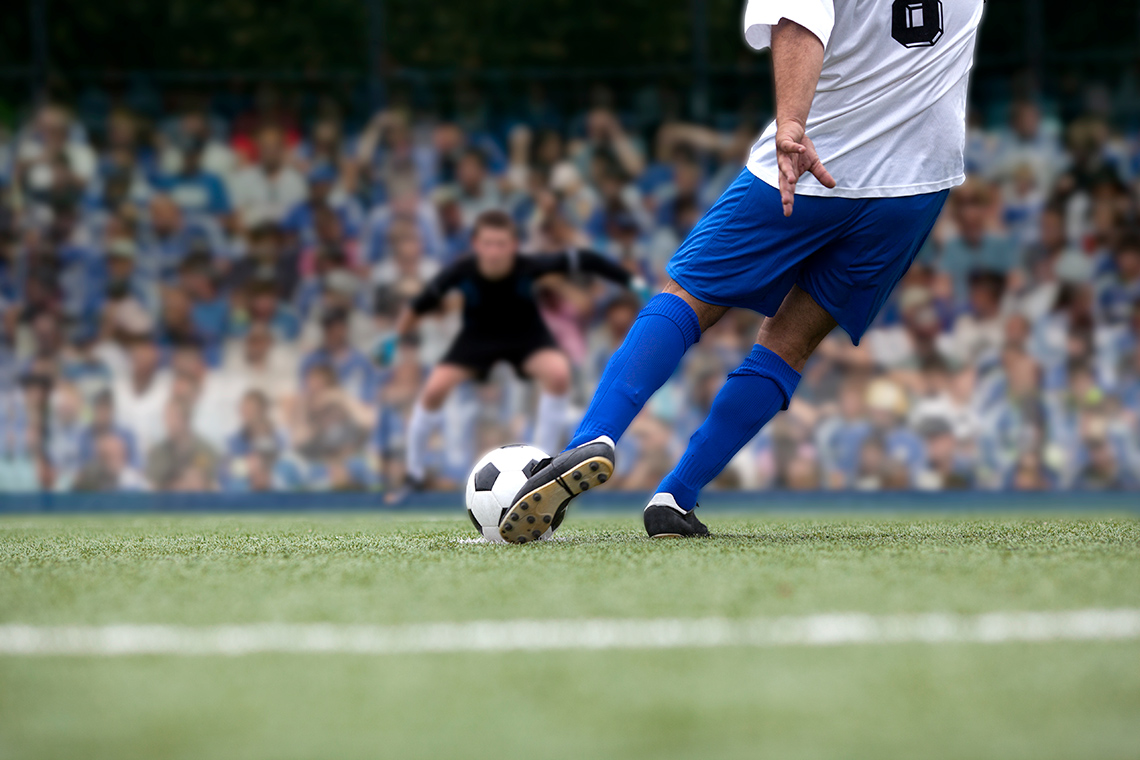
The moment of impact
Critical instant: This is the brief instant when the projectile is released, and the force produced is transferred into the actual moment of sending. This is the culmination of the body’s force production. It could also be the point of impact when using a foot or secondary object.
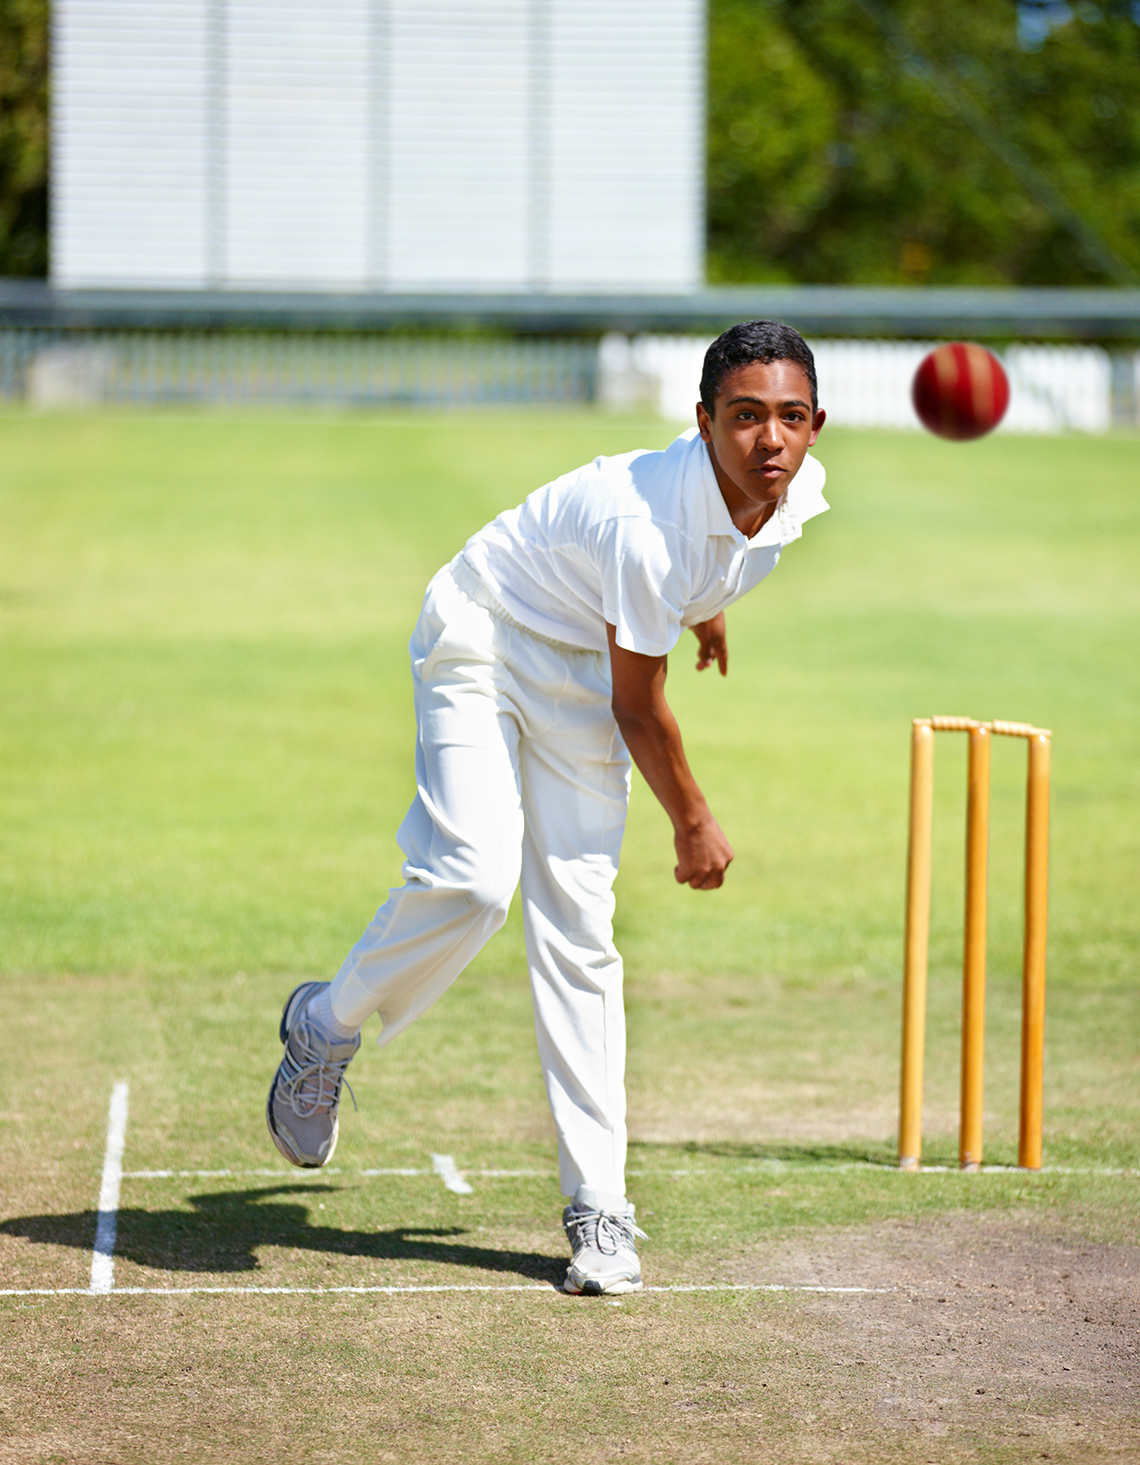
Follow-through
The follow-through allows for the completion of the movement and the recovery. It is important for the accuracy of the sending of the object, and to avoid potential injury. The follow-through also helps the body to direct any leftover energy from force production.
While you are conducting your experiment on the four different projectiles, think about how your body is moving through the three phases as you are sending them. Reflect on the following question as you work through the experiment:
- How would you describe the sending of the projectile? Try to break your explanation down into the three phases of movement.
Sending projectiles
Before you begin your experiment of sending projectiles let’s do a safety check and warm up!
Before you begin any physical activity, always perform a safety check. Use the following checklist to ensure you have considered the proper safety precautions.
Safety
Before you begin, consider these safety precautions:
Warm Up
Warm up
Let’s do a warm up before we get into our main activities! warm ups will help you better perform a movement/activity while also greatly reducing your chance of injury. Depending on what activities you are performing, choose one of the following warm ups, or you may do a combination of them.
Press the following tabs to access the warm ups.

- Jogging: Let’s start off with a relaxed jog for 5 minutes. You can jog in one place or back and forth in your space.
- Jumping jacks: Now do 10 jumping jacks! To perform a jumping jack, position your body straight up with hands to your sides. Then jump and spread legs apart and bring arms above the head. After jump back into starting position.
- Toe touch: Time to touch our toes! Have your body straight up. Then lean and bend forward and try your best to touch your toes. Hold the position for 10-20 seconds, return to straight upward position and repeat 10 times.
- Sit-up: Now do 10 sit-ups! To set-up a sit-up, lay on your back and bend your knees to form a ‘V’ shape with your legs. Bend your upper body towards your knees to perform the sit-up.
- Mountain climber: Finally do the mountain climber for 60 seconds. To perform the mountain climber set yourself up in the push up position, then bring each knee forward as if you were climbing.

- Neck Tilts and Rotations: Slowly tilt your head side to side 10 times and then slowly and carefully rotate your neck 10 times in each direction.
- Arm Circles: Straighten your body and put your arms straight out to the sides. Then start forming circles in one direction, start with small circles and work your way up to large circles. Do this 10 times and then repeat with the opposite direction.
- Chest Expansions: Straighten your body and put your harms out straight to the sides with palms of hand facing forward. Bring your hands together in a clapping motion slowly, then return to the starting position. Do this 10 times.
- Wrist Circles: Clasp your wrists together and start to circle your wrists in one direction. Do this 10 times and then repeat with the opposite direction.
- Shoulder Rolls: Put your arms to the side keeping your posture straight. Rotate your shoulders forward to make a circle. Do this 10 times and then repeat with the opposite direction.

- High Knee Jog: Standing straight with shoulder-width apart perform a jog but raise your knees to about waist level. Do this for two minutes.
- Side-to-Side Hops: Standing straight with hands to side and feet hip-width apart hop side to side quickly. Do this for two minutes.
- Lunges: Stand straight with feet hip-width apart and arms grabbing the side of your hips. Take a step forward and bend your knees so that you form two 90-degree angles with your legs with one leg forward and one leg behind. Hold the position for 20-30 seconds then switch legs and repeat. Do this three times.
- Squat Side Kick: Go into a squat position so that your feet are shoulder-width apart and your hips are back. Then gradually get up and shift your weight towards one leg so that you can lift your other leg out to the side in a slow kick motion. Then return to the squatting position. Do this 10 times for each leg.
- Lateral Leg Swing: Stand upright, holding onto a wall with one hand for support and the other hand placed on the side of your hip. Swing one leg in front carefully across your body from side to side for 10 times. Then repeat with other leg.
Accuracy
For this part of the experiment, you will be testing sending accuracy of the four projectiles. You will be attempting to send your projectiles to a specific target location. For each projectile, you should have five trial runs.
Equipment and set-up
The equipment you will need to test for accuracy are:
- Your four chosen projectiles.
- A target. This can be a goal, a basketball net, a t-shirt, plastic cups/bottles, t-shirt, or you can even use tape/chalk to mark down a target zone.
- A start marker such as tape or chalk to indicate where you are sending the projectile from.
In terms of set up:
- Place or draw your target and start marker to ensure that you are attempting to send the projectile to the target from the same starting location.
- The distance between where you are sending the projectile and your target should be one that is just right for you.
Recording results
Complete the Projectile Accuracy Results in your notebook or using the following fillable and printable document. If you would like, you can use speech-to-text or audio recording tools to record your thoughts.
Press the ‘Activity’ button to access Projectile Accuracy Results.
Distance
For this part of the experiment, you will be testing sending distance of the four projectiles. You will be attempting to send your projectiles the farthest you can. For each projectile, you should have five trial runs.
Equipment and set-up
The equipment you will need to test for distance are:
- your four chosen projectiles
- A measuring tape or metre stick. You can also use your feet to measure the distance by finding how many steps it takes to get from where you send the object to where it lands.
Recording results
Complete the Projectile Distance Results in your notebook or using the following fillable and printable document. If you would like, you can use speech-to-text or audio recording tools to record your thoughts.
Press the ‘Activity’ button to access Projectile Distance Results.
Cool Down
Cool down
Now it’s time for a cool down! It’s important to allow your body to gradually return to a resting state after intense physical activity.
Remember to perform your safety check before you begin.
Depending on what activities you are performing, choose one of the following cool downs, or you may do a combination of them.
Press the following tabs to access the cool downs.

- Jogging: Begin with a jog and transition to a walk. Do this for 2-5 minutes.
- Wide Toe Touch: Now do wide toe touches for 60 seconds. To perform a wide toe touch, position your body in the shape of a star, then bend forward and reach with one arm to touch the opposite foot. The other arm which is on the same side as the foot is pointed upwards. Hold this position for 10-15 seconds, then return to the starting position and repeat on the opposite side.
- Quad Stretch: Stand up straight and shift your weight to one leg. Then lift your other leg backwards towards your butt and grab it with the arm on the same side. Hold it for 20-30 seconds and repeat with the other leg. Do this 5 times for each leg.
- Child’s Pose: Do the child pose for 30 seconds. To perform the child pose, get down on your knees and bend your body forwards stretching your arms out. Your forehead should be resting on the floor.
- Abdominal Stretch: Now, do an abdominal stretch for 30 seconds. To perform the abdominal stretch, lie face down with legs straight up and place your arms in a push up position. Push upwards and slowly lift your torso holding the position.

- Shoulder Stretch: Bring one arm across your chest bend your other arm to help support it into position. Hold the position for 30 seconds and then do the opposite side. Repeat three times.
- Triceps Stretch: Bend one arm up and behind towards your shoulder blade. Use the other arm to help support it into position. Hold the position for 30 seconds and then do the opposite side. Repeat three times.
- Overhead Stretch: With your body straight interlock your fingers and bring your arms above your head. Have your palms facing away from you. Hold the position for 60 seconds.
- Torso Stretch: With your body straight fold one arm behind your back and use the other arm to help support it into position. Then bend your torso towards one side. Hold the position for 30 seconds and then do the opposite side. Repeat three times.
- Chest-Cross Arm Swing: With your body straight put your hands horizontally straight out to the sides and then swing your arms to make an ‘X’ shape back and forth for 60 seconds.

- Flutter Kick: Lie on your back with your hands to the side. Lift your legs and perform a kicking motion, alternating the legs back and forth. Do this for one minute.
- Side-Lying Leg Lifts: Lie on your side with one arm supporting your head and one arm bend in front supporting your body in position pushing against the ground. Lift your leg slowly and gradually return it back. Do this five times and then switch to the other leg.
- Single Leg Hug: You can do this lying on your back or standing straight up. With your arms hug your thigh to bring one knee towards your chest. Hold the position for 20-30 seconds then gradually release and switch sides. Repeat three times.
- Butterfly Stretch: Sitting on the floor bring both feet together so they are touching. Use your arms to safely move your knees towards the floor. Hold the position for 20-30 seconds and then release gradually. Repeat three times.
- Hip Flexor Stretch: Kneel on one of your knees and bend your other leg in front of your body at approximately a 90-degree angle. Shift your weight forward until you feel a stretch. Hold the position for 20-30 seconds and switch sides. Repeat three times.
Drawing conclusions
Now that you have run your experiment and ranked the projectiles, answer the following prompts using a method of your choice:
- Compare and contrast your predicted ranking with the ranking you got from your tests.
- If there were differences in ranking, explain why you think there was a difference.
- What may have been some other factors that could have affected the ranking?
Consolidation
Phases of movement tableaus

Recording a sending motion
Now in small groups, pairs, or individually, create two set of tableaus that accurately reflects the three phases of movement in two different sending-based physical activities/sports. You may combine or breakdown the two sub-phases in execution into one or two individual tableaus. You may also provide an audio or written description of the tableaus. Your tableaus will not feature props and you will only use your bodies to demonstrate the phases of movement. Remember that a tableau is static, so you will have to come up with three to four poses that accurately reflect the three phases of movement.
If you wish, you can do some research on the physical activities/sports and aim to represent the actions of professionals. Pay attention to the entire body movements as often it will involve the entire body. So, if possible, try to engage your entire body when creating the tableaus.
When you have completed the two sets of tableaus, compare and contrast the phases of movements using a method of your choice.
Use the following checklist to help guide you in this activity:
Tableau success criteria
Reflection
As you read the following descriptions, select the one that best describes your current understanding of the learning in this activity. Press the corresponding button once you have made your choice.
I feel…
Now, expand on your ideas by recording your thoughts using a voice recorder, speech-to-text, or writing tool.
When you review your notes on this learning activity later, reflect on whether you would select a different description based on your further review of the material in this learning activity.
Press 'Discover More' to extend your skills.
Discover MoreExplore this video entitled “Sports Projectiles” to learn more about the science of different types of projectiles in sports.