Minds On
Making, building, or fixing
Can you think of a few examples when you’ve seen someone make, build, or repair something in person or in a video? Maybe they were showing you how.
Can you think of times when you’ve made, built, or fixed something? It could be at school or at home. How did you know how to make or repair it?
What if you’re trying to make, build, or fix something for the first time?
Go through the images in the carousel below for just a few examples of activities that require knowing how to make or build something.
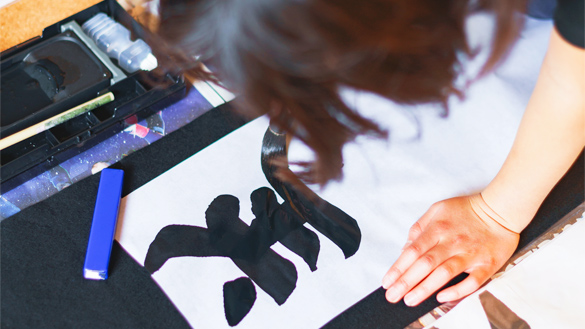
A group of children using Japanese ink brushes.
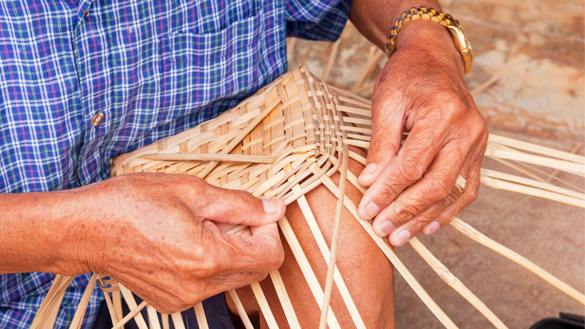
A person weaving a basket.
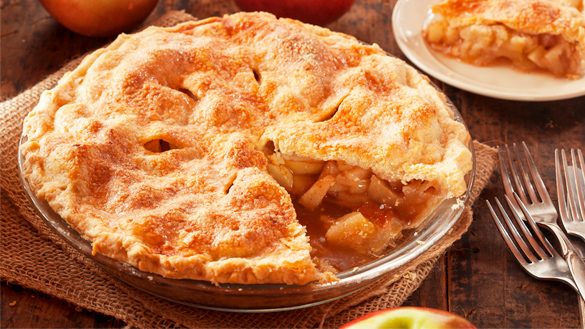
A baked apple pie.
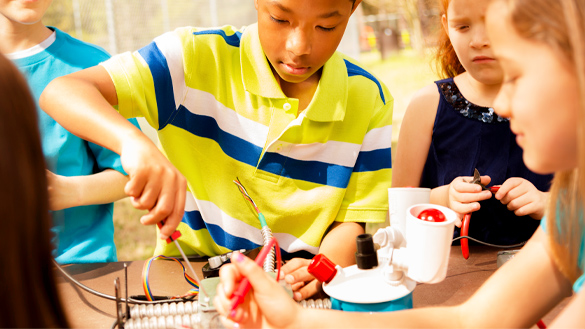
A group of children working on a robotic arm.
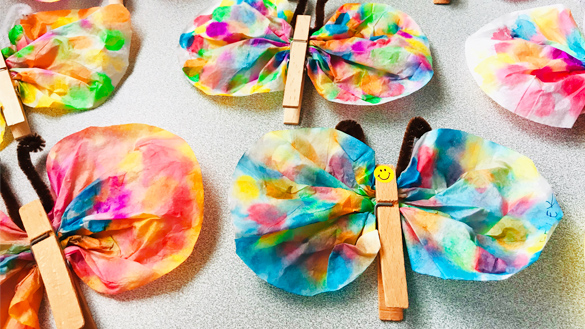
Clothes-pin butterfly art craft.
Imagine giving oral instructions for everyday activities, sports, or hobbies, like shooting a ball in the net or weaving a basket.
How are words important in giving oral instructions for visually impaired individuals?
There are so many examples for you to discover how to make, build, or fix something over time in your life.
In each of the examples, having or knowing the instructions is required, especially if we’re just starting to learn the process (steps).
Someone with a lot of practice and experience will eventually have the instructions memorized or as we say “know them by heart.”
In this learning activity, we will be exploring how to give instructions.
Action
Giving instructions
Instructions can be provided for pretty much anything. How to sing, dance, draw, paint, play a sport or an instrument, cook, how to fix something, and even how to build something. These days we can probably find instructions for almost everything on the internet or books, or there is someone who knows and can tell us.
In fact, this learning activity has instructions for how to create instructions!
Parts of a set of instructions
A set of instructions has 4 main parts:
- Title - What are the instructions for?
- Materials - What is needed?
- Set of steps in numbered order
- Series of diagrams to accompany the ordered steps
Writing a set of instructions to make a drum
In this episode of Backyard Beats, we’re going to meet Lovely, a Junior Jammer, and Iskwé, a Cree-Métis singer, songwriter, and drummer. Both will share about the traditional Indigenous hand drum. Also, Monica is going to show us how to make a DIY (Do It Yourself) drum! You’ll probably need to explore the DIY part of this short episode more than once to do Exercise 1. Access the video "The Indigenous Hand Drum."
Exercise 1: Write a set of instructions for making a drum
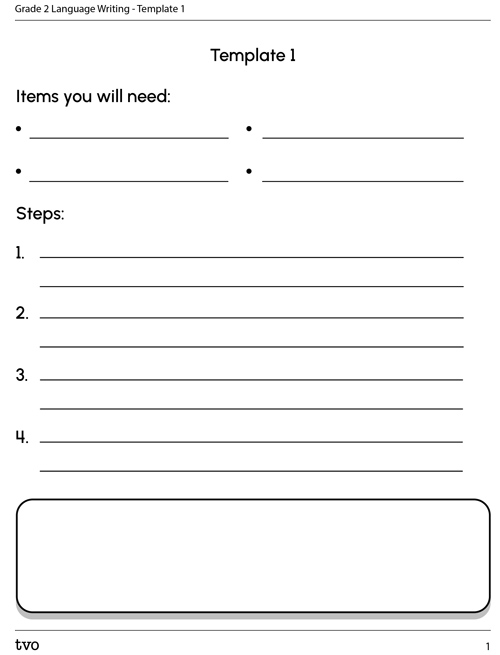
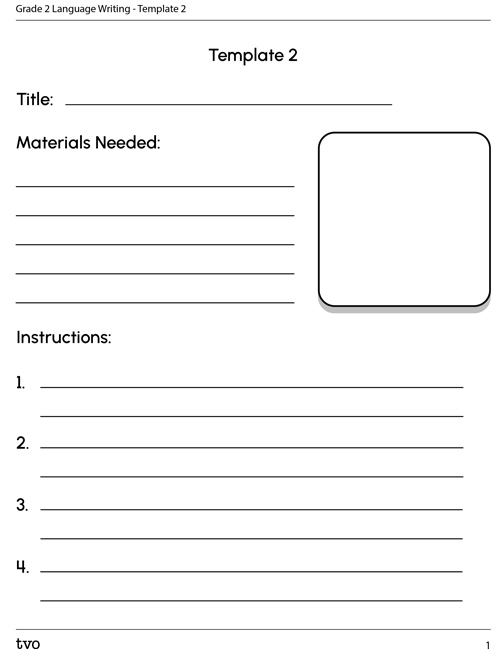
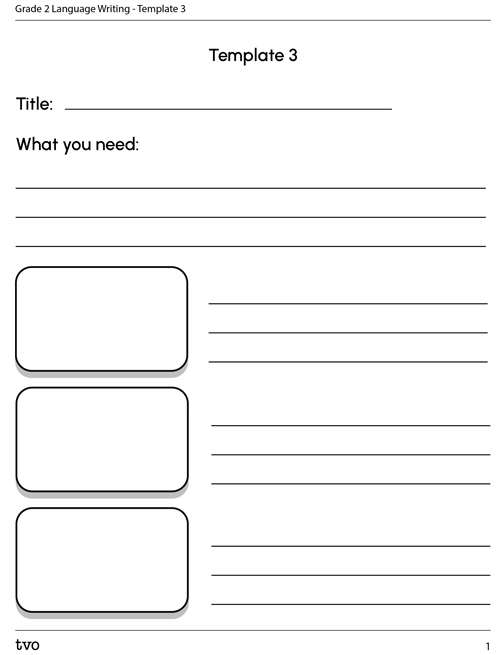
Pick one of the instruction templates provided below.
Complete the Template 1 in your notebook or use the following fillable and printable document to help you write your draft.
Complete the Template 2 in your notebook or use the following fillable and printable document to help you write your draft.
Complete the Template 3 in your notebook or use the following fillable and printable document to help you write your draft.
Write a title
Choose from the vocabulary list provided and write a title in the title section of the instruction template.
- mallet
- drum head
- making
- drum
- DIY (Do It Yourself)
- scissors
- ball on
- dowel
- stick
- elastic band
- rice
- tissue paper
- recycled plastic
- material
- uncooked
- container
- decorate
- wrap
- funnel
- stuffing
- elastic
- stretch
- hand
- two
- neck
- pour
- rubber band
Press the ‘Title Sample’ button to compare your title sound.
Making a DIY Drum
Student Tips
Title tip
Remember the first letter of each word is capitalized in a title. The 3 letters DIY each stand for a word. The first letter D is the first letter of the word Do. The second letter I stands for It. The third letter Y stands for the word Yourself. When you see DIY, you’re supposed to read the words Do It Yourself.
Write a list of materials
Revisit the video and stop it in order to make a materials list.
Test Your Skills!
What items are used?
Try your best to spell the words as best you can by:
- saying the word aloud and listen for the beginning sounds.
- saying the word aloud and listen for the end sounds.
- listening for vowel and consonant blends after the beginning sound.
For a challenge, you may try to list some items Monica uses or other possible items she could have used to put the finishing touches on her DIY drum.
After you write them on your own, check your spelling against the word list provided. You can also draw the icons in the list, and then use the icons to help you write the item. Then, make any necessary corrections to your work.
Check your materials list against this list below. Did you find all the items?

1 plastic container for drum

rice

2 elastics

2 balloons

tissue paper

scissors

recycled materials (stuff)

funnel

1 stick or dowel (30 cm long, 1 cm thick)
Did you try the challenge? What did you write for putting the finishing touches on the DIY drum? See if your items made the list.
Materials for Finishing Touches
- flowers
- glue
- decorations
- stickers
- paper confetti
Student Tips
Record safety precautions
Are there any materials or tools that required some simple safety steps?
The answer is YES! There are TWO!
Scissors tips are sharp and should always be carried point facing down.
Balloons can be a choking hazard for babies, children, and pets.
*Use scissors and balloons with permission from and under the watch of a trusted adult.
Did you notice that Monica explained what some of the items will be used for?
Sometimes it helps to write what the item will become beside the item.
Monica tells us that either the rice, tissue paper or recycled materials will be the head of the drum mallet.
So we could write beside the item in brackets ( ):
- rice (mallet head)
- tissue paper (mallet head)
- recycled paper (mallet head)
We could also write beside the balloon item in brackets ( )
- balloon (drum head)
It’s not necessary or required. Use your best judgement to decide if this extra part is helpful to include.
We have finished our list and checked the spelling of items in our Materials section. Do you remember what the next section is in our Instructions? It’s giving the instructions! We call this the set of instructions.
Write an instruction set
The set of instructions means writing out the numbered steps in sequential order!
You may wish to review Monica’s steps and listen carefully as she tells us each step in order.
Access the video "The Indigenous Hand Drum" again, if needed.
Test Your Skills!
What are the steps?
Do your best to write out the steps in order in the Instructions section on your Instructions template, or you may choose to fill-in the missing steps in this sequence chart.
Complete the Hand Drum Sequence Chart in your notebook or use the following fillable and printable document to help you write your draft
| Hand Drum Sequence Chart |
|---|
| 1. Make the (Blank). |
| 2. Using the sc(Blank), (Blank) the balloon neck. Be careful and watch your fingers! |
| 3. (Blank). |
| 4. Make the (Blank) m(Blank). |
| 5. Cut the other (Blank) but leave a bit of the neck. |
| 6. (Blank). |
| 7. (Blank). |
| 8. (Blank) the elastic around (Blank). |
|
9.
(Blank). Hint: use item 8 (challenge) in Materials section. |
Press the ‘Activity’ button to access Hand Drum Sequence Chart.
Your instruction set might look like this:
- Make the drum head.
- Using the scissors, cut off the balloon at the neck. Be careful of your fingers when using scissors.
- Wrap the balloon over the plastic container.
- Make the mallet.
- Cut the other balloon but leave part of the neck.
- Fill the balloon with the stuffing (rice, tissue paper or recycled materials).
- Put the dowel or stick into the balloon.
- Wrap the elastic around the dowel or stick securely.
- Decorate the drum and mallet.
You may need to rearrange, reorder, or add to your instruction set.
Student Success
Make a diagram
Choose 1-3 important steps. For each important step you’ve chosen, draw a diagram to show the result of the step or show how to carry out the step.
Label your diagram. Keep it simple. Use arrows, and think about the view (top, side, front, back).
Check for proper spelling using the word lists provided above.
Put all your all your edited and revised work on your Instruction template to complete your Instructions for making a drum. Give yourself a nice pat on the back for your hard work up until this point!
Note to teachers: See your teacher guide for collaboration tools, ideas and suggestions.
Word work
There may be a lot of new vocabulary in this learning activity. Let’s review some key vocabulary and some high frequency words to do some word work.
| Instruction/Instructions | Sequential order | Time order |
|---|---|---|
|
|
|
In this learning activity, the word then is one of the linking words used to indicate time order.
For example:
First, read the instructions, then follow them.
Here are commonly used linking words to show sequence or time order.
| first | then | |
| next | after | before |
| last | lastly | finally |
Other linking words are
- and
- but
These are sentence linking words. These words link ideas together by either grouping two ideas together or contrasting ideas. The word and connects words, sentences or phrases together. The word but also joins words, sentences or phrases together. These linking words are called conjunctions.
Silent letters
To learn a bit more about silent letters, explore this lesson with Charmain. Access the video "Silent Letters" to learn more.
Can you find a word with a silent letter in the vocabulary from our drum making instructions with Monica? Look at the word list in the beginning sounds.
Can you think of other high frequency words that have a silent letter?
Try to think of three and write them out.
Challenge word
Try the spelling strategy with the word
creation
What is the beginning sound?
Are there letter blends inside the word?
What is the end sound?
ion makes the sound sh.
Is this word similar to a word from the word exercises in this learning activity?
One last neat strategy is look for smaller words or parts of a word INSIDE of a bigger word!
If you noticed that creation is like create, then you’re onto something!
We took away the e ending in create and put ion instead to make the word creation.
We can also add letters like ly to words. We can take the word slow and add ly to make the word slowly.
That’s how we take an adjective and turn it into an adverb.
If you want to know more, access the video "Adjectives and Adverbs."
As you read more, you’ll begin to notice some more letter clusters and spelling patterns. English has words that follow rules and patterns but also words that break those rules and patterns. You’ll learn with regular reading and writing practice.
You may wish to start building your own personal vocabulary list of new words or you may wish to make and add to your own personal dictionary.
Remember, if you’re not sure, you can always try your best to spell out a word, and then check your spelling using a:
- word wall
- online dictionary
- personal dictionary
- picture dictionary
- high frequency word list
You’ve just done a lot of word work! Do you still remember what this learning activity is about?
If you’ve forgotten, that’s OK, look at the title on your graphic organizer template to remind you!
Consolidation
Writing instructions
Choose one video to watch and create the instructions for the part of the video where one of Raven’s Quest kids show us how to make something.

Use an instruction template from this learning activity.
Complete the Template 1 in your notebook or use the following fillable and printable document to help you write your draft
Complete the Template 2 in your notebook or use the following fillable and printable document to help you write your draft.
Use the spelling strategies to help you write familiar and new words while you complete all the written sections. After you have revised to make sure you have the correct order of steps, check for the correct spelling. Remember to also include a diagram beside each step you think might be tricky or a step that ends with an important result. For this activity, aim for 1-3 diagrams. Remember to label your diagrams.
Also, remember to write an appropriate title for your instructions. Have fun learning in Raven’s Quest!
Raven’s Quest
1. Cedar hand bracelets
2. Making moccasins/inflating a balloon
3. Dreamcatcher
Use the Instructions Checklist to guide you and to check over your work.
Instructions Checklist
Materials
Numbered Steps
Series of Diagrams
Label your diagram. Keep it simple. Use arrows, and think about the view (top, side, front, back).
After you’ve written your instructions, check for spelling and punctuation.
Spelling Checklist
- ea
- ee
- ou
- oo
- ay
- ey
- ai
- au
- gr
- dr
- cr
- ch
- br
- tr
- th
- st
- ph
- sh
- str
- shr
- ly
- y
- ed
- er
- ing
- ion
- s
Punctuation Checklist
Capital used:
Periods used:
Commas used:
Exclamation marks used:
Question marks used:
Rewrite your directions with the appropriate spelling and punctuation corrections.
Reflection
How do you feel about what you have learned in this activity? Which of the next four sentences best matches how you are feeling about your learning? Press the button that is beside this sentence.
I feel...
Now, record your ideas about your feelings using a voice recorder, speech-to-text, or writing tool.
Press ‘Discover More’ to extend your skills.
Discover MoreWrite a set of instructions
Write a set of instructions for yourself on how to be an effective student. Think about how to be an effective listener, speaker, and learner.
If possible, ask a teacher, principal, and/or parent/guardian for tips that help them be an effective listener, speaker, and learner. Pick one or two tips to try out, and see how that works for you. If it does, keep using that tip. Then, pick another tip, and test it out. Keep going, and see if you notice any changes, feedback, or results at school!
Take the words in the word list in this learning activity and order them in alphabetical order.