Minds On
What is a procedure?
In this first Learning Activity, you will learn to design and write a piece of procedural writing. What is procedural writing? Procedural writing is the instruction of a task. Think about a time when you have followed written instructions. You may have followed directions when cooking a recipe or assembling furniture. Let’s explore the following video entitled “What’s in Bannock?” to learn more about procedural writing and making bannock.
Using the video instructions as a guide, write down the steps on how to make bannock or “scone” in a table or list like the following one.
| Step | Description |
|---|---|
| 1 | |
| 2 | |
| 3 | |
| 4 |
Reflect
When your are finished, compare your steps with a partner or small group. What is similar between the two lists? What is different? When comparing, consider the following questions and answer them together:
- What verbs did you use to start each step? Where did you use different verbs and where did you use the same verbs?
- Did you have steps that others did not? Did others have steps that you left out?
* If you are completing this task individually, go back and read over your steps carefully and then rewatch the video, listening for steps to the procedure or additional details you might have missed. Add these in as necessary to your first draft.
Brainstorm
Brainstorm your own instructional video
Brainstorm, or in your notebook, record some procedures that you could explain in a video much like Carl Beaver did in the video explaining the process of making bannock.
Things to keep in mind:
- They can be on any topic you are interested in (some examples: cooking/baking, building an object, successfully playing a video game, etc.).
- You should be able to write out detailed steps for the process.
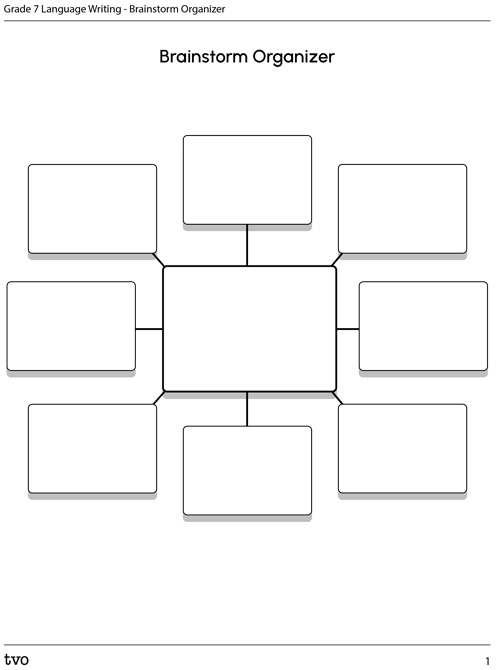
Complete the Brainstorm Organizer in your notebook or use the following fillable and printable document to record your ideas about the procedures you would like to explain.
Action
Writing a guide
Write a guide for one of the ideas you generated in the brainstorm by following the following steps.
Part 1: Generating ideas and writing a draft
Think back to the video on how to make bannock. Consider:
- Did the video start with the steps right away?
- Did the video end after he gave the last step?

A guide to a procedure consists of more than just a series of steps to follow. Other parts of a guide include:
- An introduction to get the reader’s attention and build interest in the topic
- A list of required materials so the reader knows what they need
- The steps required to do something a certain way
- A conclusion with final remarks and/or tips and tricks
We are going to write a draft for each of these four parts now. Complete the Procedural Writing Organizer in your notebook or use the following fillable and printable document to help keep track of your ideas.

Step 1: Write an introduction
Your introduction should be a few sentences that may include the following:
- An introduction to the procedure (what is it?)
- The purpose of the guide (why is it helpful?)
Write your introduction now.
Step 2: Write your list of materials
Include anything the reader will need. Be specific in the description of the items and the quantity needed.
Step 3: Write the instructions
Generate a rough list of steps based on what you know. You can use the following the table to help you with this step.
| Step | Description |
|---|---|
| 1 | |
| 2 | |
| 3 | |
| 4 | |
| 5 | |
| 6 |
Step 4: Write a conclusion
Write a few sentences describing the result of the procedure and its use. Include reminders about any potential safety hazards.
Part 2: Revising your work
Now you should have an outline of what your full guide is going to look like. Before writing your final draft, reflect on the work you have done so far. Complete the following:
- Read over your draft carefully and out loud, if possible. Make corrections you feel are necessary as you read.
- If possible, exchange completed drafts with a peer. Read over each other’s work and provide feedback on:
- what is done well in the guide
- what parts might need more work and why
- If possible, have your teacher review your draft as well. Make any necessary changes based on the feedback.
Part 3: Writing your final draft
Having completed at least one of the steps in Part 2, now you can write your final draft.
Consolidation
Creating a video tutorial

Ready to take your guide to the next step? Create a video tutorial based on your guide. You can do this on your own or with a small group.
Tips for the video:
- Use different camera angles.
- Avoid just reading your guide – add your own personality to the project. Brainstorm ideas for how to add your own “flair” to the project before setting out to film.
- If possible, ask a parent/caregiver before uploading your video to a video sharing site.
Reflection
As you read the following descriptions, select the one that best describes your current understanding of the learning in this activity. Press the corresponding button once you have made your choice.
I feel...
Now, expand on your ideas by recording your thoughts using a voice recorder, speech-to-text, or writing tool.
When you review your notes on this learning activity later, reflect on whether you would select a different description based on your further review of the material in this learning activity.