Minds On
Growing fruit in Ontario
Explore the following images of different landform regions across Ontario.


Student Success
Where does fruit grow?
- Which landform region is more likely to grow fruit? Why or why not?
- What do you think the soil would be like in this landform region?
- If you think the landform is more likely to grow fruit, what kinds of fruit do you think would grow there?
Record your answers using a method of your choice
Note to teachers: See your teacher guide for collaboration tools, ideas and suggestions.
Action
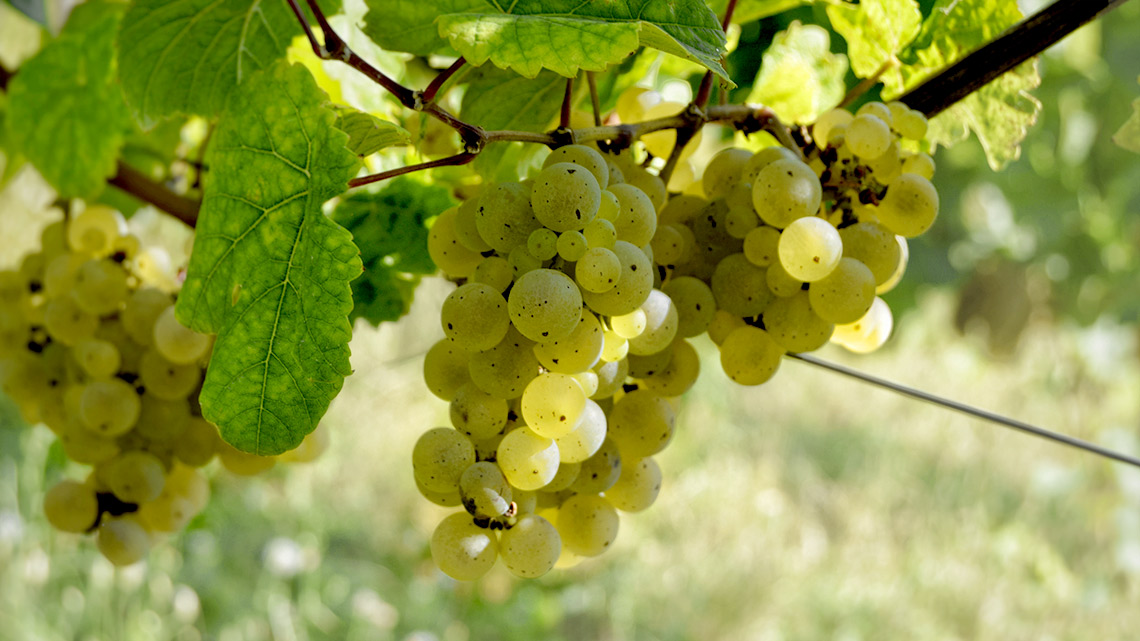
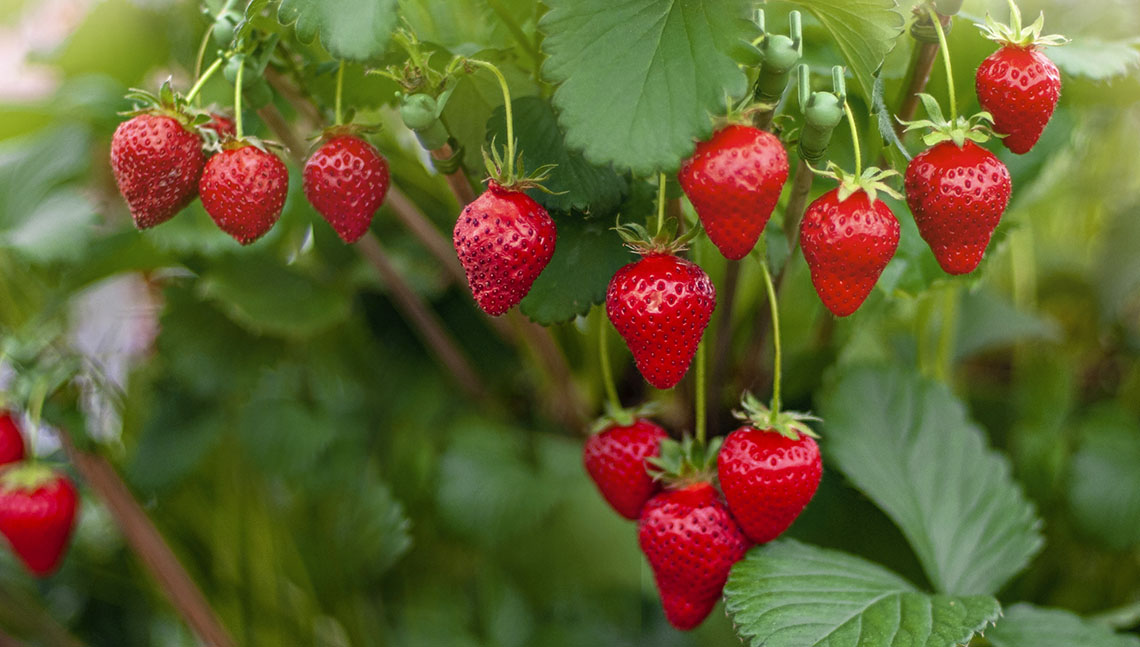
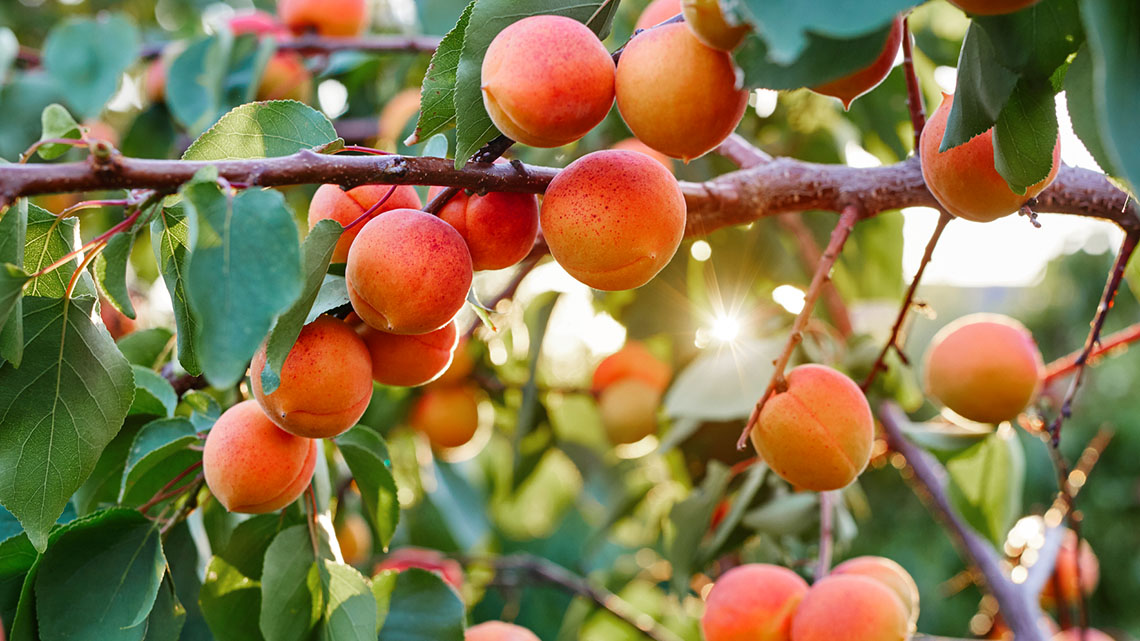
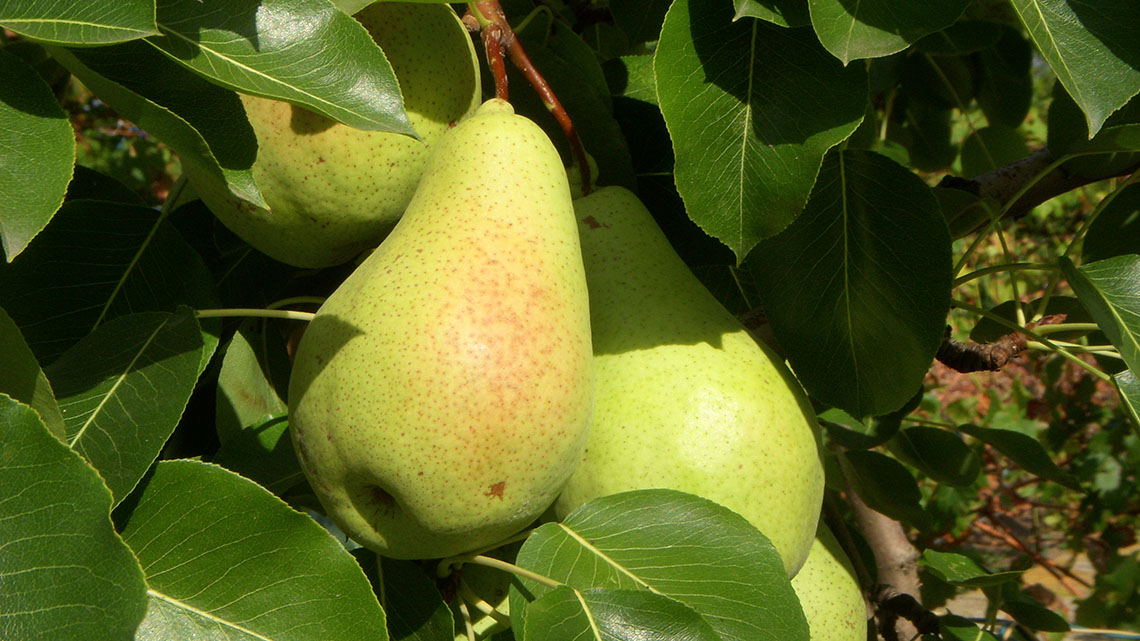
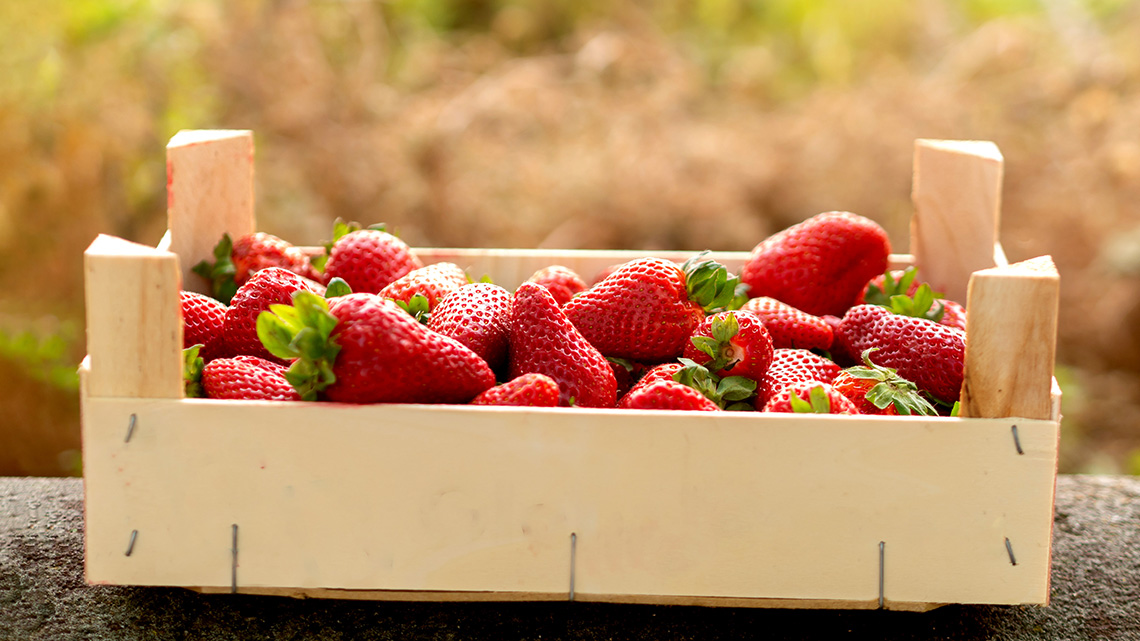
Ontario fruits
The many different landforms and climate in Ontario make it a good place to grow many types of fruit.
Check out the following images of some fruits that grow in Ontario.

Brainstorm
Other fruit in Ontario
- Do you know any other fruit that grows in Ontario?
Record your ideas using a method of your choice.
Let’s grow!
Different fruits grow well in different conditions.
Explore the following carousel of maps to find out where most fruit grows in Ontario.


Select the correct answer, then press ‘Check Answer’ to see how you did.
Did You Know?
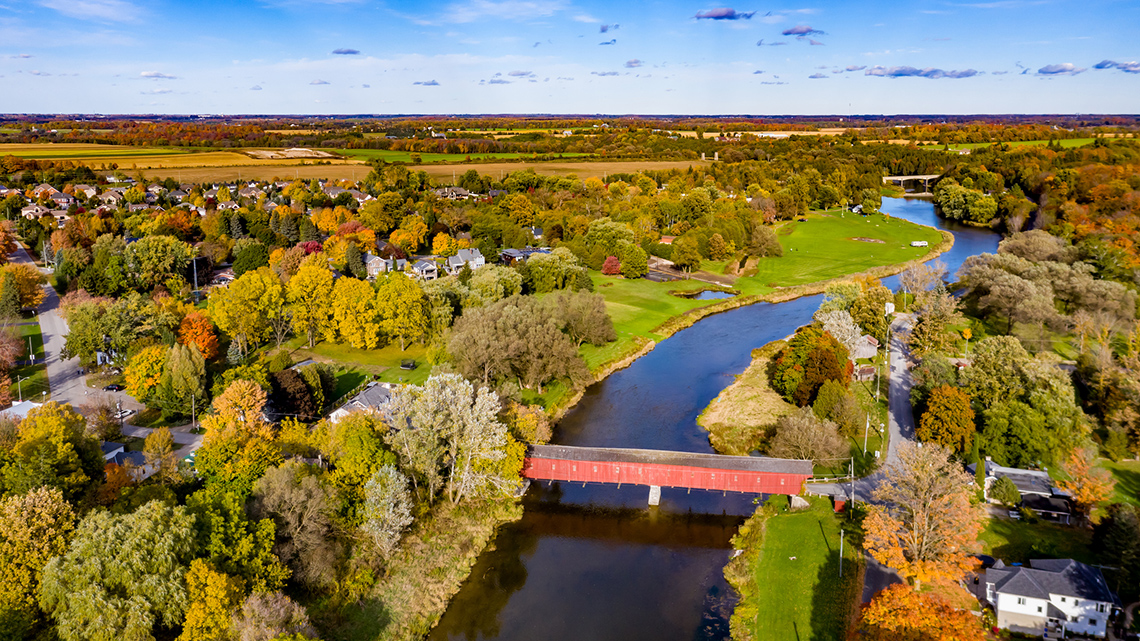
St. Lawrence Lowlands
The St. Lawrence Lowlands are the traditional territories of the Anishinabek Nation and the Haudenosaunee Confederacy. Many different nations have lived and cared for this area of south-eastern Ontario. One reason crops have grown in this area for many years is the fresh water of the Great Lakes and rivers.
The location, climate, and soil make the St. Lawrence Lowlands a good place for agriculture, industry, and tourism. The region includes many mixed forests and wetlands. The soil is healthy and good for growing things. Most of the population of Ontario lives and works in the St. Lawrence Lowlands.
Suitable soil
In Ontario, there is a wide range of soil types allowing various plants to grow.
Press the following tabs for information about two soil types found in Ontario.
This soil is a mixture of sand, silt, and clay. Most of the mixture is sand.
This soil lets air flow through which means plants can soak up nutrients. It drains well which means that it does not hold water. This means that watering and fertilizing of plants need to happen more often. Most fruit plants and trees grow really well in this type of soil.
This soil is one of the primary types of soils.
It can hold a lot of water and nutrients. It does not drain well. It is very good at holding shape but is often packed down. Fruit plants and trees can grow in this soil. Some plants with deep roots have a hard time growing in this soil because it does not drain well and packs down. Plants with shallower roots can grow better in these conditions.
Life cycle of a plant
Now that you have explored where fruits grow best in Ontario, let’s learn about the life cycle of one of these fruit-bearing plants, strawberries!
Strawberries are grown all over the world. They can be grown pretty much anywhere in Ontario. They are one of the easiest fruits to grow at home!
Place the following images in the correct order to show the life cycle of a strawberry plant.
Press the following tabs to access information about each of the growing stages of a strawberry plant
Like many plants the life cycle of a strawberry plant starts off with a seed. It takes around 200 days for strawberry plants to grow from seed.
Did you know strawberries are the only plant that has its seeds on the outside?
Germination is the stage where the seed starts to grow roots in the ground. At this stage, the plant cannot be seen out of the ground.
This is when the stem and leaves start to come up from the ground. The roots, stem, and leaves continue to grow bigger and bigger each day.
At this stage the plant will continue to grow bigger leaves, stems, and eventually flowers. Bees and insects will pollinate the flowers. The flowers then turn into strawberry fruits that can be picked for eating. This process from flower to fruit can take about 30 days.
The older plants will also grow runners that create new strawberry plants. Many new plants that can be purchased in a store come from pre-existing strawberry plants. It is easier and faster to grow a new plant from a plant that is already producing strawberries than from seeds.
Did You Know?
Strawberries in Indigenous culture
Strawberries carry many different teachings and traditions with them in Indigenous communities. For example, in the community of Six Nations of the Grand River, they give thanks to the strawberry by holding a Ken’niiohontésha ceremony or Strawberry festival.
In Anishinaabe communities, strawberries are referred to as ‘heart berries’ or ode’imin because of their shape. They remind the people of the importance of the connection between the heart, the mind, the body, and the spirit.
Explore the following Raven’s Quest video to learn more about how Dayton, an 11-year-old Mohawk child from Six Nations of the Grand River, makes fresh strawberry juice.
In the previous video, Dayton describes strawberries as a special food for his people. He also refers to the annual community celebration to share gratitude.
- How does giving thanks for the gifts the land provides help to create a respectful relationship with the land?
Record your response using a method of your choice.
Click ‘Answer’ to access some possible answers.
In many Indigenous communities, there is a deep connection to land, which includes plants, water, air, and other beings. The land provides many gifts, including food. Respectful and reciprocal relationships with land includes giving thanks for the gifts that we receive. In return, it is our shared responsibility to care for the land with love.
Let’s code!
Coding is a series of steps or instructions to follow. A flowchart or a grid can be used to describe a coded sequence or steps of a cycle.
Let’s explore how to code the life cycle of a strawberry plant using a grid!
We will create a code that correctly sequences the life cycle of the strawberry plant. We will use direction arrows to move from one stage to another.
Step 1: Seed to germination
Let’s create code for the first step of the strawberry plants’ life cycle!
Using the arrows for up, left, down, and right, record a sequence from the seed to the germination stage.
You can use the following Grid Map activity or another method of your choice to record how you would get from the seed to the germination stage.
A grid map with rows labelled 1 to 7 from the bottom to top, and columns labelled A to G from left to right. There is strawberry seed on square A7, a germinated plant on square B3, a seedling on square D5, and a mature plant on square G2.
When you’re ready, press the ‘Answer’ button to reveal possible codes to begin the life cycle of the strawberry plant.
To get from the seed to the germination stage, you can use the code:
- right, down, down, down, down

Seed to Germination Code 1
Or, you can also use the code:
- down, down, down, down, right

Seed to Germination Code 2
Step 2: from germination to seedling
Now let’s code the next step of the strawberry plant’s life cycle!
Just like last time, use the arrows for Up, Right, Down, and Left and record a sequence to get from the germination stage to the seedling.
You can use the following Grid Map activity or another method of your choice to record how you would get from germination to the seedling stage.
A grid map with rows labelled 1 to 7 from the bottom to top, and columns labelled A to G from left to right. There is strawberry seed on square A7, a germinated plant on square B3, a seedling on square D5, and a mature plant on square G2.
When you’re ready, press the ‘Answer’ button to reveal a possible set of instructions.
To get from the germination to the seedling stage, you can use the code:
- right, right, up, up.

Germination to Seedling Code
This isn’t the only sequence! There are many other ways to get from the germination stage to the seedling. Your code may have been different.
Learning check
- How many different ways can you get from the germination stage to the seedling?
Record all of your solutions in a notebook, or another method of your choice.
Press ‘Answer’ to access some possible answers.
Other possible codes to get from the germination to seedling stage include:
- right, up, right, up
- right, up, up right
- up, right, right, up
- up, right, up, right
- up, up, right, right
Step 3: seedling to mature plant
Let’s code the last stage of the strawberry plants’ life cycle!
Just like last time, use the arrows for Up, Right, Down and Left. Record a set of instructions to get from the seedling to the mature plant.
You can use the following Grid Map activity or another method of your choice to record how you would get from a seedling to the mature plant stage.
A grid map with rows labelled 1 to 7 from the bottom to top, and columns labelled A to G from left to right. There is strawberry seed on square A7, a germinated plant on square B3, a seedling on square D5, and a mature plant on square G2.
When you’re ready, press the ‘Answer’ button to reveal one way to get from the seedling to the mature plant.
To get from the seedling to the mature plant stage, you can use the code:
- down, right, right, right, down, down

Seedling to Mature Plant Code
Learning check
Explore the following sets of code. There are four different ways to get from the seedling to the mature plant, but only two sets of instructions will work. The other two sets include a “bug” (or an error) in the code.
| Seedling to mature plant code sets | |
|---|---|
| set A | right, down, down, right, down, right |
| set B | right, right, down, down, down, down |
| set C | right, down, down, right, down, down |
| set D | down, right, right, down, right, down |
Which two sets of code will work?
Use the following grid to test out each set of code before making your decision.

Coding the Life Cycle of a Strawberry Plant
A grid map with rows labelled 1 to 7 from the bottom to top, and columns labelled A to G from left to right. There is strawberry seed on square A7, a germinated plant on square B3, a seedling on square D5, and a mature plant on square G2.
Now select the correct answer, then press ‘Check Answer’ to see how you did.
Consolidation
Your turn!
You are now going to create your own code to explore the life cycle of the strawberry plant!
Start by placing the various stages of the strawberry plant anywhere on the grid, then use the arrows to create a set of instructions.
You can use the following Grid Map activity or complete this exercise on paper or describe how you would get from the each growing stage to the next in an audio recording.
Test it out!
Use the following checklist to test your code.
Testing my code checklist
Learning check!
In this learning activity, we have explored different types of fruit that grow in Ontario. Then, we explored how the soil is important to growing fruit. We also explored the life cycle of a plant using coding.
Pause and Reflect
Pause and reflect
Reflect and respond to the following questions:
- What are some of the fruits that are grown in Ontario?
- Where might you find fruit growing in Ontario? Why?
- How did coding help you to explain the life cycle of the strawberry plant?
Record your ideas in a notebook or another method of your choice.
Reflection
How do you feel about what you have learned in this activity? Which of the next four sentences best matches how you are feeling about your learning? Press the button that is beside this sentence.
I feel…
Now, record your ideas about your feelings using a voice recorder, speech-to-text, or writing tool.