Minds On
Similarities
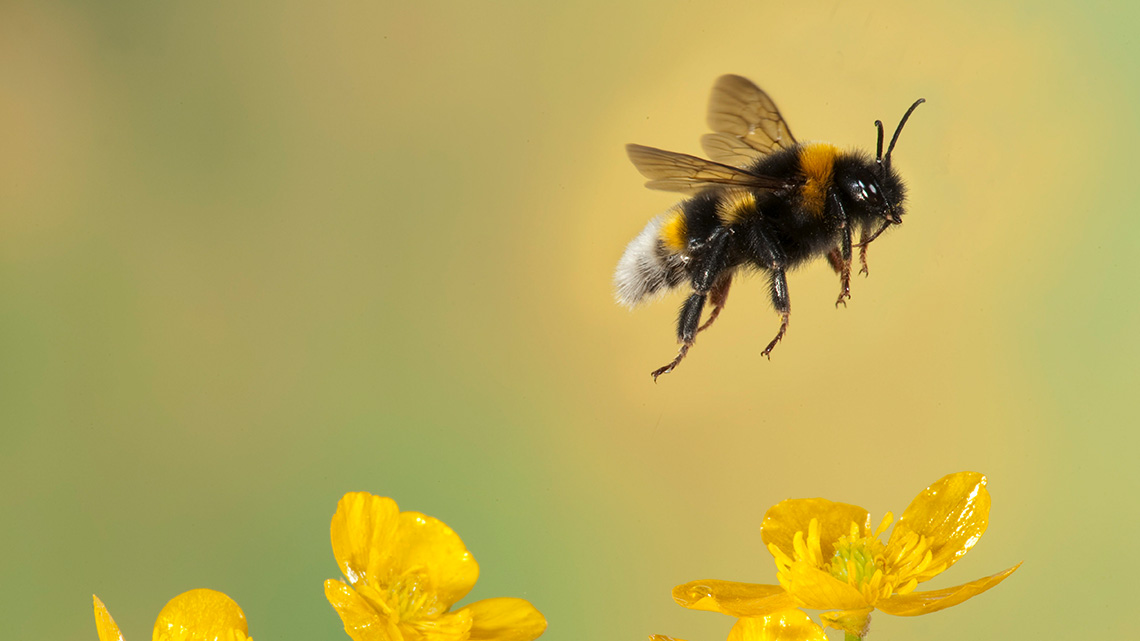
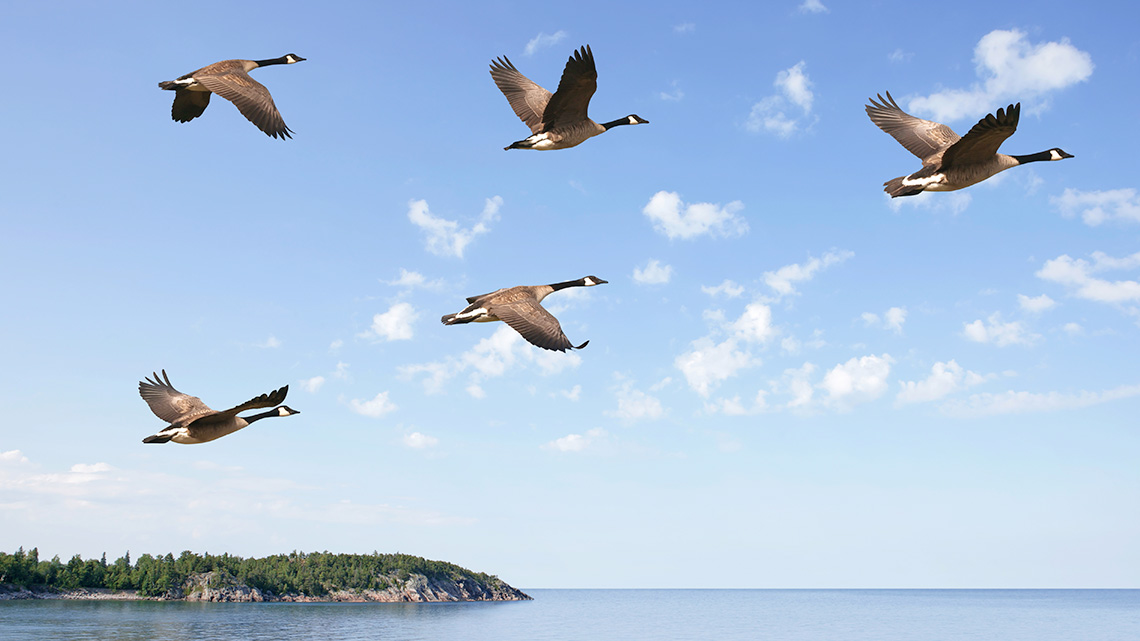
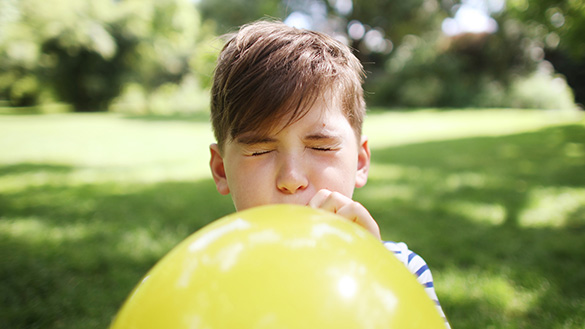
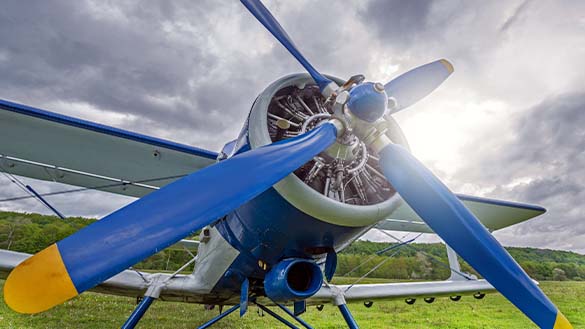
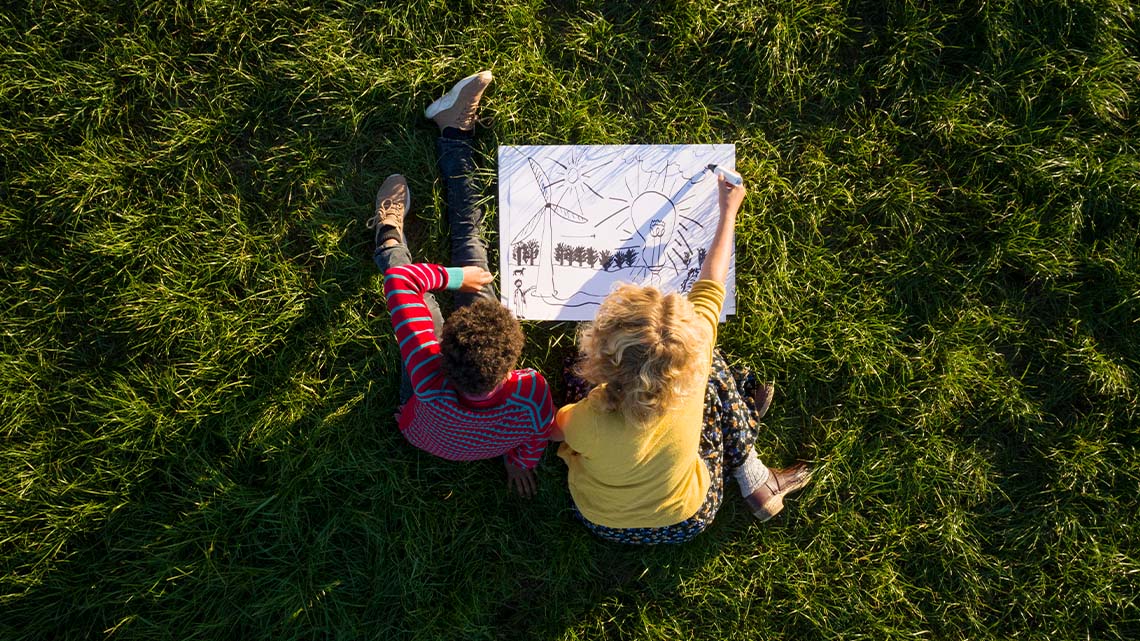
Check out the following images. What do they have in common?


Were you able to make any connections between the images?
Two similarities between all the images are that they all involve flight and air!
In fact, because they all connect flight and air is one of the reasons we, as citizen scientists, can prove that air exists!
Air is invisible, after all, so how do we know that it’s actually there without a scientist telling us that it just is?
Brainstorm
Brainstorm
Let’s think of an example to prove that air is there.
Record your ideas in a notebook or another method of your choice.
If possible, share your thinking with a partner.
In this learning activity, we will conduct a few investigations that allow us to prove that air really is all around us, and without it, flight would not be possible!
Action
Future impacts
This learning activity connects new and existing approaches for young scientists to create positive changes in their communities.

What is air?
Air is an essential part of life.
Many living things need it to survive, and over time humans have even learned to find uses for air that make our lives better, easier, and more fun: from flying devices like airplanes, harnessing wind energy with turbines, to using it in simple machines like inflating tires, and even as entertainment, like wind surfing!
Air is all around us, but because it’s invisible, how do we know it’s even there?
Science has taught us that air, like all matter, is made up of tiny particles called atoms and molecules. Two of the characteristics of these tiny particles is that they have mass and they take up space. Air molecules also exert pressure on us, even if we do not notice.
We can take scientists’ word on this, but there are also some very simple experiments that we, as citizen scientists, can do to prove for ourselves that air really is there!
Properties of air
- Air has mass – it is made of tiny particles of matter
- Air takes up space – because air is made up of particles of matter these particles take up space
- Air exerts pressure – it presses down against all surfaces that it comes in contact with
Did You Know?
Did you know?
Did you know that many people confuse mass and weight and often think they are the same thing? They are actually very different things!
Mass is the amount of matter in an object.
Weight is the force of gravity pulling on an object.
The mass of an object doesn’t change, but it’s weight can change depending on how strong the force of gravity is acting on it!
- The most classic example of this involves space! A ball will have the same mass on Earth as it does in space because the amount of matter it is made up of doesn’t change.
- The weight of the ball, on the other hand, will change. The ball will weigh more on Earth because the force of gravity pulling down on the ball on Earth is greater than it is in space!
Understanding this difference, and particularly knowing what weight is, is one of the keys to understanding how things are able to fly! More on that later!
The properties of air are important to know about so that we can better understand how they interact, or are manipulated by flying animals, objects and machines. By understanding all of this, we can continue to find new and innovative uses for air that could not only impact the lives of living things, but also improve our planet!
Press ‘Let’s Check!’ to explore an example that demonstrates the properties of air.
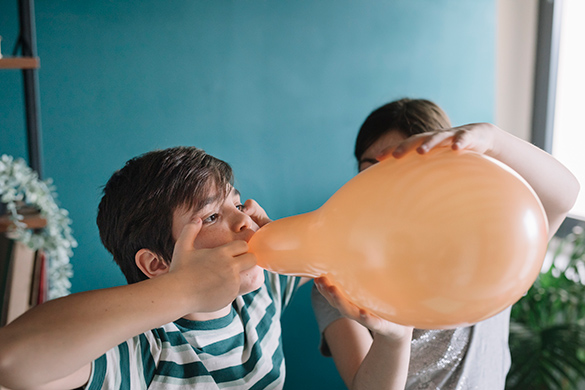
Let’s think of blowing up a balloon. If air didn’t exist, how would a balloon expand and grow bigger when it was blown into?
As someone blows into a balloon, they are filling it with particles of air. Those particles take up space and exert pressure on the inside of the balloon, causing it to expand.
The more air they put in, the more space the particles will need and so the elastic sides of the balloon continue to expand.
So, even though the inside of a balloon appears to be empty, it’s actually filled with particles of air! Just how many is up to the person blowing it up! Careful though, there’s a limit to how much the elasticity of a balloon can handle, and those air particles take up space, so too many and…pop!
Let’s experiment!
Try the two following experiments to prove and explore the properties of air in action.
Safety
Before you begin, consider these safety precautions:
Hands-on Science
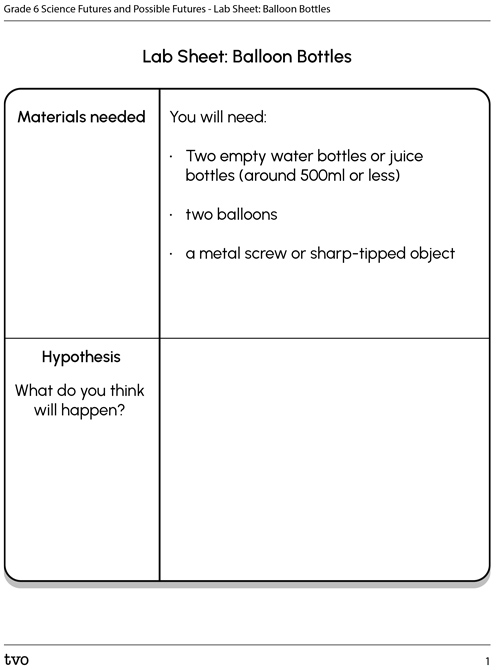
Experiment A: Balloon bottles
For this experiment, we will be learning about the properties of air.
Complete the Lab Sheet: Balloon Bottles in your notebook or using the following fillable and printable document. If you would like, you can use speech-to-text or audio recording tools to record your thoughts.
Press the following tabs to access the materials and steps for the Balloon Bottles experiment.
If you do not have access to materials, access the “Video demonstration” tab to explore the experiment in action. You can use the video to make your observations and draw your conclusions.
You will need:
- two empty water bottles or juice bottles (around 500ml or less)
- two balloons
- a metal screw or sharp-tipped object
- Stretch the mouth of a balloon over the mouth of an empty plastic pop or juice bottle, with the body of the balloon inside the bottle.
- Holding the mouth of the balloon so that it doesn’t slip off the bottle, try and blow it up inside the bottle. Can you do it?
- Take the other empty bottle (or the same one if you only have one) and with the help of an adult, use a metal screw, push pin, thumb tack, or nail to poke a small hole a centimeter or two wide in the side of the bottle.
- Repeat steps 1 and 2 with this new bottle.
Was it easier or harder to blow up the balloon? Why do you think that is? What happens if you make the hole in the side bigger?
Check out this video to explore a demonstration of the Balloon Bottles Experiment.
Please note that the materials and procedure in the video may vary slightly from what is listed in the previous tabs.
Always be sure to do your safety checks before any experiment!
Hands-on Science
Experiment B: Balloon rockets
For this experiment, we will continue investigating the properties of air.
Complete the Lab Sheet: Balloon Rockets in your notebook or using the following fillable and printable document. If you would like, you can use speech-to-text or audio recording tools to record your thoughts.

Press the following tabs to access the materials and steps for the Balloon Rockets Experiment.
If you do not have access to materials, access the “Video demonstration” tab to explore the experiment in action. You can use the video to make your observations and draw your conclusions.
You will need:
- one or two balloons
- one or two plastic/paper drinking straws
- scissors
- string/rope/thread (small enough to thread through straws), for best results try to find something at least one metre long
- tape
- Tie one end of the long string, rope, or thread to a door handle, chair, or another sturdy object.
- Cut two 4-5cm segments of straw and thread them onto the string.
- Pull the string tight and tie it to another chair/sturdy object, or have someone hold it tight for you, the tighter you tie or hold the string the better your results will be.
- Blow up a balloon (don’t tie the end) and tape it to the two pieces of straw on the string to create your rocket. Make sure you leave some space between the two pieces of straw, to help your rocket fly straight.
- Slide your rocket along the string so that the mouth of the balloon is close to the end of the string and then let go. What happens?
Check out this video to explore a demonstration of the Balloon Rockets Experiment.
Please note that the materials and procedure in the video may vary slightly from what is listed in the previous tabs.

Science is about reflecting and reimagining. Were your experiments successful?
Is there anything that you would change about your experiment designs to improve it or the outcome?
Even if your experiments were not successful, what did you learn or confirm about the topic you were investigating?
Learning check!
Complete the following activity to review what you have learned about the properties of air.
For each sentence, select the missing phrase from the drop-down menu.
Consolidation
Air and flight

Throughout this learning activity we have explored three key properties of air:
- air has mass
- air takes up space
- air exerts pressure
Understanding these properties is what has allowed inventors, scientists, and engineers to develop flying devices and machines.
Let’s think of an example of a flying device that uses or manipulates the properties of air to allow it to fly.
Create a detailed explanation of your chosen device and how it uses or manipulates any of the properties of air.
Record your thoughts and ideas in a notebook or another method of your choice.
Press ‘Hint’ to access a sample response to help inspire your answer.
Because air has mass and exerts pressure, these properties result in forces that often push down on an object.
For flight, we need the opposite: we need to go up, and often, stay up!
Understanding these properties is how inventions like the propeller and engines came about in an effort to give flying devices the lift and thrust they need to counteract the natural properties of air.
In fact, lift and thrust are two forces that are required for an object to be able to fly!
Design your own experiment
The Scientific Experimentation Process is a series of steps that scientists follow when planning and investigating a topic.
Explore this video to learn more about the steps of the Scientific Experimentation Process.
Try It
Your turn!
Design an experiment using everyday materials that you may have access to, and that can safely test and prove one or more of the properties of air:
- Air has mass
- Air takes up space
- Air exerts pressure
For example, could you use materials such as a hanger and two balloons to create an experiment to prove that air has mass? What about using a jar, a plastic bag and tape to prove that air exerts pressure?
Always be sure to do your safety checks before any experiment!
You may also use the following organizer to guide the planning and creation of your experiment.
Complete the Scientific Experimentation Process: Air Properties Activity in your notebook or using the following fillable and printable document. If you would like, you can use speech-to-text or audio recording tools to record your thoughts.
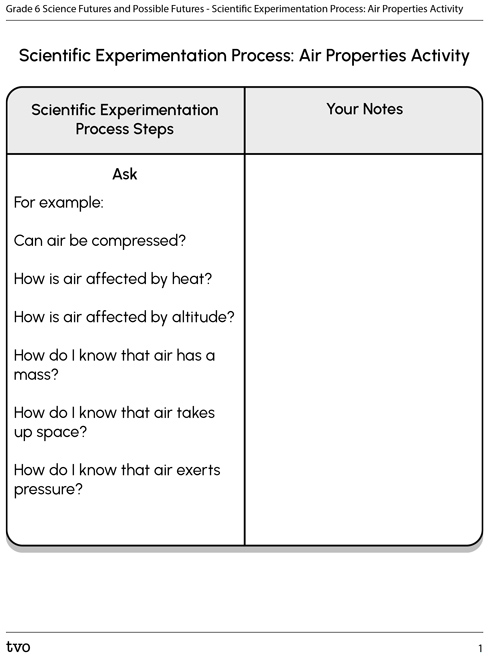
Press the Activity button to access the Scientific Experimentation Process: Air Properties Activity.
Activity (Open PDF in a new tab)Making connections
Science is about reflecting and reimagining.
- Was your experiment successful?
- Is there anything that you would change about your experiment design to improve it or the outcome?
- Even if your experiment was not successful, what did you learn or confirm about one or more of the properties of air?
Share and reflect on your learning with one or more of the following options:
- Using the format of your choice, think of your own fill-in-the-blank or True or False questions based on the properties of air.
- With a platform of your choice, create a recording/description to share your observations and conclusions!
- Using the format of your choice, design a detailed illustration of your experiment that includes labels and explanations.
Reflection
As you read through these descriptions, which sentence best describes how you are feeling about your understanding of this learning activity? Press the button that is beside this sentence.
I feel…
Now, record your ideas using a voice recorder, speech-to-text, or writing tool.