Minds On
Building strong structures
Strong and stable structures are built using strong materials on strong bases.
There are many things that an engineer needs to consider when designing a strong and stable structure. There are also many different people involved in the designing and building process.
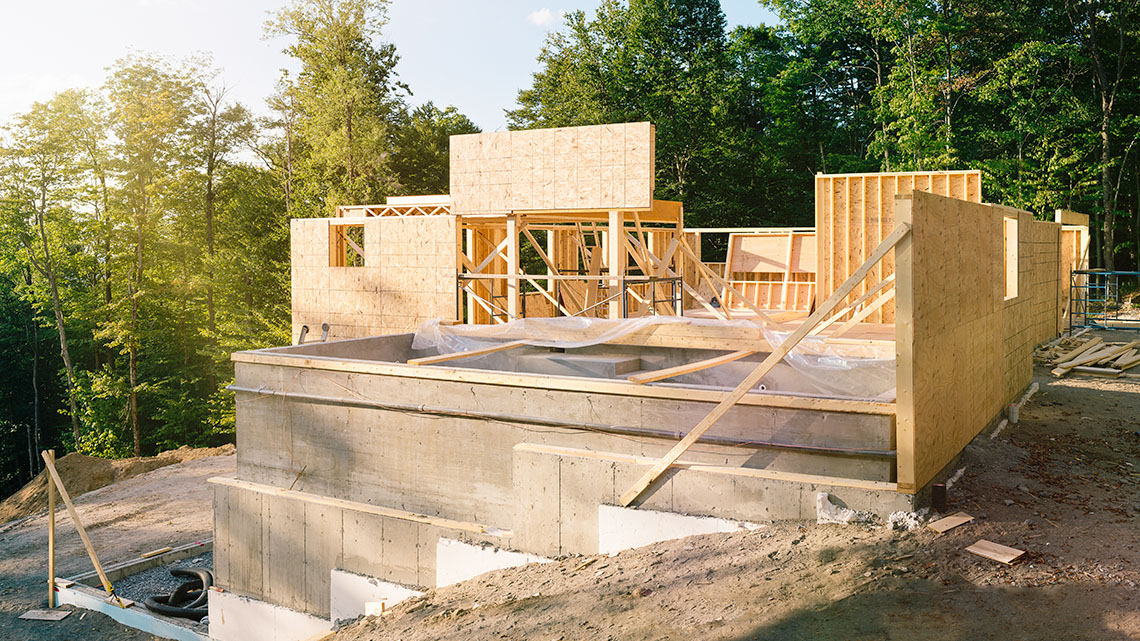
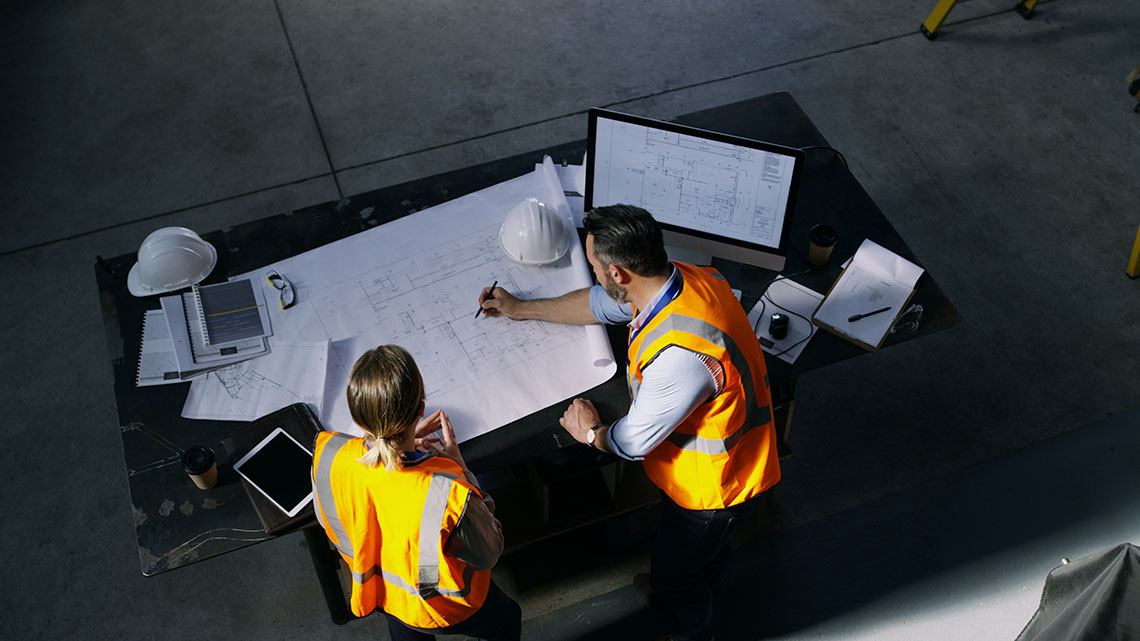
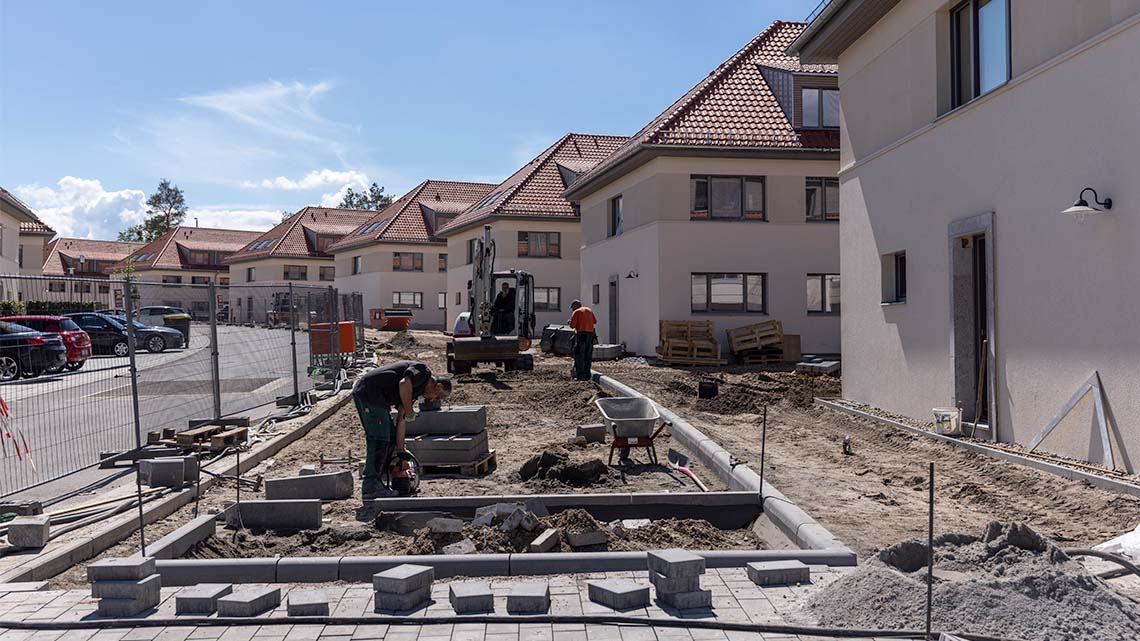
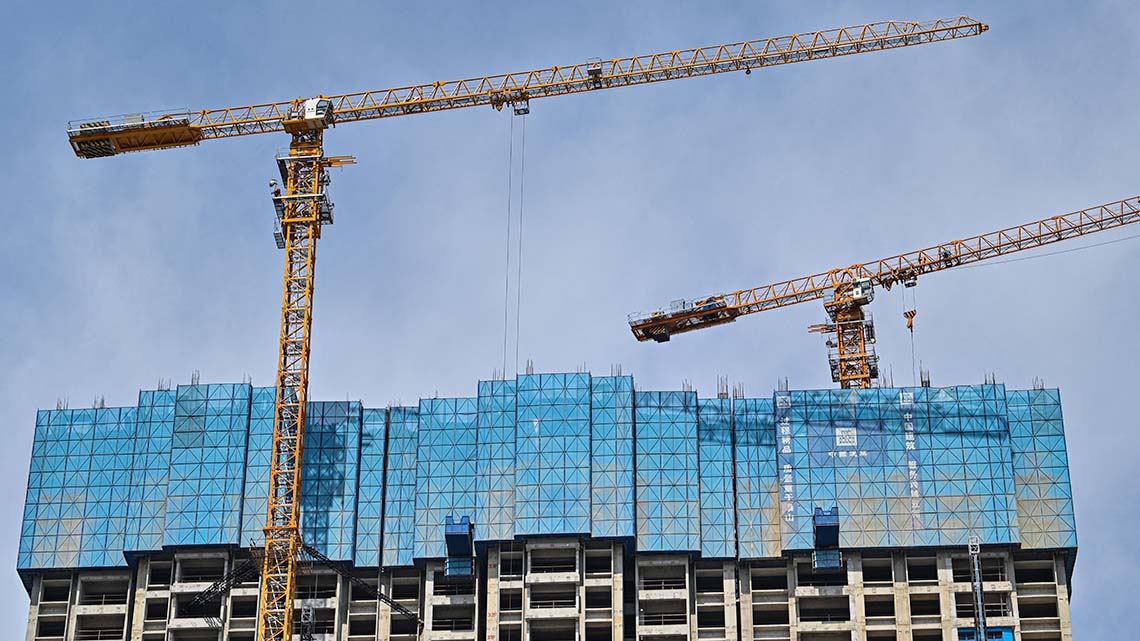
Explore the following carousel of structures being built.
Brainstorm
Construction materials and workers
- What strong materials were being used to build the structures in the previous carousel?
- What different types of workers do you think are involved in construction?
Record your brainstorm using a method of your choice.
Action
Planning construction projects
Before building anything, engineers think carefully about the design and which materials will be used.
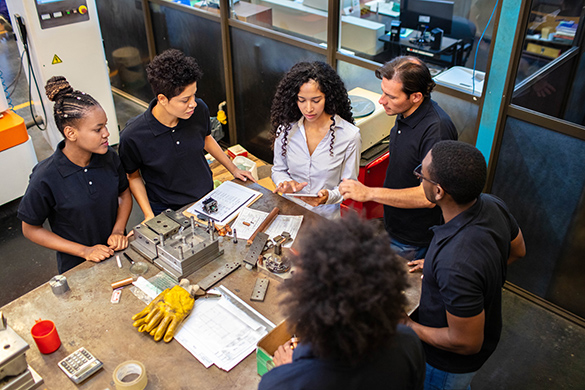
When planning a new structure, designers need to think carefully about the following:
- How it will be built – The structure needs to be stable on the soil.
- Where it will be built – How does building in this spot affect the plants and animals that are already there?
- What materials to use – The materials need to make the building strong, stable, and enjoyable to use. It should also have a creative exterior.
- Who will help build it – Which skilled tradespeople will be needed to help build the structure?
Let’s explore some construction projects across Canada.
Road planning in Canada
Building long stable roads means understanding soil types across large areas. To keep a road safe, engineers need to plan to stabilize the soil if it isn’t stable already.
Did You Know?
Did you know?
The TransCanada highway was built to allow travel all the way across Canada, from the west coast of British Columbia to the east coast of Nova Scotia!
Plans need to be made to make the soil stable when roads cross diverse types of land, including:
- farmland
- forests
- mountain rock
- bodies of water
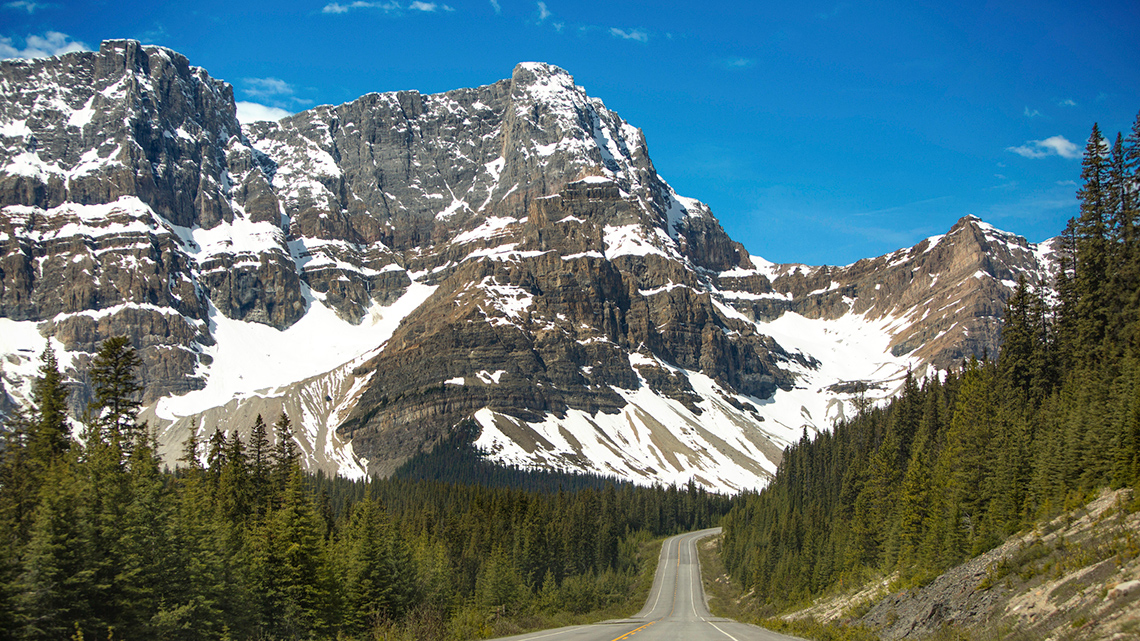
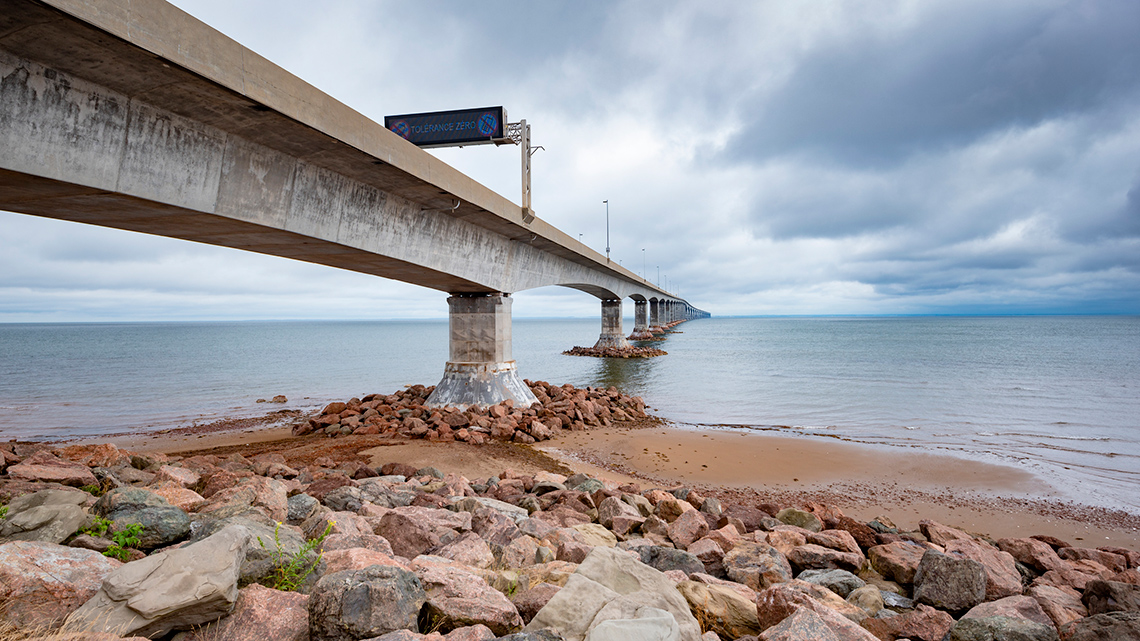
Explore the following carousel of roads in Canada to learn which types of land and soils an engineer has to consider when building a stable road.
When skilled tradespeople design and build a road, they have to create a solid base for the road to ensure it is strong and stable.
A road is built using layers of diverse materials because this makes the road stronger and more stable. Building a road in layers reduces the amount of stress or pressure that is put on the top layer. This allows the road to stay stable and last longer.

Roads can be built by putting a layer of sand, gravel, or crushed stone on top of a natural formation such as soil or rock. Next, a layer of asphalt is put on top of the sand, gravel, or crushed stone. Finally, a layer of flexible pavement is put on top of the asphalt at ground level.
Planning sidewalks
Similar to roads, there are many different engineers and tradespeople involved in the construction of sidewalks.
It takes a lot of careful planning to decide where a sidewalk should go. This is done by city planners.
Explore the following carousel of the steps to construct a sidewalk.
Sidewalks are often made out of reinforced concrete. Concrete is cement that is mixed together with water, sand, and gravel and is easy to mold into any shape. Concrete is a strong material against compression, like a person walking or riding their bike.
Explore the following Ultra Mega Kids video of construction workers smoothing out poured concrete for a new sidewalk.
As you explore, take note of the steps included when making a sidewalk. This will help you complete the activity after the video.
The following construction steps fit together to make a sidewalk. Place the steps in each answer box in the correct order.
Modular construction
The Nshwaasnangong Child Care and Family Centre is an Indigenous-led community centre in London, Ontario. It was designed and built in the shape of a turtle.
Did You Know?
Did you know?
Turtle Island is the name many First Nations people and communities use to refer to lands known as North America.
Explore the following images of the Nshwaasnangong Child Care and Family Centre.
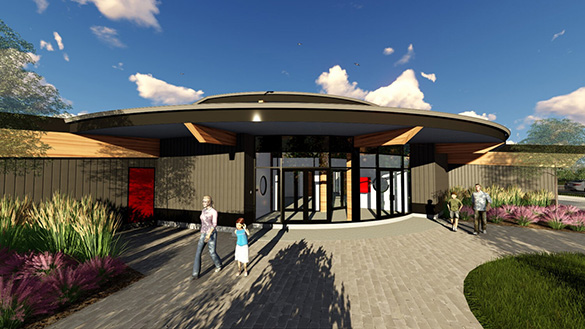
Digital Model
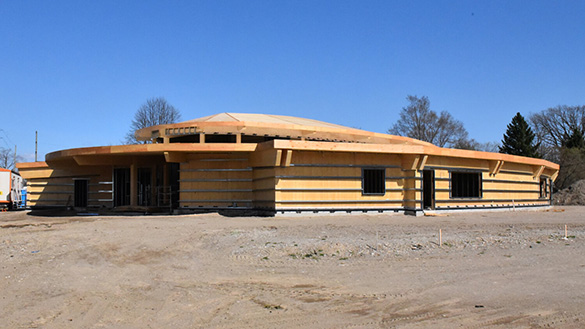
Under Construction
This building is unique because it was designed and built in pieces. This is called modular construction.
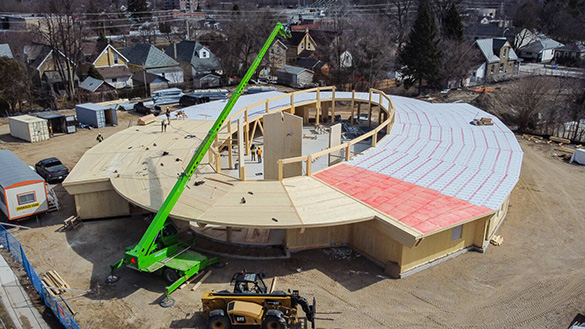
With modular construction, large pieces of wood are glued together in sections at a factory. These sections are then transported to the place where the building is being built and put together on site.
In many First Nations creation stories, there are references to a human world that is flooded by water. In various versions of the story the turtle is an important part of providing land and life to humans. This is why the turtle is so important to many different First Nations communities.
The Nshwaasnangong building will be used as an Indigenous childcare and family centre. By including Indigenous peoples and their ideas in the design, it helps make the building more accessible to Indigenous community members.
Explore the following video of the Nshwaasnangong building being constructed.
Use what you observed in the previous video to answer the following questions:
- Where is this building being constructed?
- How is this building being constructed?
- Who is helping to construct this building?
- What materials are being used to construct this building?
Press ‘Answers’ to access some possible answer.
| 1) | This building is low to the ground, so it did not need a foundation dug deep into the ground. |
|---|---|
| 2) | This building’s innovative design process is that the large pieces of wood are glued together in a factory to make them very strong. The whole building is designed using a computer program, the large pieces were built in a factory and then can be assembled very quickly on site. Building very quickly on site means that the local animals will be disturbed less by construction. |
| 3) | An important part of any design is that the people who will use it were part of the design and choice for the location. People in the community helped plan this building. |
| 4) | There is very little concrete or steel used in this construction, it is mostly wood. This building’s frame and walls are made using wood. This technology can make the building strong and also beautiful. |
Consolidation
Designing and planning
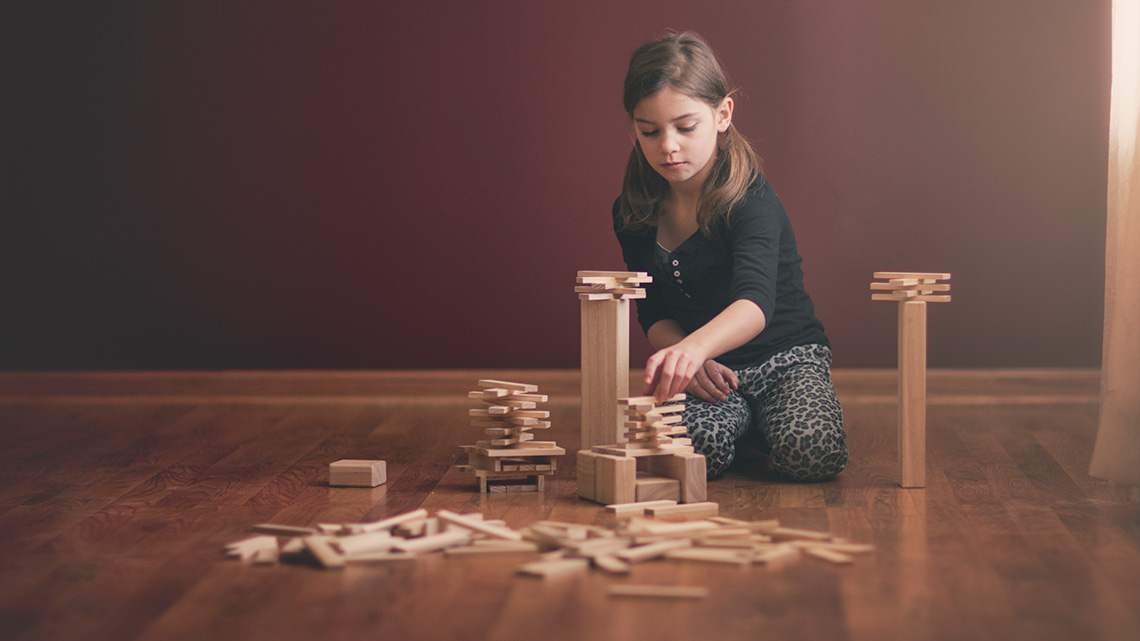
We have explored structures, construction materials, the design process, and skilled tradespeople.
Pause and Reflect
Pause and reflect
Use examples from this learning activity to answer the following questions:
- What is one way to increase the strength of a structure?
- What is a material used in construction that is strong?
Record your answers using a method of your choice.
Press ‘Answers’ to access some possible answers.
|
1) |
One way you can increase the strength of a structure is to layer materials to make it stronger. For example, when building a road, materials are layered to increase the strength of the road and its ability to support a load of cars. This also makes the road last longer. |
|---|---|
|
2) |
One material you can use that is strong is concrete. Concrete is often used for sidewalks because it is a strong and durable combination of different materials that will be able to withstand the force of people walking or biking. Concrete will last a very long time and is easy to mold to different shapes. |
The first step of building any structure is designing and planning.
Let’s review the Engineering Design Process!
Engineering design process

In Science we ask questions to help us figure out what the problem is.

Brainstorming is when you think about ideas like how to solve a problem.

When you plan something, you think about the steps you have to follow and the materials you will need.

It’s time to build. Gather your materials and your plan and start building!

Testing lets you try out your design to see if it works.

Improving is about making your design even better.

Sharing what you have learned lets other people know about your topic too!
Designing a structure
Use the Engineering Design Process to create a design for a structure of your choice.
Complete the “Designing a Structure” worksheet in your notebook or using the following fillable and printable document. If you would like, you can use speech-to-text or audio recording tools to record your thoughts.
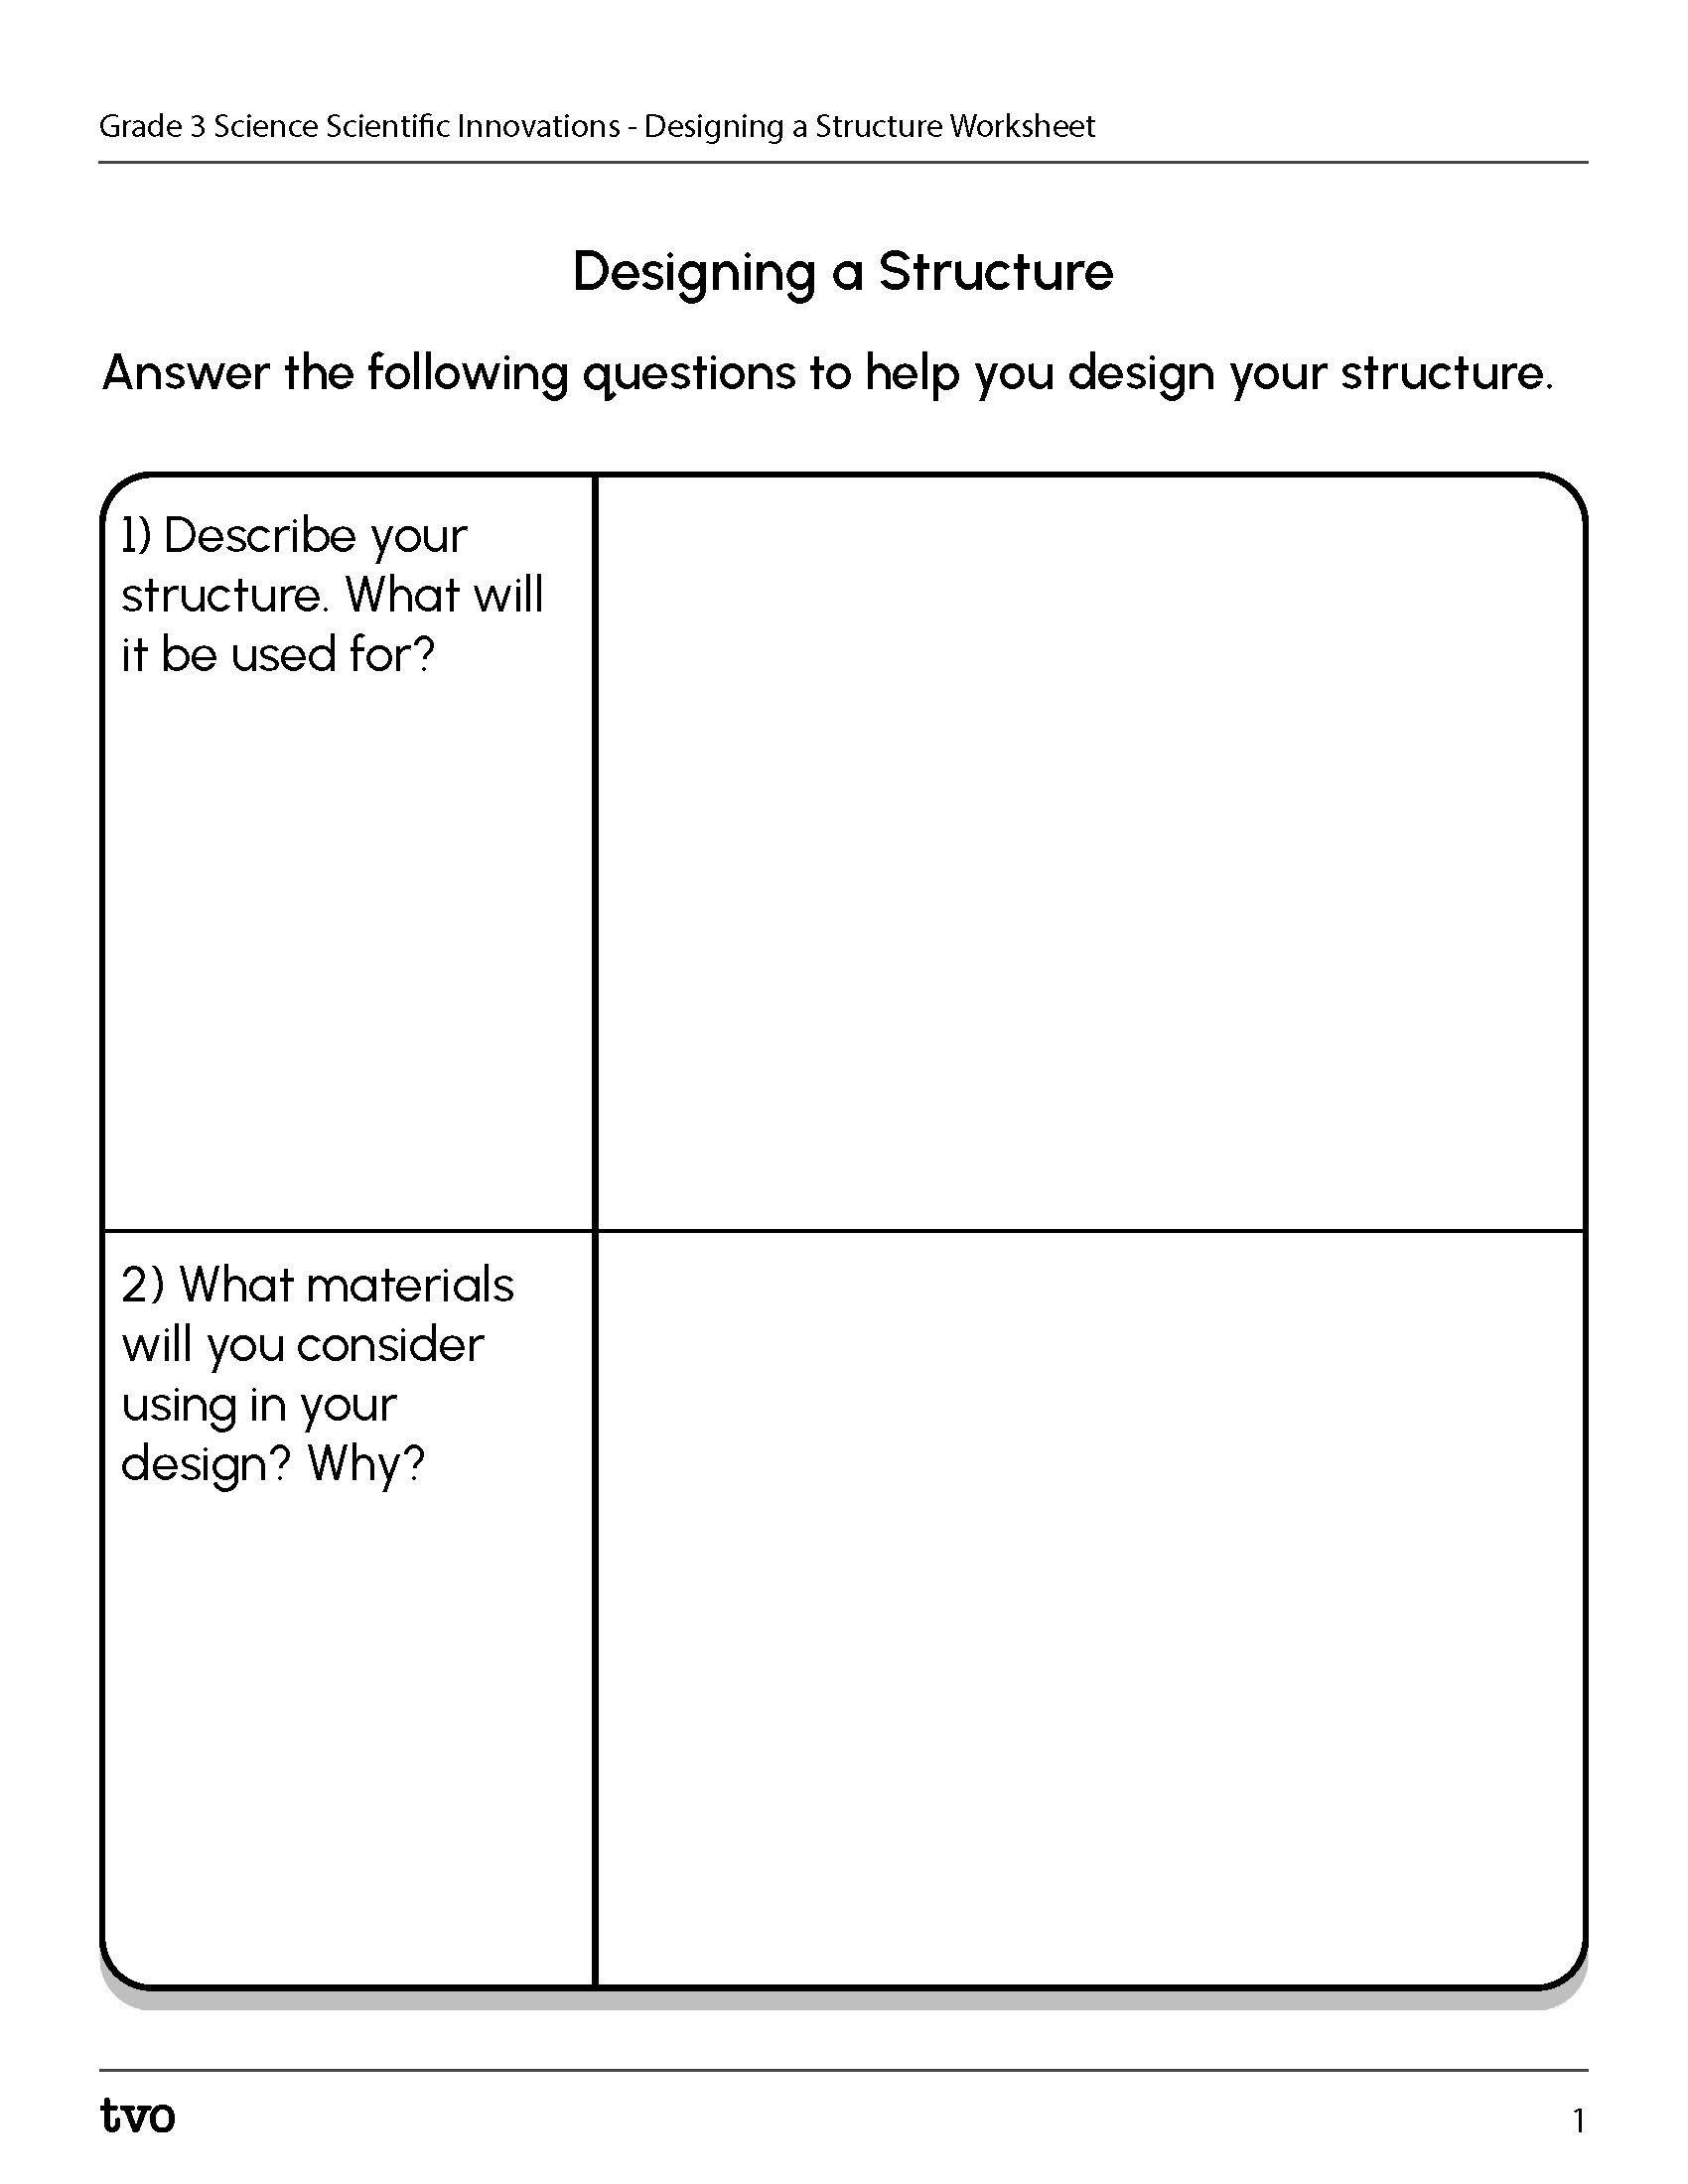
Press the Activity button to access Designing a Structure Worksheet.
Activity (Open PDF in a new window)Once you are finished the previous worksheet, create a design of your structure using a method of your choice. Make sure to label all of the important information in your design.
Reflection
How do you feel about what you have learned in this activity? Which of the next four sentences best matches how you are feeling about your learning? Press the button that is beside this sentence.
I feel…
Now, record your ideas about your feelings using a voice recorder, speech-to-text, or writing tool.
