Minds On
Gears and pulleys in everyday life
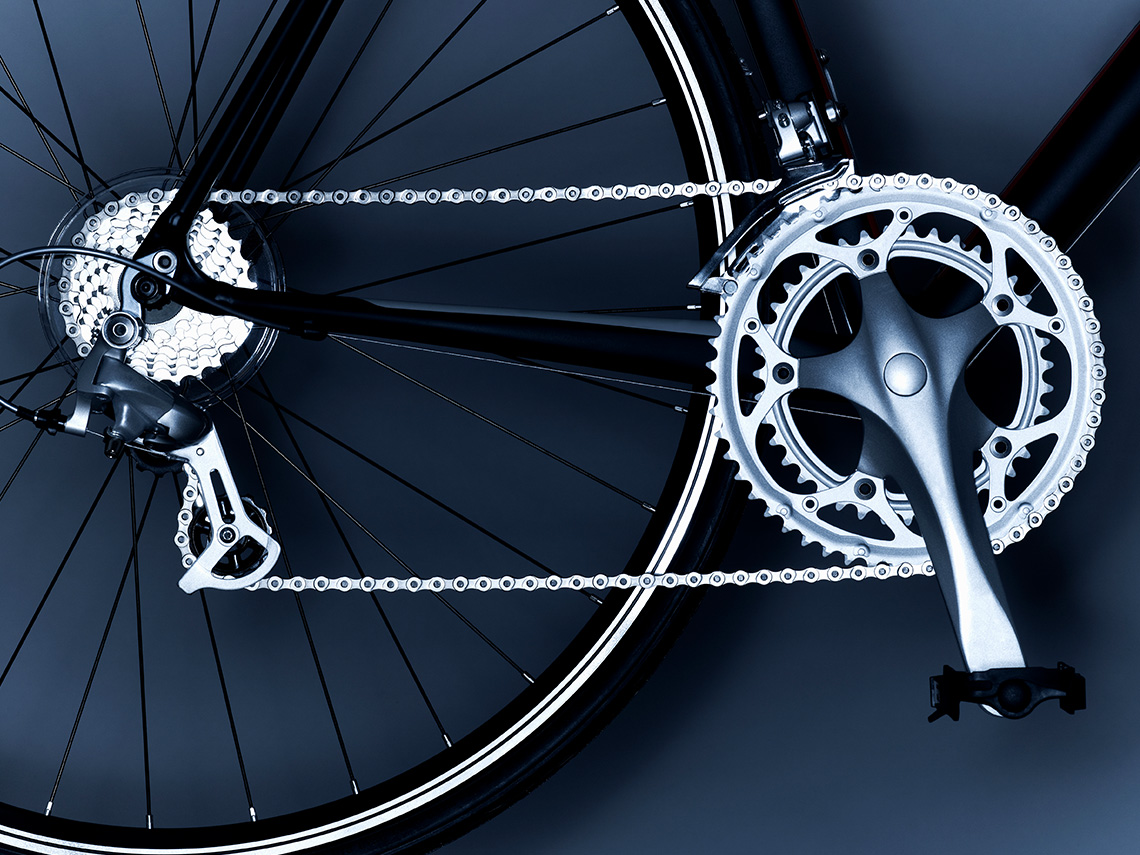
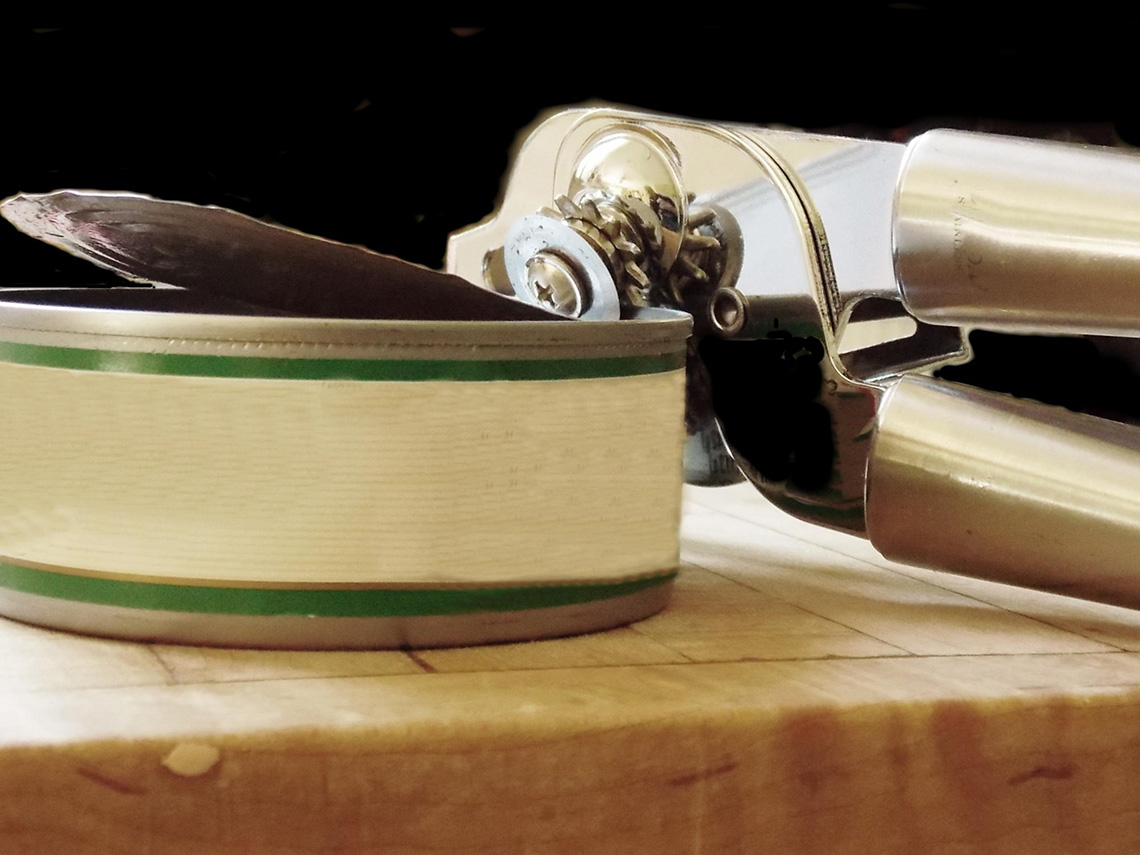
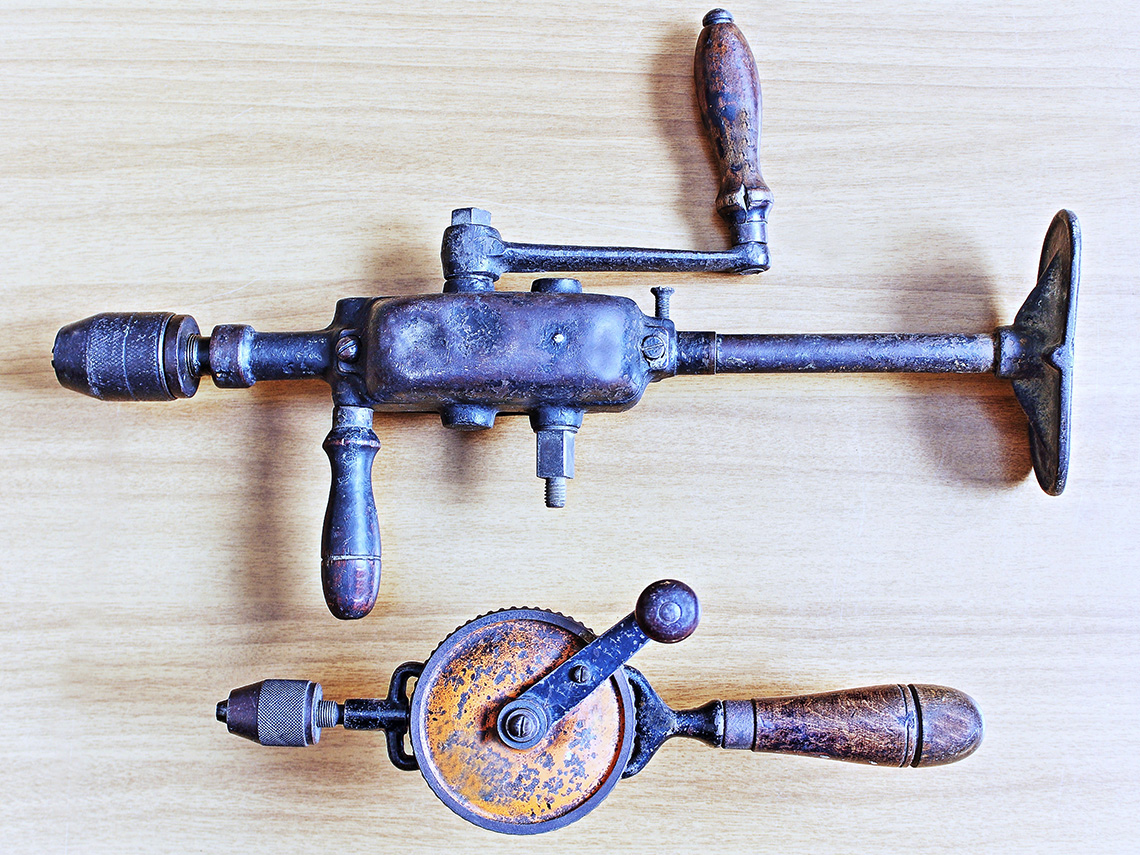
You may have already heard about gears and pulleys. Gears and pulleys are examples of simple machines that make work easier! Can you think of a few gear and pulley systems that you have seen in your daily life?
Brainstorm
Brainstorm
Make a list of items that use gears and pulleys. Record your answers in the method of your choice.
Once you have finished brainstorming, examine the following examples of gears.
Now, examine the following examples of pulleys.
A carousel of five images. Image 1: Water well with bucket hanging from a pulley. Image 2: A cable passes through two pulleys with an elevator cabin on one end and a weight on the other end. Image 3: A curtain opening on a stage using a sand bag weight and a system of pulleys. Image 4: A flagpole with a Canadian flag attached to rope that passes through a pulley. Image 5: A person using a cord to raise window blinds.
Did you include any of these examples in your brainstorming list? Review your list.
Make a list!
Take a moment to survey your environment for gear and pulley systems. Using a method of your choice, record where gears and pulleys are used in your environment, describe what they look like, and what their function is. If possible, share your findings with someone else.
How do they work?
You have brainstormed examples of gears and pulleys that are used in everyday life. Now, reflect on what you know, what you want to learn, and what you have already learned. Complete the following KWL chart on gear and pulley systems. Be sure to save your work, because you will be asked to review your work later in this learning activity.
Complete Gear and Pulley Systems in your notebook or using the following fillable and printable document. If you would like, you can use speech-to-text or audio recording tools to record your thoughts.
| Gear | Pulley |
|---|---|

|

|
|
Describe what you know about gears. |
Describe what you know about pulleys. |
|
Describe what you want to learn about gears. |
Describe what you want to learn about pulleys. |
|
Describe what you have already learned about gears. |
Describe what you have already learned about pulleys. |
Press the ‘Activity’ button to access KWL chart: Gear and pulley systems.
Action
The simple machinery of gears and pulleys
How exactly are gears and pulleys examples of simple machines, and what exactly does that mean?
Press ‘Definition’ to access a definition of a simple machine.
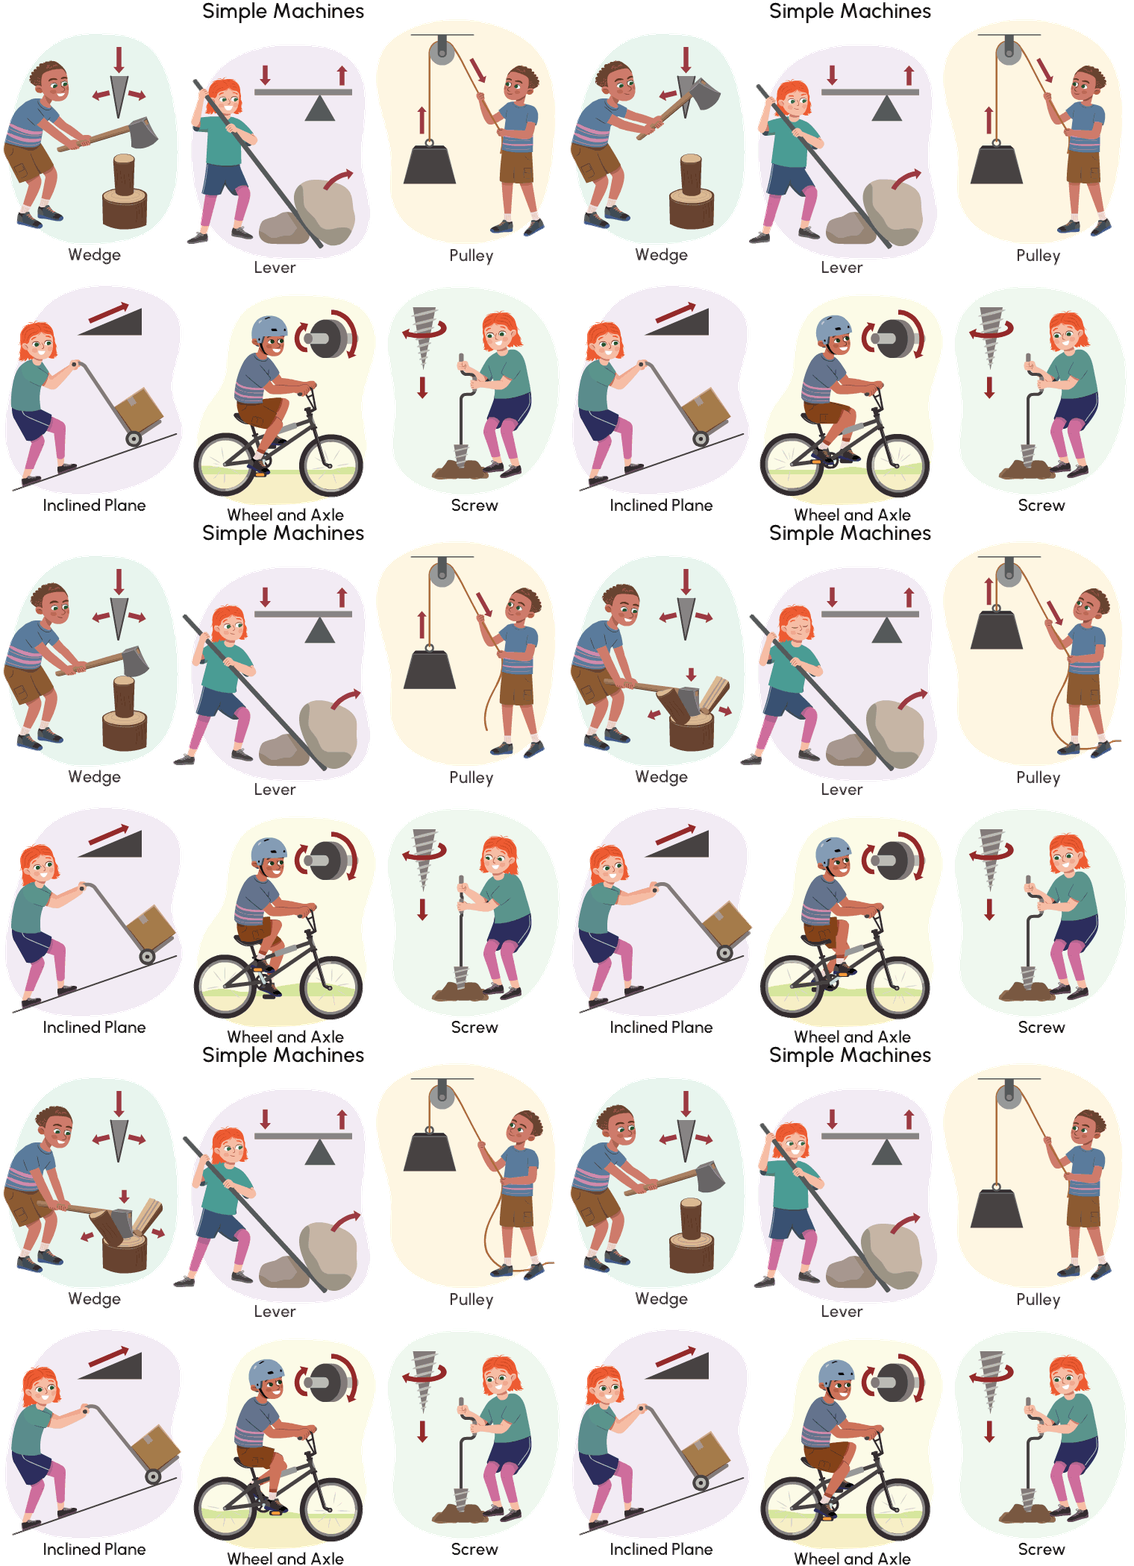
A simple machine is a mechanical device that can change the size or reduce a force required to accomplish work. Simple machines have few or no moving parts and make work easier for us.
The gear system
As you know from the Minds On section of this learning activity, there are numerous different types of gear systems. Gears look like wheels but have notches that are called teeth. When the teeth of two different gears fit together and can turn each other, we call this a gear train. In the example of a two-gear system, the gear that generates power to turn the second gear is called a driver gear, while the second gear that is powered by the first gear is called the follower gear (or driven gear).
Access this diagram to learn more about the gear system of bicycles.

This gear system is called a complex gear system because more than one gear works together. The two gears, which are called sprockets, are connected by the chain. The front sprocket is connected to the pedal and the back sprocket is connected to the rear wheel. When the pedal turns, the crank also turns which causes the chain to move on the front sprocket, also setting the back sprocket in motion. Everything rotates in the same direction.
Check your understanding
After exploring the diagram and description, complete the following multiple-choice questions to check your understanding.
Select the correct answer, then press “Check Answer” to see how you did.
Let’s play a game!
Check your understanding of the parts of a gear system by completing the following matching activity.
For each term, select the corresponding image.
The pulley system
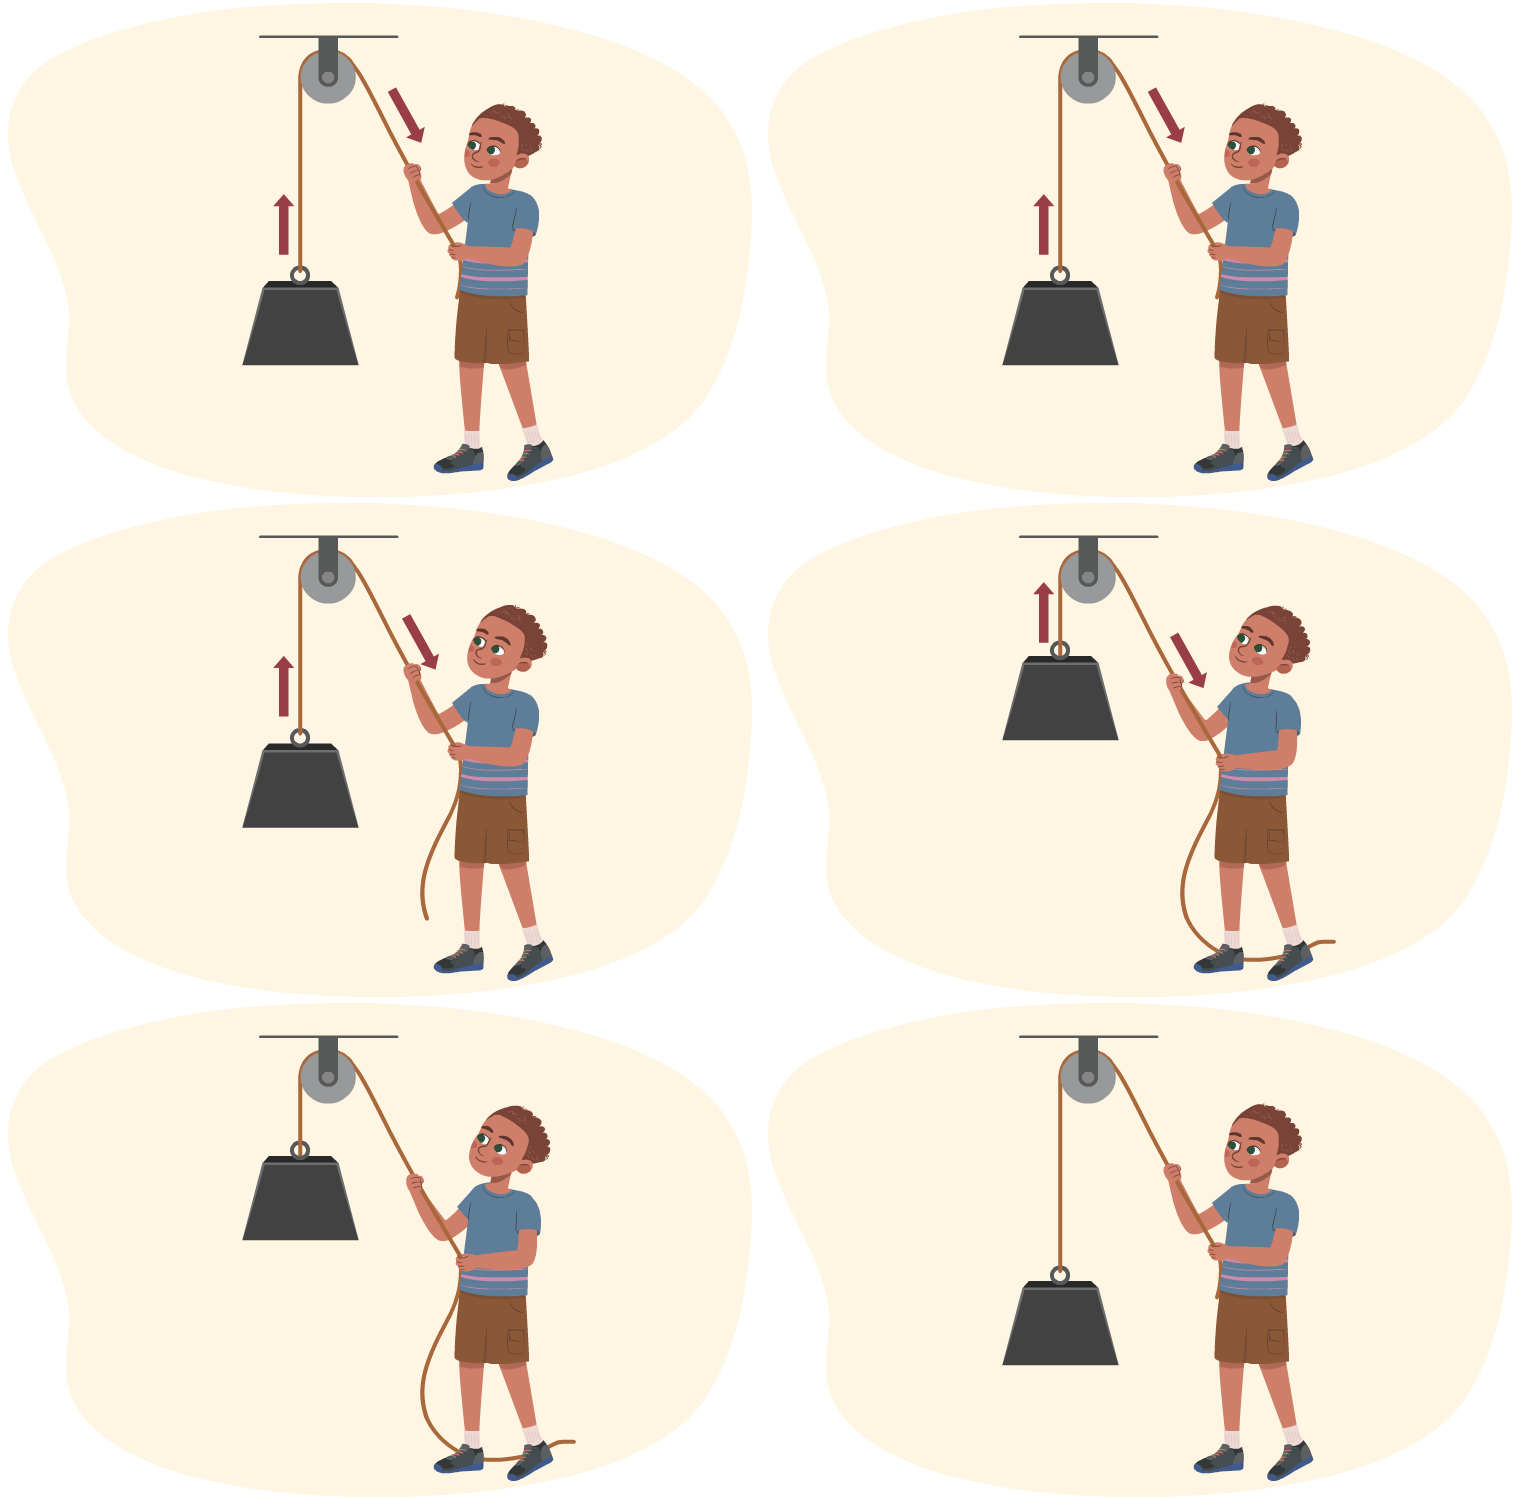
A pulley system is another example of a simple machine. There are many pulley systems used in everyday life. Pulley systems make it easier to lift heavy objects. A simple pulley system is made up of two main components – a wheel with grooves and a rope or string. In relation to a pulley system, load refers to the weight of an object, while effort refers to the amount of power that is required to lift the load.
Explore this video entitled “Need a lift? Try a pulley! Explaining the Pulley System” to learn more about pulley systems.
Check your understanding
Select the correct answer, then press “Check Answer” to see how you did.
Label it!
Check your understanding of the parts of a pulley system by completing Elements of a Pulley System in your notebook or using the following fillable and printable document. If you would like, you can use speech-to-text or audio recording tools to record your thoughts.
|
Fill in the labels on the following image of a pulley system with these elements: wheel, rope, load, effort, and lift. 
|
Press the ‘Activity’ button to access Elements of a pulley system.
Press ‘Answers’ to access the answers to the elements of a pulley system.
The elements of a pulley system include the wheel, the rope, the load, the effort, and the lift.
 Description
A person lifts an object using a pulley system. The elements of the pulley system are labelled, including the wheel, the rope, the load, the effort, and the lift.
Designing a flagpole pulley system
Several steps go into the process of successfully designing a flagpole pulley system.
In the upcoming task, you will be following this detailed procedure step by step; but first, we must review how scientists and engineers complete tasks using the engineering design process.
Explore this video to learn about the steps of the Engineering Design Process.
Being familiar with the Engineering Design Process will help prepare you to engage with the upcoming task and build your skills as an engineer!
When designing your flagpole pulley system, you could consider materials such as the following:
- Piece of cardboard
- Scissors
- Glue
- A paper flag
- Two plastic bottle caps
- String
- Ruler
- Pencil
- Two thumb tacks
- Tape
Check out the following video to explore a possible flagpole pulley system design to help with your design.
Complete the Lab Sheet: Designing a Flagpole Using a Pulley System in your notebook or using the following fillable and printable document. If you would like, you can use speech-to-text or audio tools to record your thoughts.
| Materials needed for design | |
|---|---|
| ASK: What is the problem? | |
| What might you include in your design? | |
| What would someone need to build it? | |
| Where might it be tested? How would they know that it works? |
Press the ‘Activity’ button to access Lab sheet: Designing a flagpole using a pulley system .
Consolidation
Simple machines make work easier
The gear and pulley systems are examples of simple machines that can be used in many ways.
What did you learn?

Imagine a classmate missed this lesson and has asked you to summarize the important information to them in the form of a video or email. Create a short summary of what you learned in today’s learning activity. Be sure to use the flagpole as an example of a pulley system and explain how it works, and explain the importance of pulley and gear systems as simple machines.
Press ‘Example’ to see a sample email summarizing what you learned.
Reflection
As you read through these descriptions, which sentence best describes how you are feeling about your understanding of this learning activity? Press the button that is beside this sentence.
I feel…
Now, record your ideas using a voice recorder, speech-to-text, or writing tool.
Press ‘Discover More’ to extend your skills.
Discover MoreIf possible, you could build a flagpole pulley system using the following materials and doing each step of the following procedure.
Press the following tabs to access the materials list and the steps of the procedure.
When designing your flagpole pulley system, you could consider materials such as the following:
- Piece of cardboard
- Scissors
- Glue
- A paper flag
- Two plastic bottle caps
- String
- Ruler
- Pencil
- Two thumb tacks
- Tape
- Use your ruler and pencil to measure out your flagpole and the flagpole stand onto the cardboard. The flagpole will be 30 cm long and 8 cm wide. Measure an additional 5 cm in length and 8cm wide, which will serve as part of the flagpole stand.
- Use your scissors to cut the cardboard to the measurements above. 35 cm long and 8 cm wide in total.
- Glue one bottle cap to each end of the 30 cm long flagpole.
- Hold the bottle caps in place until they are dried to the cardboard. Now, take each thumb tack and place it into the bottle caps. You may want to ask for an adult's help with this part. The thumb tacks will serve as the wheel system.
- Take your string and cut it to be able to loop around each thumb tack once, and tie it together. It should be snug, but loose enough that the string can move around the thumb tacks.
- Now, tape your flag to the string. You may want to tape the flag over the knot that you tied in the string.
- Fold the extra 5 cm of carboard that you kept to create your flagpole stand. Now, cut an additional piece of carboard (5cm x 5cm) to reinforce your stand.
- Tape the 5cm x 5cm piece of cardboard to the flagpole to create a small triangle. Adjust this piece until the flagpole can stand upright on its own.
- Now, pull gently on the string to observe what happens to the flag. You have designed a flagpole!
