Minds On
What is technology?

What is technology as it relates to life systems and the human body? What does technology do for us in this field?
In print, orally, digitally, or using another method of your choice, brainstorm a list of technologies that have increased our understanding of life systems and human body?
Action
Innovation in Canada
This learning activity features emerging technologies, STEM contributions, and Canadian innovations that are making a difference.

History of the microscope
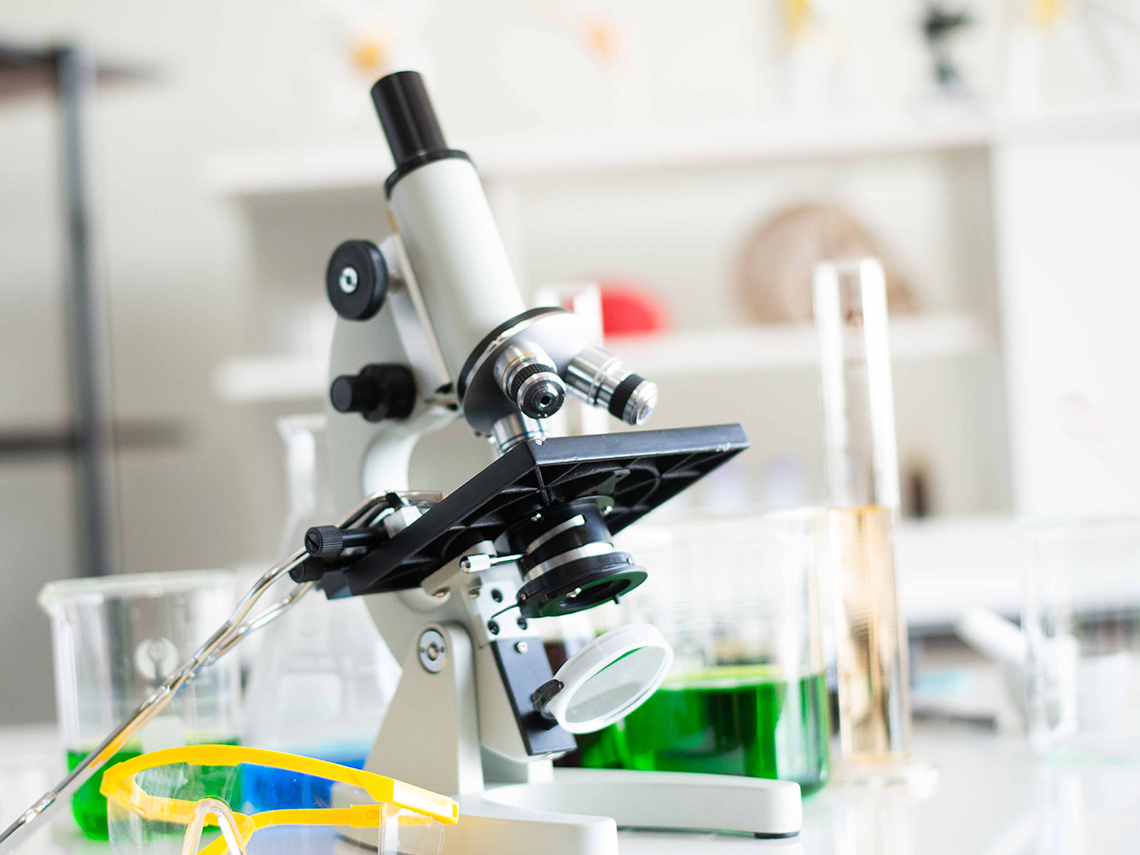
A microscope is a scientific instrument that can be used to explore and observe very small objects, even objects as small as cells, by magnifying the object through a lens. The lens bends light toward the eye and makes an object appear larger than it is. While early microscopes had only one lens, the microscope has undergone many different technological innovations over its history that have made it easier to use and have improved the quality of the images.

In 1590, the concept of a magnifying device that has two or more lenses was invented by Dutch scientists. This early precursor to the microscope was used to explore single-cell microorganisms that were called “animalcules.” In 1609, Galileo Galilei perfected the first device known as the microscope. From the mid-1600s to the early 1700s, Antonie Van Leeuwenhoek worked to polish and grind better lenses to increase an image’s size. This allowed him to notice many microscopic animals and bacteria. This type of microscope was used for nearly a century before the next major improvement, in 1729, when the achromatic lens (a lens that uses two types of glass together) was developed for use in eyeglasses and also improved the quality of microscope lenses.
In the 18th and 19th centuries, many changes occurred. Microscopes became smaller and more stable, and the quality of the lenses kept improving until the invention of the ultraviolet microscope. Until these microscopes were invented, the causes of diseases and illnesses were still a mystery.
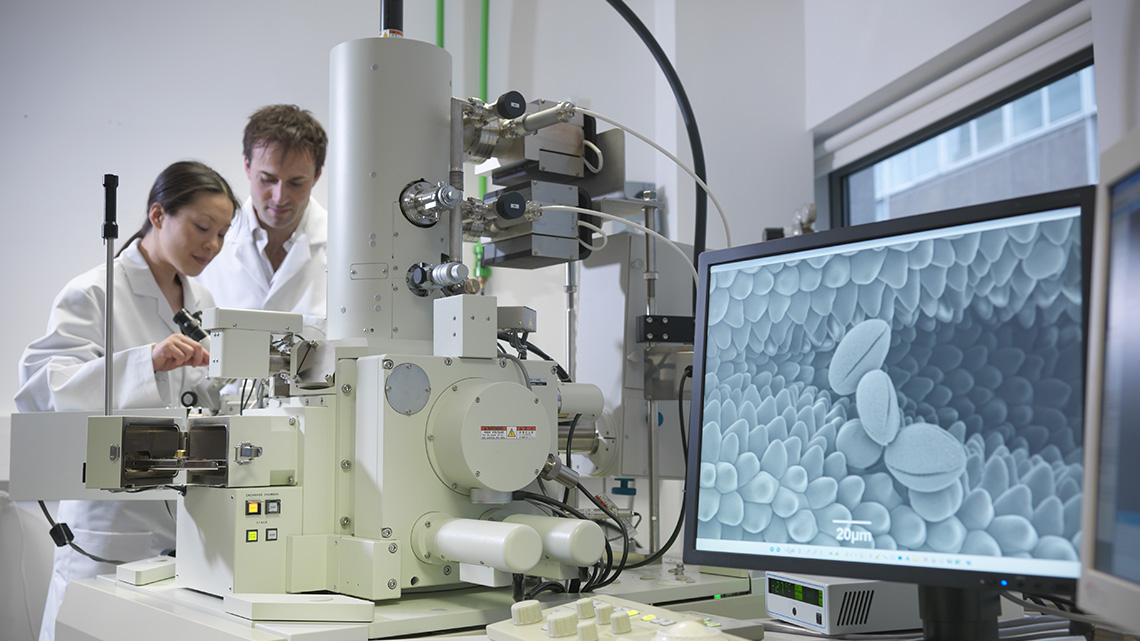
In the 1930s, the first electron microscope was invented (using electrons instead of light), which provided pictures of the smallest particles, but because it didn’t use light, it couldn’t be used to study living things. In 1981, microscope technology progressed to scanning probe microscopy, which allowed scientists to study the tiniest cells, bringing about an era of nanoscience: the study of extremely small things.
Microbiologists
All around the world there are microbiologists making a difference in our lives. Antonie Van Leeuwenhoek, who began his career as a fabric and clothing merchant, invented the first microscope using lenses he originally developed to inspect fibers in clothing. Leeuwenhoek was the first person to describe red blood cells and bacteria. His discoveries shed light on the “unknown world” of organisms too small to be visible to the naked eye.
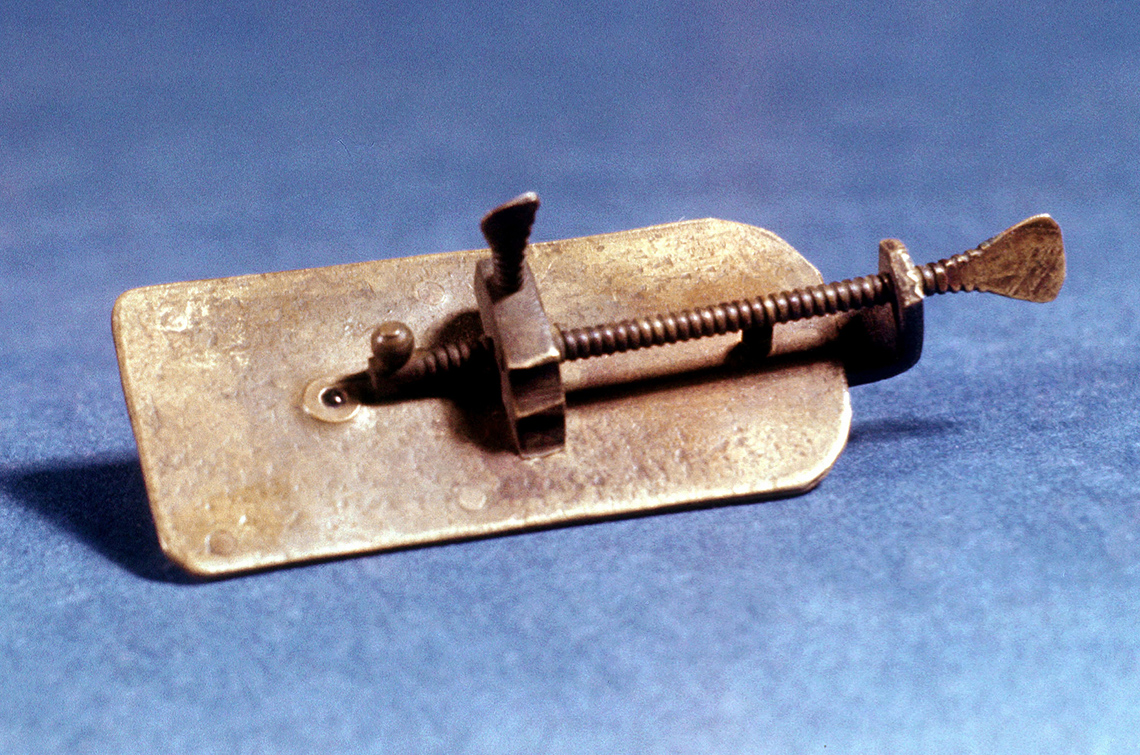
An old microscope by Antonie Van Leuuwenhoek.
Robert Koch was a significant microbiologist who discovered the connection between disease and specific microbes or germs. In the late 1800s, he proved that tuberculosis (the most prevalent disease at the time) was caused by ‘tubercle bacilli’ and he was able to cultivate the bacteria. This in turn paved the way for Roux and Yersin to discover the causes of diphtheria and the plague. These pioneering works laid the foundation of medical microbiology, which made it possible to discover the agents of most infectious diseases caused by bacteria.
What about the present day? Today, microbiologists continue to make scientific advancements, specifically focusing on:
- ensuring our food is safe
- treating and preventing disease
- developing green technologies
- tracking the role of microbes in climate change
Press the following tabs to access three major areas that microbiologists are working in today.
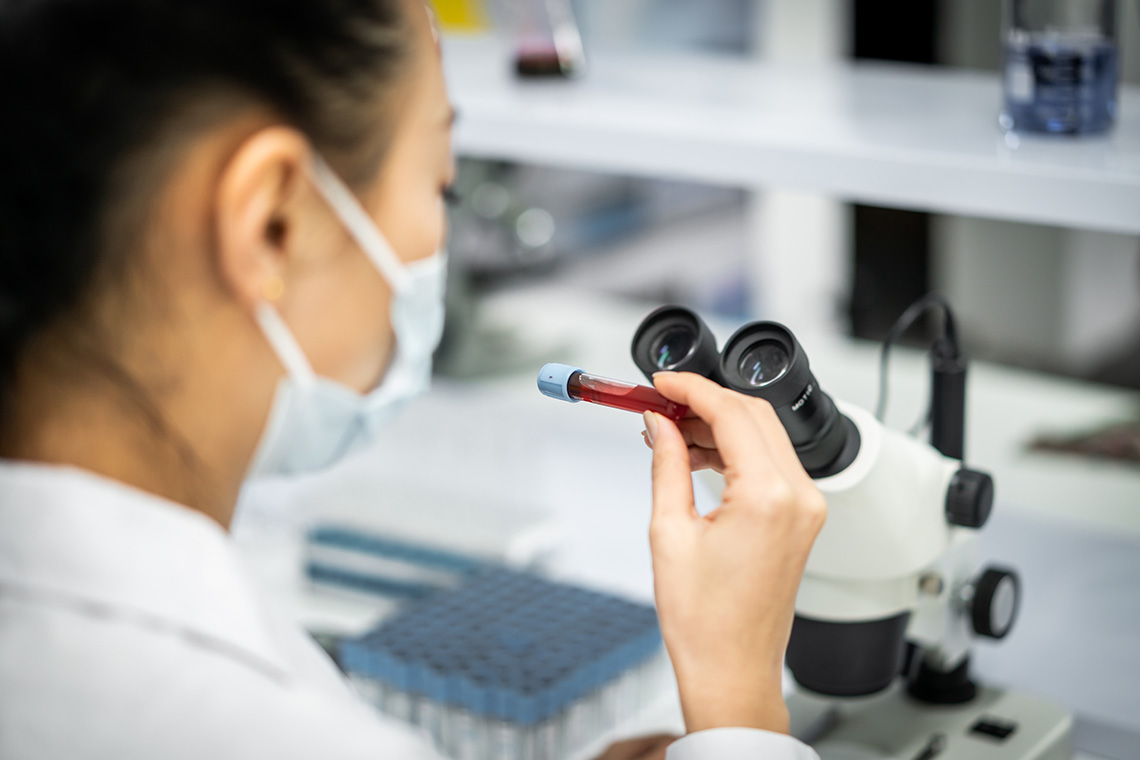
Microbiologists study viruses and bacteria that make us sick and explore new therapies that help us fight infections and illness. Microbiologists are essential to helping us treat diseases by testing samples of body tissues, blood, and fluids to diagnose infections, monitor treatments, or track disease outbreaks. They use microbes to develop vaccines and improve current treatments.
Microbes are both a contributor and solution to climate change. On the one hand, they are responsible for most of the methane that contributes to global warming. On the other hand, this gas can also be used as biofuel — an alternative energy source that is being used to fight against climate change. Microbiologists work alongside engineers and technologists to develop sources of energy that are greener and are produced from urban and industrial waste.
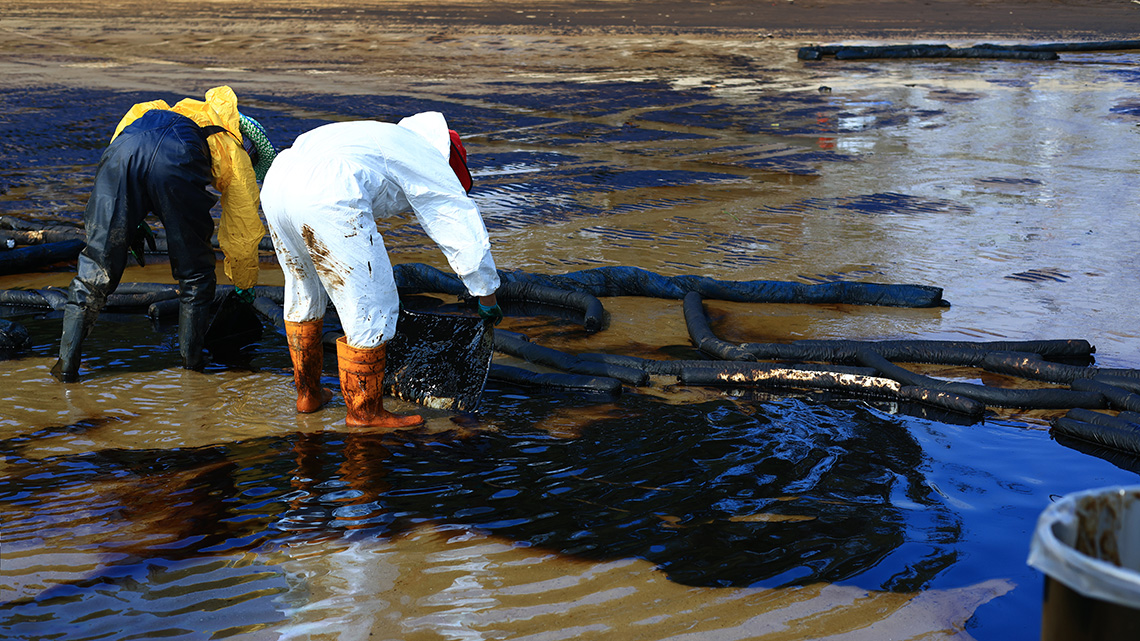
Microbes have an important role in various environmental cycles, like the carbon cycle and the nitrogen cycle. Some microbes also can be used in a beneficial way, for example, by being used to clean up oil spills.
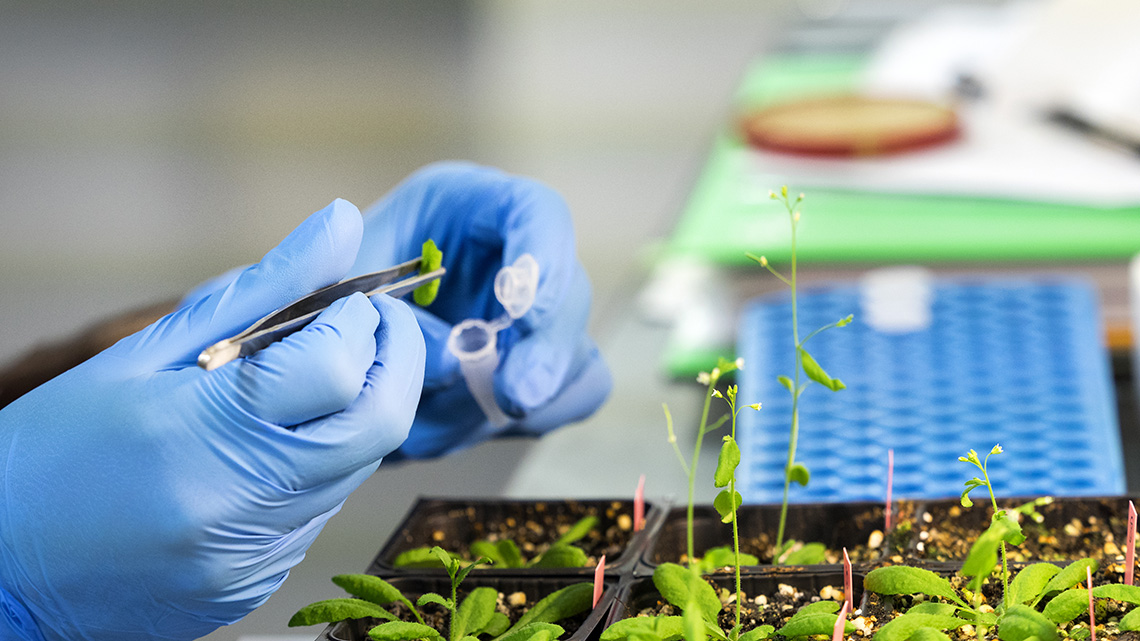
Lastly, microbes play a role in the food we grow and eat. Microbiologists inquire about the important role of microbes in soil. Some concentrate on plant pests and diseases, developing ways to control them or even use microbes to control insect pests and weeds. Others research the microbes that can cause diseases in different farm animals.
There are also millions of bacteria living in our gut that help us take nutrients from our food and they compete with ‘bad’ microbes to prevent illness. Some foods have probiotics added — live cultures of bacteria that boost the numbers of ‘good’ microbes and improve gut health.
Care & safety of microscopes

A microscope. The following parts are labelled. At the top of the microscope in the eye piece or ocular lens. There is a dial on this part to twist which adjusts the diopter. The arm of the microscope holds the revolving nose piece and the objective lenses. These point to the slide holder which also includes the slide and the stage. Under this is the iris diaphragm and the light source which points up into the slide. The focus knobs are on the lower portion of the arm and the power switch is found on the base at the bottom of the microscope.
Before using a microscope, it is important to understand how to use a microscope safely and how to take care of it. Explore the following tips for using a microscope:
- Always carry the microscope with care. Support the arm and the base of the microscope when you carry it.
- When you set the microscope down, make sure it is on a flat, even surface away from the edges of a workstation.
- Do not touch the lenses. If they are dirty, use lens paper to clean them.
- Handle the glass slides with caution and ask for help if one of them breaks or is cracked.
- Always begin with the lowest magnification objective lens and ensure that your slide is clipped into place. When the microscope is in use and you are exploring an object, slowly turn the adjustment knobs until the object comes into focus. Never adjust the other knobs when in high power mode.
- If you want to use the highest power magnification lens, you first need to ensure the slide is centred and then slowly rotate the high-power lens into place making sure it can pass over the slide without breaking it. Once in high power mode, only use the fine adjustment knob, turning it very slowly to ensure you don't break the slide or scratch your lens. Never adjust the other knobs when in high power mode!
- When you are finished, lower the stage, rotate to the lowest magnification lens, remove and carefully put the slide away. Wrap the cord neatly around the base of the microscope and return it to the correct cabinet in an upright position.
Check your learning
Answer the following questions about microscope handling and safety. Select the correct answer, then press ‘Check Answer’ to see how you did.
Let’s experiment!
In this section of the learning activity, you will be exploring how to use a microscope to observe the structure and characteristics of different specimens.
Before beginning, explore this video to learn more about the steps of the Scientific Experimentation Process. This will help guide you as you work your way through the following activities.
Safety
Before you explore the following experiment, let’s perform a safety check.
Observing specimens with a microscope

There are two microscope exploration options to choose from; explore each option before you decide which one to complete. If there’s time, you may wish to complete both!
Early scientists often kept very detailed journals of the experiments they performed. They recorded every observation with detailed diagrams and descriptions.
To record what you observe as you explore the two different options, you may complete the Microscope Observations and Recording Sheet in your notebook or using the following fillable and printable document. If you like, you may use speech-to-text or audio recording tools to record your thoughts. Alternately, you may use another method of your choice.
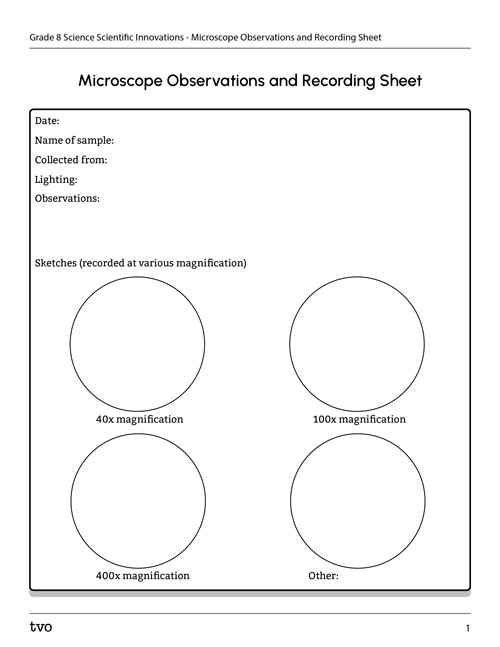
Press the Activity button to access the Microscope Observations and Recording Sheet.
Activity (Open PDF in a new tab)Hands-on Science
Option 1: Using a microscope
This option requires you to have access to a microscope and access to plain glass microscope slides.
Press the following tabs to access the materials needed and the experimental procedure for the “Microscope Experiment.”
- microscope
- plain glass microscope slides
- cover slip
- water (optional: methylene blue, iodine or food colouring to stain specimens)
- onion (alternative: celery stalk)
- clear tape
- grainy substances (small amount of two of: salt, sugar, sand, or ground coffee)
- hair strand(s)
- dropper
- pencil
- toothpick (flat one is best, alternative: popsicle stick, coffee stirrer)
- recording / observations sheet

Part A: Onion (or celery)
- Add a few drops of water onto the slide.
- With adult assistance, peel the onion and make a shallow cut into its exterior
- Peel off a layer of clear membrane (this is the thin, transparent layer) and place the membrane flat on the slide surface (optional: add a drop of blue methylene, iodine, or food coloring).
- Gently place the cover slip on the slide and lightly smooth it out to ensure there are no air bubbles.
- Place it on the microscope and record your observations. Be sure to adjust the magnification between recordings.
Part B: Cheek swab
- Carefully scrape the toothpick along the inside of your cheek. This action should be firm, but don’t hurt yourself.
- Wipe the toothpick on the center of the slide.
- Let the cheek sample dry and add blue methylene (optional).
- Gently place the cover slip on the slide and lightly smooth it out to ensure there are no air bubbles.
- Place it on the microscope and record your observations. Be sure to adjust the magnification between recordings.
Part C: Grainy substances
- Take a piece of clear tape and place it sticky side up on a table.
- Sprinkle a few grains of salt and sugar on the tape (you could also use coffee grounds or sand).
- You may want to mark each side with a marker to remember which side is sugar and which is salt.
- Place the piece of tape on the slide and gently place the cover slip over top.
- Place it on the microscope and record your observations. Be sure to adjust the magnification between recordings.
Part D: Hair
- Use the dropper to place a few drops of water on the slide.
- Carefully place the strand(s) of hair in the water on the slide.
- Gently place the cover slip over top.
- Place it on the microscope and record your observations. Be sure to adjust the magnification between recordings.
Note: don’t forget to record your observations and detailed sketches using the provided Microscope Observations and Recording Sheet or another method of your choice.

Science is about reflecting and reimagining. Was your experiment successful?
Is there anything that you would change about your experiment design to improve it or the outcome?
Even if your experiment was not successful, what did you learn or confirm about the topic you were investigating?
Hands-on Science
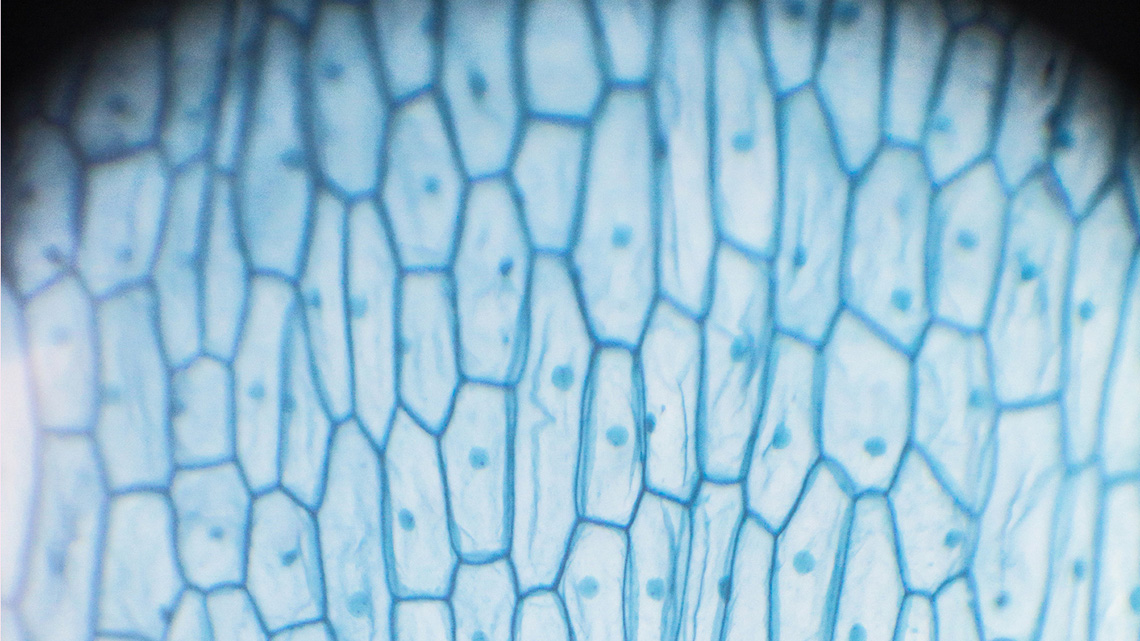
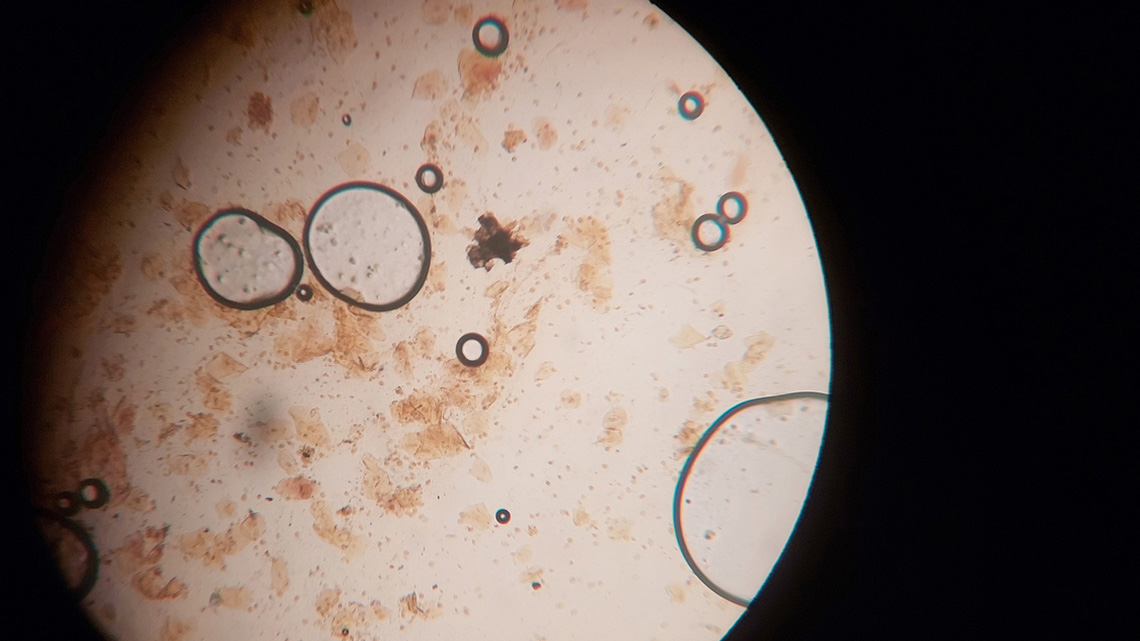
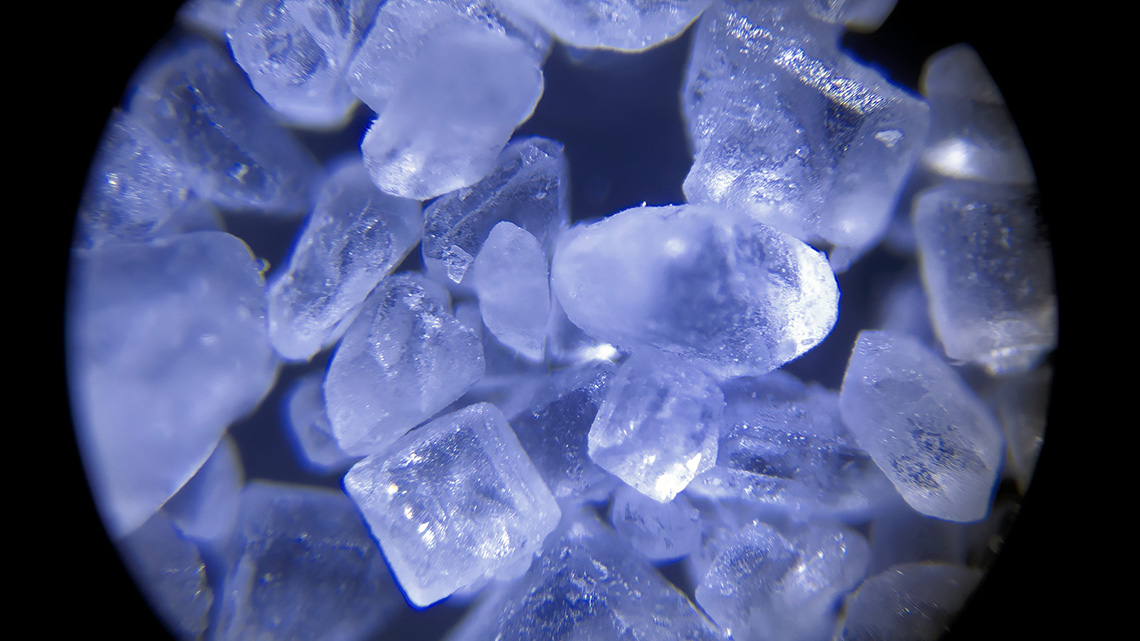
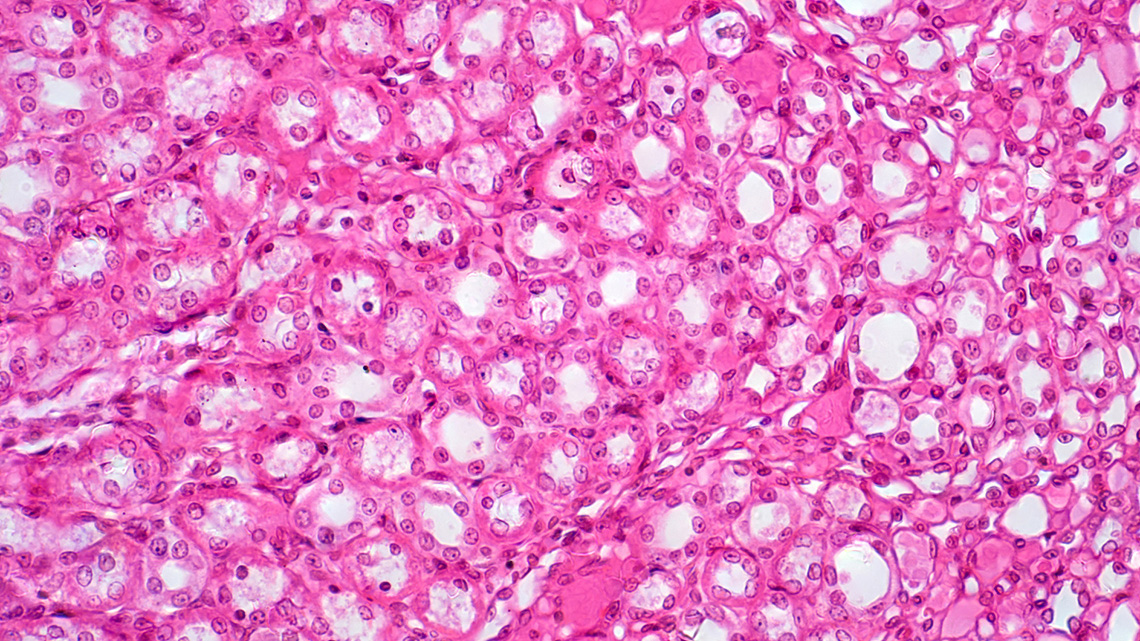
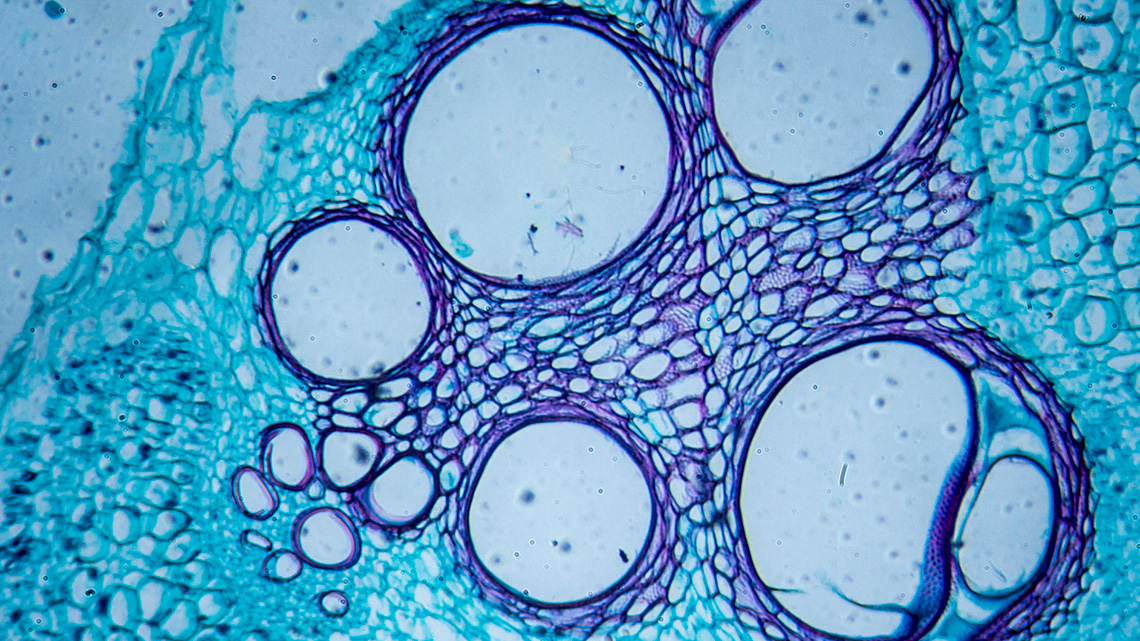
Option 2: Exploring images of slides
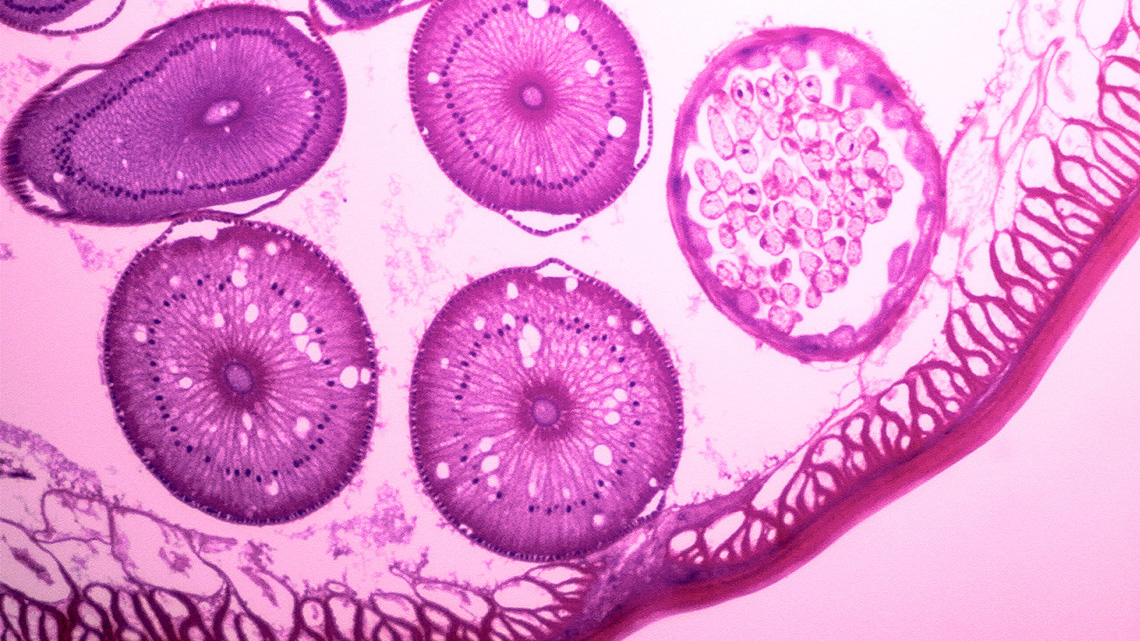
In this option of the learning activity, you will be exploring images of various microscope slides. Begin by exploring the images and then choose 2 or 3 about which to record your observations.
Don’t forget to record your observations and detailed sketches using the provided Microscope Observations and Recording Sheet or another method of your choice.
Tip
In each image, the circle represents the microscope’s field of view. The field of view is what is noticed through the eyepiece of the microscope.
Procedure
- Begin by drawing the outline of the largest shape onto the paper. Try to keep your sketches as light as possible so you can erase and change anything as needed. You may also create a detailed written or audio description.
- Fill in all the other shapes that you notice. Try to work from largest shapes down to the smallest.
- Fill in the details. This can be done by adding shading and/or colour.
Connections
Innovation profile: Origami microscopes
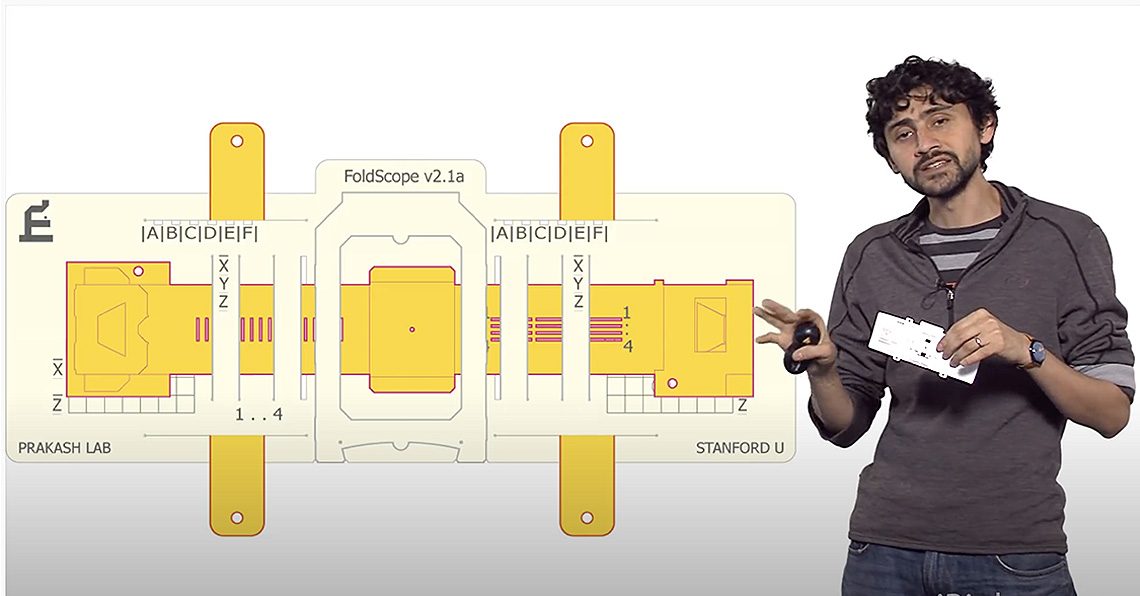
Manu Prakash is a Professor of Bioengineering at Stanford University. He says that microscopy (the use of the microscope) is fundamental in health care, especially in preventing and treating disease. In some parts of the world, it is not so easy to gain access to a microscope. To provide a more accessible tool, Manu created a microscope made from paper costing less than $1.00 to produce called the Origami Microscope. He completed his first prototype in 2014. It comes as a flat sheet and when it’s assembled, it accommodates a standard size slide. It is then held up to a light source and the user peers through the miniature lens with one eye. Manu created several different versions of this origami microscope that add light, projection, and different magnifications. As of 2018, the microscope was adapted to be capable of attaching to mobile phones for imaging. Manu has even travelled to remote areas and trained villagers on how to use the origami microscope. Manu will continue to develop other tools to help achieve accessible health care around the world.
Pause and Reflect
Pause and reflect
Time to reflect.
- What do you think were Manu’s motivations in developing his Origami Microscope?
- Can you picture how you might use the Origami Microscope? What would you be interested in examining in detail? Why?
- Can you think of another remarkable medical innovation you have heard of? What is it? How and where can it be used? What makes it remarkable?
- After reading of Manu’s innovation, can you imagine another medical device that could be made simply and inexpensively to make the technology more accessible?
Consolidation
Part 1: Drawing conclusions

Using a method of your choice, explain how microscopes have aided scientists in their work in the past and in modern times. Be sure to:
- describe the contributions of the various improvements and developments
- comment on how the innovations have helped our understanding of the previously “invisible” cells of the human body
- identify how they have addressed real-world problems
You may wish to include a timeline as part of your final product. When you have completed Part 1, move to Part 2.
Part 2: Creating instructions

Imagine you are teaching someone who has never used a microscope how to safely use and care for this instrument. Create a detailed instruction manual, in print, digitally, or in a video about using a microscope. Be sure to include safety tips!
Reflection
As you read the following descriptions, select the one that best describes your current understanding of the learning in this activity. Press the corresponding button once you have made your choice.
I feel…
Now, expand on your ideas by recording your thoughts using a voice recorder, speech-to-text, or writing tool.
When you review your notes on this learning activity later, reflect on whether you would select a different description based on your further review of the material in this learning activity.
Press ‘Discover More’ to extend your skills.
Discover MoreAre you interested in building your own microscope? There are some simple options online for DIY microscopes. Ask an adult for assistance where needed. Try making this homemade magnification device.
Materials

Gather the following basic materials:
- two full-sized pencils
- clear tape
- a sheet of white paper
- an eye dropper
- water
- specimen slides or very small objects from around the house
Procedure

- Place the two pencils parallel to one another, about 6 cm apart on the sheet of white paper.
- With a helper holding the pencils steady, place three separate strips of clear tape, sticky side down and suspended off the paper from one pencil to the other, extending past the pencils to stick to the paper, which will hold the pencils in place. This will result in three strips of tape parallel to one another along the length of the pencils, but perpendicular to the pencils themselves (be careful not to touch the sticky side of the tape, for you will leave fingerprints that will blur the items you wish to examine).
- Using the eye dropper, place one drop of water in the centre of each strip of tape, increasing the amount of water each time, so that you end up with three different-sized drops on the strips of tape.
- Next, glide the microscope slides (or very small objects you have found at home) under the pencil and tape structure, stopping at each strip of tape to view the varied effects of the different-sized water drops.
- You could further enhance the magnification effect by using a magnifying glass to view the items under each droplet.
Pause and Reflect
Pause and reflect
What did you observe as you moved the item under examination from one droplet to another?
If you observed changes, were the changes what you expected (predicted)? If they were different, how were they different?
Did any changes you observed happen in the order or direction you were expecting (predicting)? Describe your expectation (prediction) and the actual outcome.