Minds On
Water is all around us!
This learning activity highlights people, places, or innovations that relate directly to the province of Ontario. Enjoy the exploration!

Water is everywhere, all around us! Can you name some of the ways water moves in your community?
Ontario is home to many waterfalls. It is easy to notice water moving when it stays as a liquid. What about when water changes to a solid or gas?
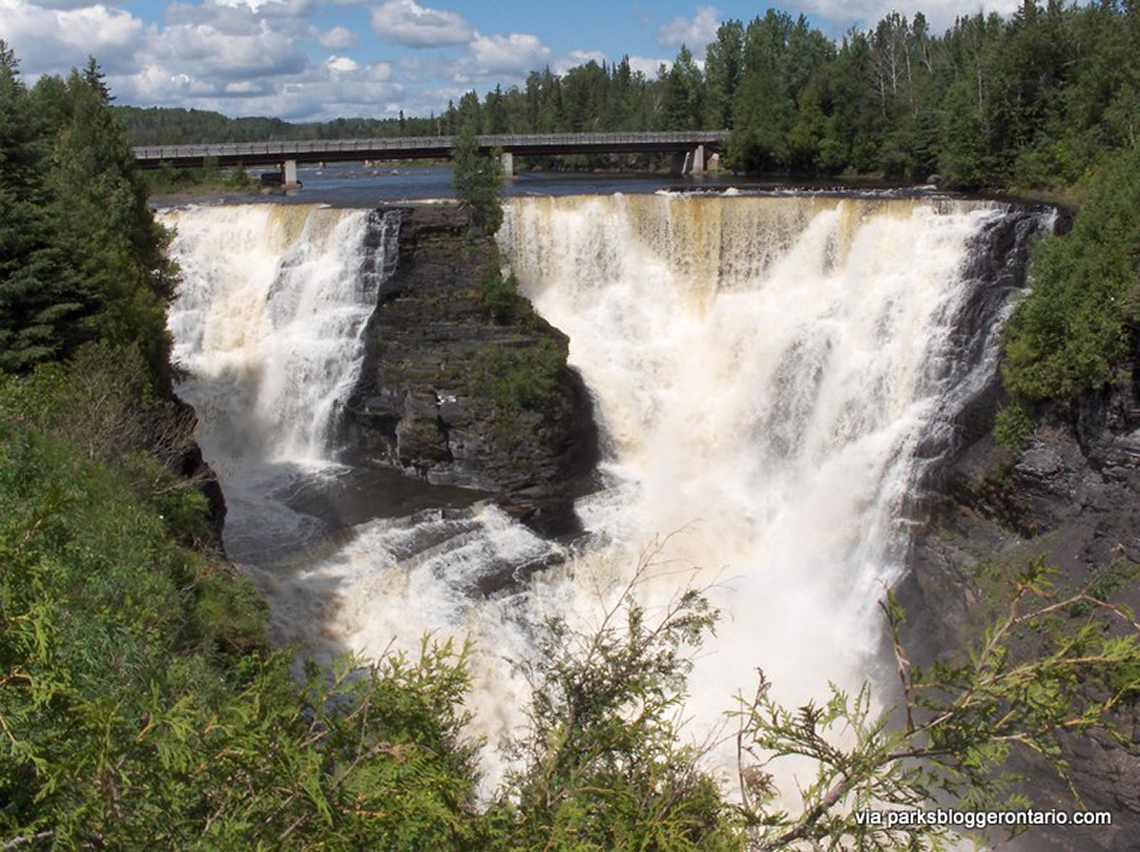
Check out the following video of Kakabeka Falls in Ontario!
Connections
Connections
Think about what you know about water. How can you share what you know? You could draw or gather photos when outdoors with an adult, or orally describe the ways in which water exists in your local community. For the photos, you can use a camera or images you find on your device.
Action
Water cycle
Water exists on Earth in three states: solid, liquid, and gas. The amount of water on Earth always stays the same, but it is constantly moving around and changing between these three states. This movement and changing of state is known as the water cycle.
Discover how water moves in a cycle with the following song.
Access the following video entitled “Homework Zone: Water Cycle” to learn more about how water moves.
Explore the water cycle in the following animation.
The Water Cycle
The water cycle. Water droplets rise from the ocean (evaporation) to form clouds (condensation) which in turn release rain and snow back down to earth (precipitation). These three steps repeat in order in a cycle.
Liquid water mostly exists in lakes, rivers, seas, and oceans. When it gets hot enough, liquid water turns into a gas – water vapour. This change from liquid to vapour is called evaporation. Think of a puddle “drying up” when the sun comes out after it rains. The sun heats up the puddle water enough for it to evaporate into an invisible vapour. Don’t worry – the water still exists, just in a different state now. This will make clouds in the sky.
When water vapour cools way up high in the atmosphere, or when the air is so full of water vapour that it can no longer hold any more, the water returns to liquid – such as rain. This change from vapour to liquid is known as condensation.
Some of Earth’s water exists as a solid known as ice – where it is really cold! When ice melts from a cold mountaintop, it turns into liquid water and flows into rivers, lakes, and eventually the ocean.
Liquid water might “enter” your community by way of precipitation - rain, snow, sleet, ice pellets, or hail. Of course, the snow, sleet, ice pellets and hail are made of (solid) ice, but eventually these warm and melt to form liquid water also.
Let’s arrange the water cycle!
The following cards show the parts of the water cycle. Put the parts of the water cycle in each answer box in the correct order.
Let’s code!
Can you code the water cycle?
Coding can be used to create computer models of things we want to explain.
SCRATCH Jr is a program that can be used to write code. Each block contains a step or an instruction for the computer program to follow.
Student Success
Let’s think about code!
To explore some possible code elements including blocks that you may come across in this learning activity, check out the following Coding Chart.
Note to teachers: See your teacher guide for collaboration tools, ideas and suggestions.
 Description
The coding chart shows the icons and definitions for each Scratch coding block. Sprite, which is an icon of a learner, is a character that acts out your code. Backdrop, which is an icon of a landscape, is the background. Triggering, a yellow dot, is the start button. It is a yellow block with a green flag. It is your first block! Motion, a blue dot, makes a sprite move. The arrow shows how a sprite might move! Looks, a pink dot, changes how a sprite looks and talks. Sounds, a green dot, makes audio, or a sound. Control, an orange dot, controls when an action happens. End, a red dot, is how you end your code.
Now that you have explored what kind of blocks you can use, let’s get coding!
Check out the following example of precipitation in code:

Precipitation code
The precipitation sprite and the following blocks: Green Flag, Hide, Wait 10 seconds, Move Left 5 grid squares, Show, Move Down 5 grid squares, Hide, and Repeat Forever.
Let’s create your own coded model of the water cycle.
We will use coding “blocks” that you can move around and put in place to show the water cycle.
The character, also called a sprite, has been given to you. It is a sun. We will use the sun to code the process of water drying up in the cycle.
Let’s explore a Ten Frame to code one part of the water cycle! Try using it yourself and ask for help if you need it!
Press ‘Reveal’ to access the code!

Let’s try coding another part of the water cycle process! Let’s code condensation.
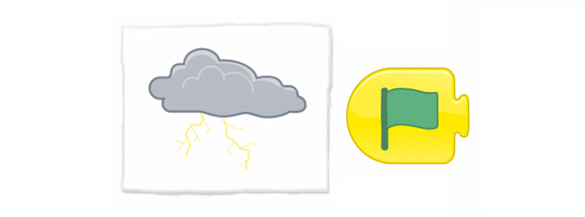
The sprite for condensation is a storm cloud. Your code begins with a storm cloud and the green flag to indicate the script starting.
Let’s explore a Ten Frame to code the condensation part of the water cycle! Try using it yourself and ask for help if you need it!
Press ‘Reveal’ to access the condensation code!

Condensation code
Code starting with a storm cloud followed by: green flag, Hide, Wait for 10 seconds, Show, Move Left 5 grid squares, and Repeat Forever.
Let’s try coding another part of the water cycle process! Let’s code evaporation. The sprite for water vapour is steam. You’ve also been given the sprite and starting flag.
Let’s explore a Ten Frame to code the evaporation part of the water cycle! Try using it yourself and ask for help if you need it!
Press ‘Reveal’ to check out the evaporation code!

Evaporation code
Code starting with water vapour followed by: green flag, Show, Wait for 10 seconds, Move Up 5 grid squares, Hide, and Repeat Forever.
Scratch
If possible, let’s try your code in Scratch Jr, a coding app that can help us learn and practise block coding.
We will use Scratch Jr to build and test models of the water cycle.
Press ‘Scratch Jr(Opens in a new window)’ to access the coding site.
Let’s explore the following steps to build the water cycle on Scratch Jr.
Press the following tabs to access the steps.
Scratch Jr has only a few weather-related “sprites” or characters, such as the sun and a storm cloud. How do you think we can have sprites for the other parts of the water cycle in our code?
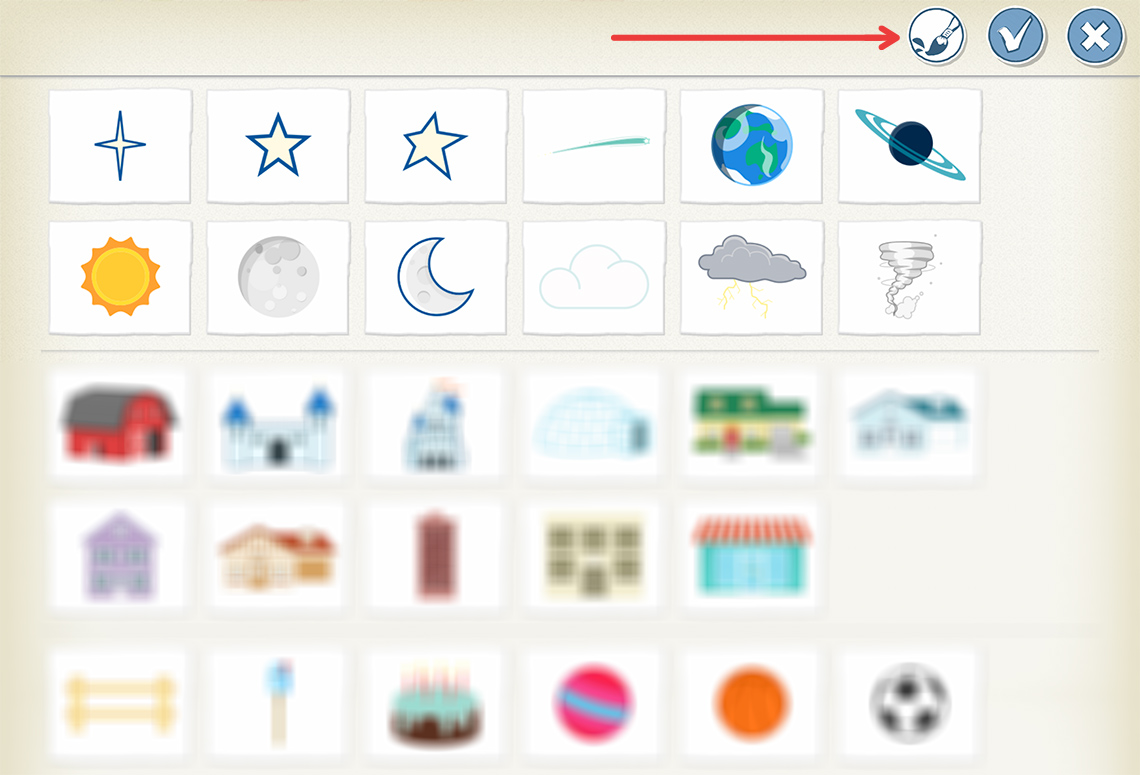
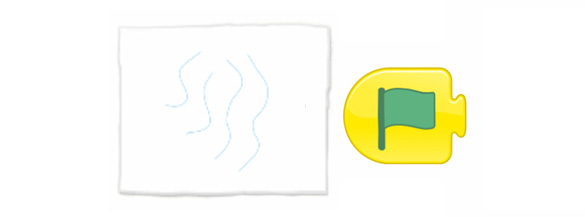
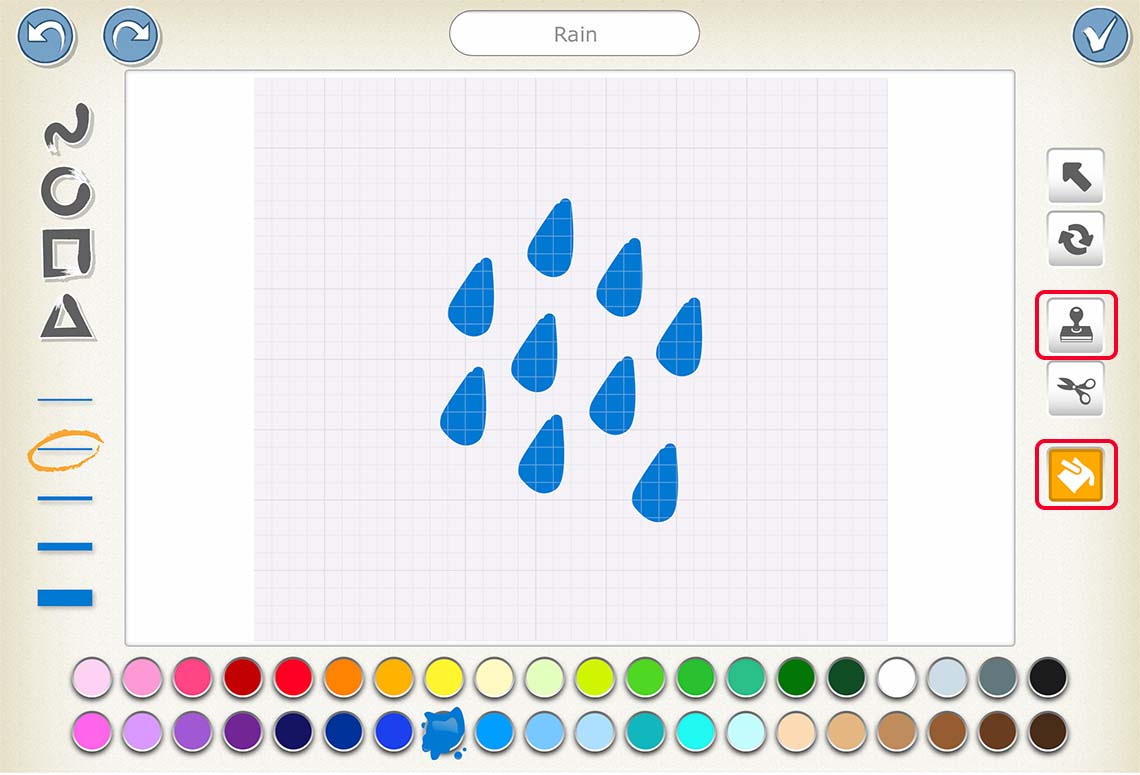
You could use the Editor or paintbrush tool to draw your own! Consider the following example of a sprite for the “rain” part of the water cycle:
Try using the draggable blocks from earlier as your guide. Create your program in the app to show the change in state, for example, from liquid to gas or gas to liquid, from one part of the water cycle to the next.
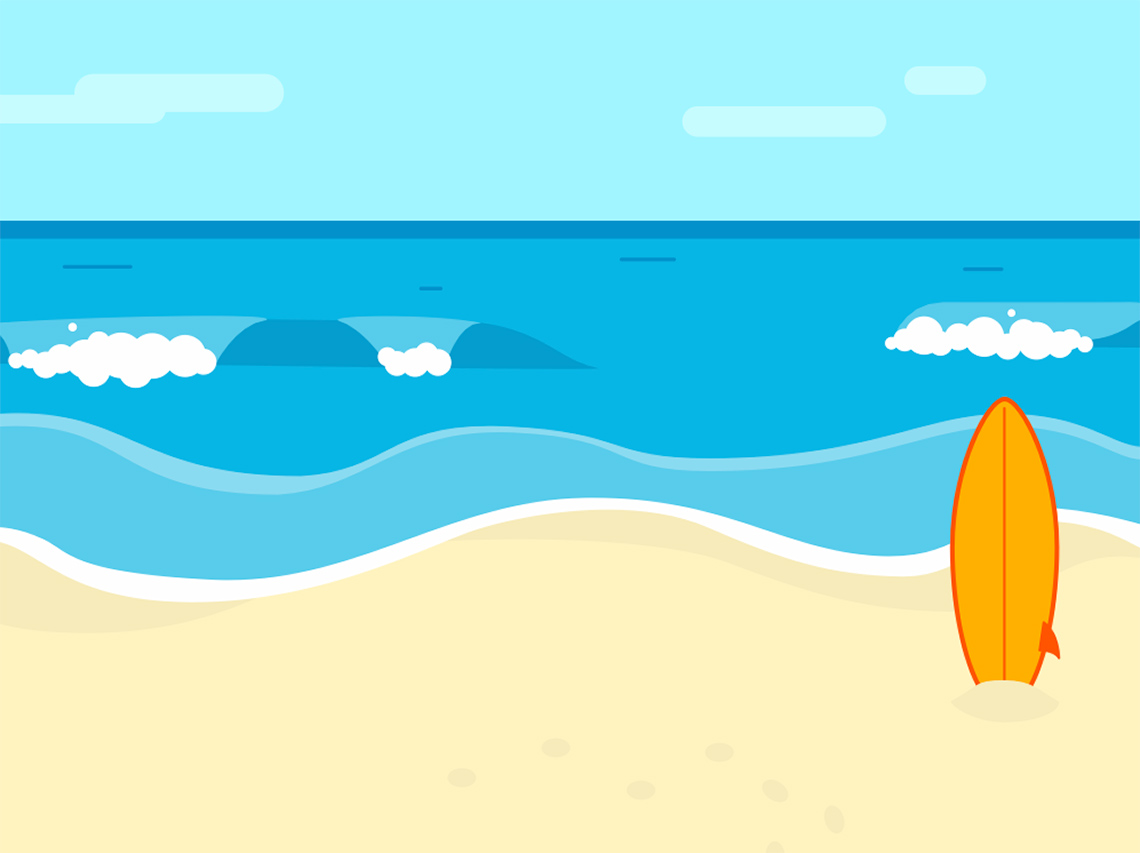
We recommend using the “Beach Day” background for this one:
If possible, you can also record your voice or an audio recording in Scratch Jr.
How can you record your voice, describing each part of the water cycle?
Try using the “Play recorded sound” block! In this case, use this block at the beginning of each chain in your program so that it describes each part while it’s happening.
Consider the following example of the block being used in the code for the “rain” sprite:
How can we create the water cycle? Let’s use the draggable blocks to create your code and demonstrate the change from one stage of the water cycle to the next.
Here are a few blocks that we can use:
 Description
The rain sprite followed by: Green Flag, Play Recorded Sound, Hide, Wait for 10 seconds, Move Left 7 grid squares, Show, Move Down 5 grid squares, Hide, and Repeat Forever.

Can you share the water cycle? Can you make it “repeat”?
For example, if the code ended, how do we have it repeat and start again?
We can use the make it repeat block:
Consolidation
Test it out!

Now let’s check out our water cycle code!
You may use the following checklist to guide your code.
For your code, make sure to do the following:
What do our water cycle programs tell us?
Compare your coding program to the water cycle in nature. Does your water cycle program share what happens in each part?
Student Success
Think!
Can you explain how water moves in your own community, compared to somewhere like the beach in the Scratch Jr example?
If possible, share your answers with a partner.
Note to teachers: See your teacher guide for collaboration tools, ideas and suggestions.
If you live near a body of water, like a river, pond, lake or ocean, water might both enter and leave your community. You might notice liquid water leaving your community when the weather is very warm or hot, such as a puddle drying up after it rains, or the grass on the ground turning yellow or brown and becoming very dry. The entering and leaving of water in your community happens through precipitation, evaporation and condensation.
Reflection
How do you feel about what you have learned in this activity? Which of the next four sentences best matches how you are feeling about your learning? Press the button that is beside this sentence.
I feel…
Now, record your ideas about your feelings using a voice recorder, speech-to-text, or writing tool.