Minds On
Force
We are surrounded by forces in our daily lives. You may notice and use forces everyday.
Explore the following carousel of some examples of forces.


Brainstorm
What is a force?
Now that you have explored some images of forces, answer the following question:
- What do you think the definition of a force is?
Record your brainstorm using a method of your choice.
Press ‘Force’ to access a definition of what a force is.
A force is a push, pull, or other factor that can make an object change speed, shape, or direction.
Action
Types of forces
Forces can be sorted into two main groups: contact and non-contact.
- Contact forces happen when two objects come into direct contact with each other, or they are touching to create a force.
- Non-contact forces happen when a force acts on an object, without touching it. For example, gravity and magnetism.

An exploration of contact forces and non-contact forces. Contact forces are forces experienced by bodies when they are in physical contact with each other. One example is muscular force, which is force due to the action of muscles, such as a person moving a box by pushing it. Another example is frictional force, where force acts opposite to the direction of motion. Non-contact forces are forces experienced by bodies even if they are not in physical contact with each other. This includes magnetic force, which is force exerted by a magnet; electrostatic force, which is force exerted by a charged body on another charged body; and gravitational force, which is attractive force exerting between two objects.
Explore the following Science North video entitled “Contact and Non-Contact Forces” to learn more about different types of contact and non-contact forces.
In the previous video you learned about many different types of contact and non-contact forces! Review what you have learned by completing the following matching activity.
For each type of force select the corresponding description and image.
Pause and Reflect
Contact and non-contact forces
In your own words, describe the difference between a contact and non-contact force. Be sure to use specific examples from your learning to support your answer.
Record your response using a method of your choice.
We have explored a few examples of forces that cause movement. Can you think of any examples of when two different forces cause movement?
Explore the following video for an example of different forces that cause movement, and record what you notice using a method of your choice.
Press ‘Possible Ideas’ to access the forces that were encountered in the video.
In the previous video, a person is pushing a child on a swing. The person pushing the swing is using their muscular force to move the swing. However, gravity is pulling the child on the swing back down towards the Earth and towards the person pushing.
Let’s experiment!
Think about the different kind of forces that you’ve learned about so far in this learning activity. Each force that you observed acted on an object. Based on what you’ve learned so far, respond to the following question using a method of your choice.
- How can a force can act or “be exerted” on an object?
Press ‘Answer’ to access some possible answers.
Forces can:
- change the object from rest to moving
- change the force of motion, making an object move faster or in a different direction
- change the shape of an object
- change the size of an object
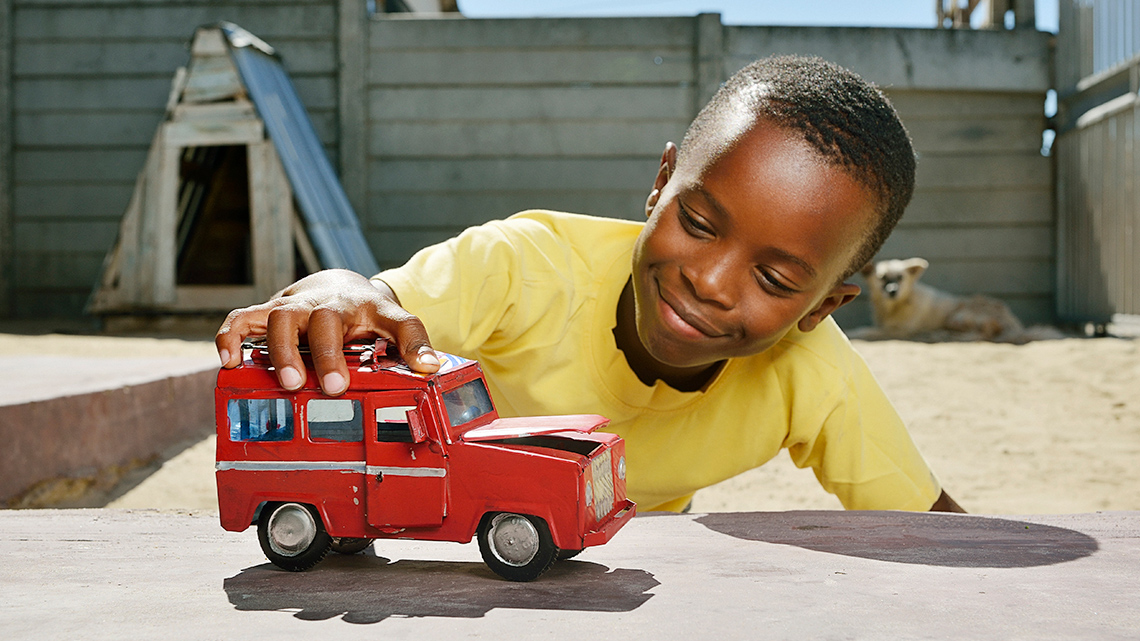
In this next task, you will be designing an experiment to create and move a toy car using different contact and non-contact forces. As you are designing, you will learn a little more about each step of the engineering design process.
Engineering design process
In Science we ask questions to help us figure out what the problem is.

In Science we ask questions to help us figure out what the problem is.

Brainstorming is when you think about ideas like how to solve a problem.

When you plan something, you think about the steps you have to follow and the materials you will need.

It’s time to build. Gather your materials and your plan and start building!

Testing lets you try out your design to see if it works.

Improving is about making your design even better.

Sharing what you have learned lets other people know about your topic too!
Safety
Before you explore the following experiment, let’s perform a safety check.
Hands-on Science
Design and move a toy car
Using the following guiding questions, design your experiment!
If possible, create and test your experiment or use the video in the following accordion to draw conclusions. You can record your ideas using the graphic organizer provided following the accordion, or another method of your choice.
Press the following tabs to access the materials needed and experimental procedure for the “Design, Create and Move a Toy Car” experiment.
If you do not have access to materials, access the “video demonstration” tab to explore the experiment in action. You can use the video to make your observations and draw your conclusions.
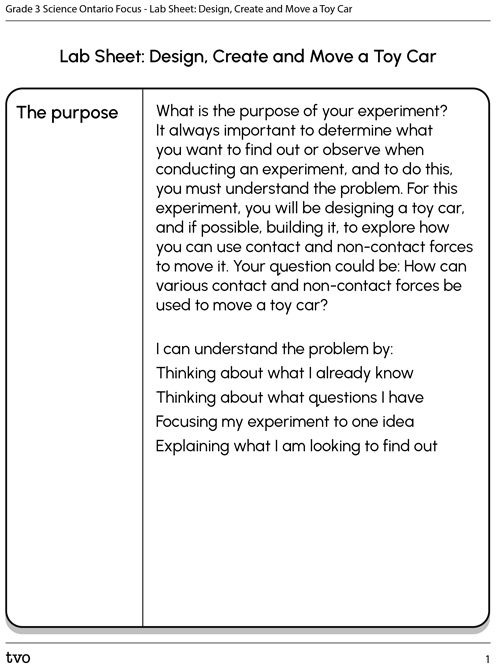
What is the purpose of your experiment? It is always important to determine what you want to find out or observe when conducting an experiment, and to do this, you must understand the problem.
For this experiment, you will be designing a toy car, and if possible, building it, to explore how you can use contact and non-contact forces to move it. Your question could be: How can various contact and non-contact forces be used to move a toy car?
Explore the following checklist to access some tips that can help you while you are working on this experiment.
Experiment Purpose Checklist
I can understand the problem by…
A prediction is a possible answer to a question, or what you think will happen based on what you already know.
Now that you know what we are trying to learn more about, create a prediction about which contact and non-contact forces you think you will use to move a toy car. Which will work best? Why do you think that?
Explore the following checklist to access tips that can help you make a prediction.
Experiment Prediction Checklist
I can make a specific prediction by…
List any materials that you think you might need to complete your experiment. For this experiment, consider:
- What materials will I need to build my toy car?
- What materials will I need to test contact forces that will move the car?
- What materials will I need to test non-contact forces that will move the car?
In this step you will design the procedure for your experiment in step-by-step instructions. Be sure to include:
- How to build the toy car (include materials you may need, and if possible, an image or detailed audio recording of how to assemble the car)
- How to test the car (what will you use to move the car, consider contact and non-contact forces)
- What steps will someone take to test out this experiment and record their observations?
You can explore a similar experiment being conducted in the following video!
Explore the following Science North video entitled “Contact and Non-Contact Forces” to learn more about designing cars.
Complete the following activity Design, Create and Move a Toy Car in your notebook or using the following fillable and printable document. If you would like, you can use speech-to-text or audio recording tools to record your thoughts.
Press the Activity button to access the Design, Create and Move a Toy Car.
Activity (Open PDF in a new tab)Great job! Now that you have completed designing your experiment, it is important to test out your experiment and gather observations and results.
How would you test out your car?
Record your ideas using a method of your choice.
Press ‘Possible Ideas’ to access examples that can help you to test your experiment.
- You could test muscular force by using the force of your hand to push the car and observe how it moves.
- You could test the force of gravity by sliding the car down a ramp or slide.
- You could test friction by changing the surface or texture of the ramp being used.
- You could use two magnets, attaching one to the car and using the other one to push or pull the car, to test magnetism.
Consolidation
Reflect and connect
Using a few examples from this learning activity, describe how different forces can be applied to an object and then explain what those forces cause the object to do.
Press ‘Hint’ to access some questions to consider.
For example, when you apply force to a toy car, what happens to it?
Or, think about the example of the child being pushed on the swing, what was happening because of the force? What else could happen?
Record your ideas using a method of your choice.
Demonstrate your understanding
Create an infographic (in print or digitally) or record a detailed description using a method of your choice to explain the difference between contact and non-contact forces. Be sure to include specific examples of each force and where someone might encounter them in everyday life.
Press ’What is an Infographic?’ to access a definition of what an infographic is.
An infographic is a visual representation of your learning that is summarized on one page. It includes diagrams, words, pictures, key words or phrases, key definitions, examples, etc.
Use the following checklist to guide the creation of your infographic or recording.
Infographic Checklist
Be sure to include the following in your infographic or detailed recording:
Reflection
How do you feel about what you have learned in this activity? Which of the next four sentences best matches how you are feeling about your learning? Press the button that is beside this sentence.
I feel…
Now, record your ideas about your feelings using a voice recorder, speech-to-text, or writing tool.