Minds On
Ontario rocks
This learning activity highlights people, places, or innovations that relate directly to the province of Ontario. Enjoy the exploration!


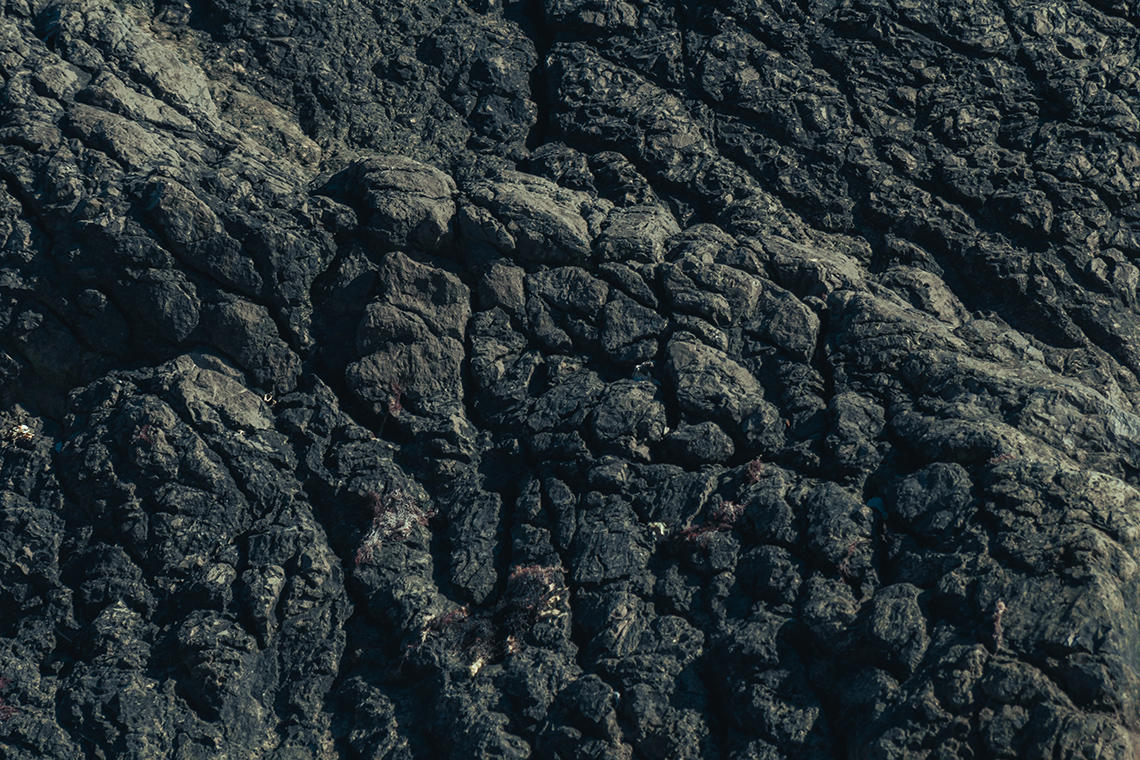
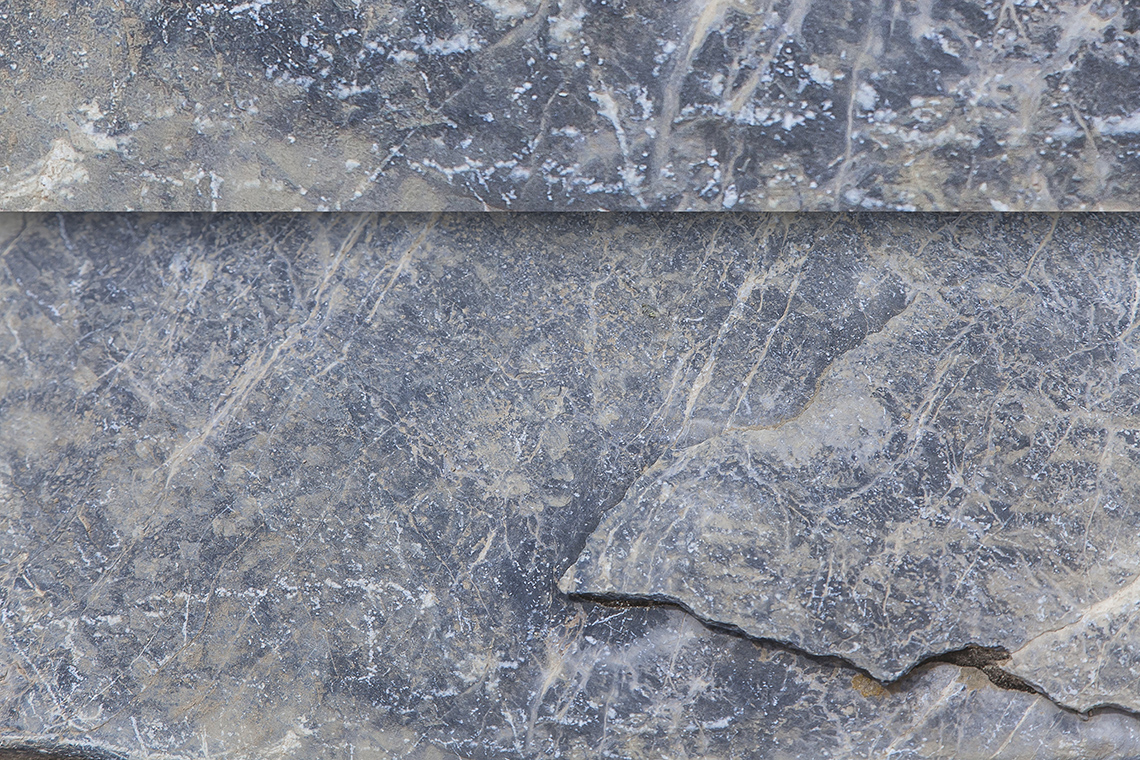
A Canadian Shield rock face
Rocks are very important as they are used to build roads, sidewalks, and may even be found in landscaping in gardens and parks. Minerals, like rocks, are also important. Minerals are used in making a variety of things like cars, wire, batteries, and jewelry. Some minerals, like salt, play an important role in the health of people and animals.
Connections
Career connections
Have you ever thought about having a job studying rocks and minerals? Access the following video, entitled “Paula Piilonen – Mineralogist” to learn more about being a mineralogist.
Rocks in our daily lives
How do rocks and minerals influence people’s lives? Match the pictures to the following descriptions of how rocks and minerals are used in our daily lives.
For each description, select the corresponding rock or mineral.
Action
Rocks and minerals

Almost two thirds of the province of Ontario is made up of hard rock. This area, known as the Canadian Shield, is composed of a variety of rocks and minerals.

A map of Canada showing the Canadian Shield, which is roughly a horseshoe shape around Hudson’s Bay. In the east, it covers all of Labrador and Newfoundland, most of Quebec, the majority of Ontario, the central and most northern parts of Manitoba, northern Saskatchewan, a small portion of northeastern Alberta, the eastern half of the Northwest Territories, most of Nunavut's mainland, Baffin Island, large parts of Somerset Island, Southampton Island, Devon Island, and Ellesmere Island. The map contains a compass rose indicating the directions north, south, east and west and the title Map of the Canadian Shield. The legend indicates the location of the Canadian Shield.
Rocks and minerals may look the same, but they are different.
Safety reminder
Always be sure to check with an adult before going exploring outdoors.
Try It
Comparing rocks and minerals
Grab a rock from outside and compare it to a mineral like table salt, or to one of the pictures of rocks and minerals from the matching game in the Minds On section of this learning activity.
What do you notice? What do you wonder?

An illustration of a rock and a mineral. Arrows pointing to the rock provide the following information: non-living; solid; can be found in nature; made of many things stuck together. Arrows pointing to the mineral provide the following information: non-living; solid; can be found in nature; made of a single substance.
Though both rocks and minerals are solid, can be found in nature, and are non-living, they do have one big important difference: minerals are only made of one substance, whereas rocks are made up of many things stuck together.
Examine the following chart:
|
Properties of rocks |
Properties shared by both rocks and minerals |
Properties of minerals |
|
made of more than 1 mineral |
solid |
inorganic |
|
can contain organic material |
naturally occurring |
crystalline structure |
Check out the following video to learn more about the similarities and differences between the different types of rocks and minerals. As you are exploring the video, record any important ideas or concepts in a method of your choice, as well as observations from the experiments.
Learning check!
Explore whether the following statements are true or false.
Select the correct answer, then press ‘Check Answer’ to see how you did.
Indigenous geological knowledge
Press the following tabs to learn more about Indigenous geological knowledge.

Canadian Shield
As there are many nations and communities that exist across Turtle Island, the name that many First Nations communities use to refer to the lands known as North America, Indigenous perspectives are varied, depending on the community. Specific First Nations, Métis, and Inuit worldviews are spread through their community’s traditions, teachings, ceremonies, creation stories, languages and more.
As you have learned, Western science classifies things as animate (living), such as humans, animals, and fish, or as inanimate (non-living), such as rocks, waters, and mountains. Though distinct, most, if not all Indigenous worldviews believe that the land and the elements that come from it all have a spirit, and are all living things.
Within many Indigenous languages, the names for rocks, the lands and the waters are described using language that recognizes the spirit that lives within each one.
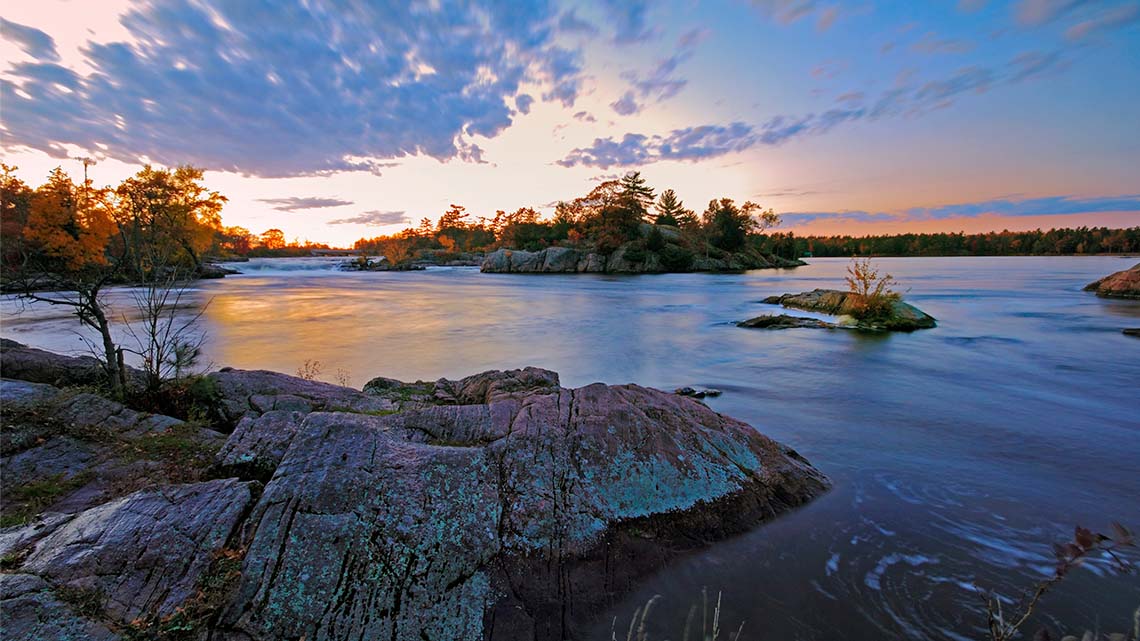
Sunset on the Canadian Shield
Because Indigenous peoples have lived on these lands as long as can be remembered, they have developed deep knowledge about these particular places. This knowledge, called place-based knowledge or traditional ecological knowledge, comes from the observations of generations of Indigenous peoples living on the land. Each generation has learned more about specific plants, environments, and the ecological factors that exist in a given area. Even as time goes on, this knowledge adapts because the environment continues to change.
This knowledge also includes rocks, as they have been used for many different purposes in Indigenous communities and cultures. Rocks are sometimes referred to as Grandfathers to reflect the age and wisdom they carry with them.
Rocks tell stories of important events throughout history and are a connection to the ancestors that have walked these lands for millennia.
Just like geologists, Indigenous peoples also learn from rocks, and use their observations to determine which rocks are best to use for different purposes. Some are selected because of their shape, type, or size to be used in ceremonies, or to mark important cultural or sacred sites.
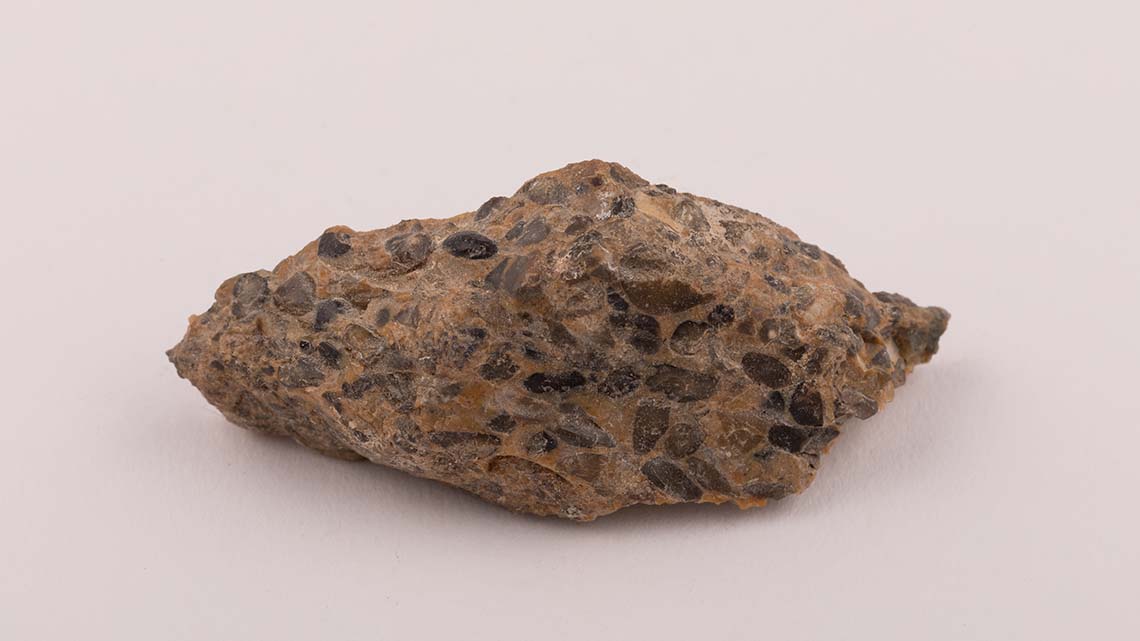
A rock that includes flint pebbles and quartz.
For example, flint is a rock made of quartz or silicon that is both hard and sharp. Nations used flint for many purposes, including arrowheads for hunting, knives for cooking, axes for chopping wood, and as a fire-starter.
Many nations throughout Ontario also used a softer mineral called hematite to make red-ochre paint by grinding the mineral into a fine powder and then mixing it with water. These paints were used to create sacred symbols called pictographs on large rocks or cliffs.
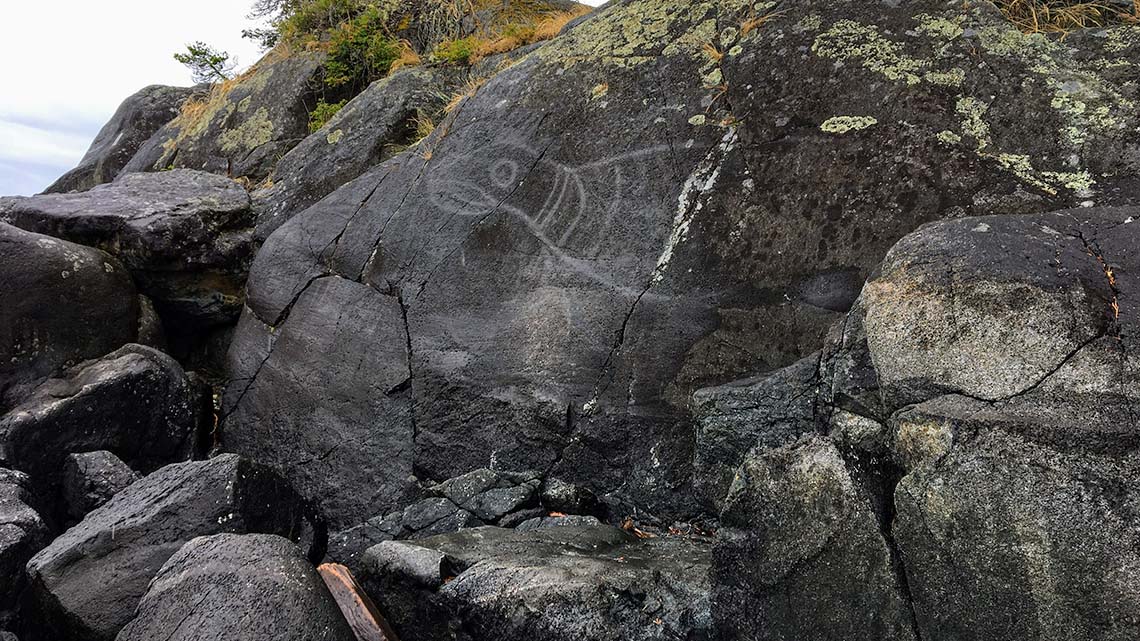
A pictograph on Vancouver Island.
Pause and Reflect
Indigenous knowledge
Why don’t Indigenous communities classify objects as non-living things?
What are some of the ways that rocks are used in many Indigenous communities?
Record your answers in a method of your choice.
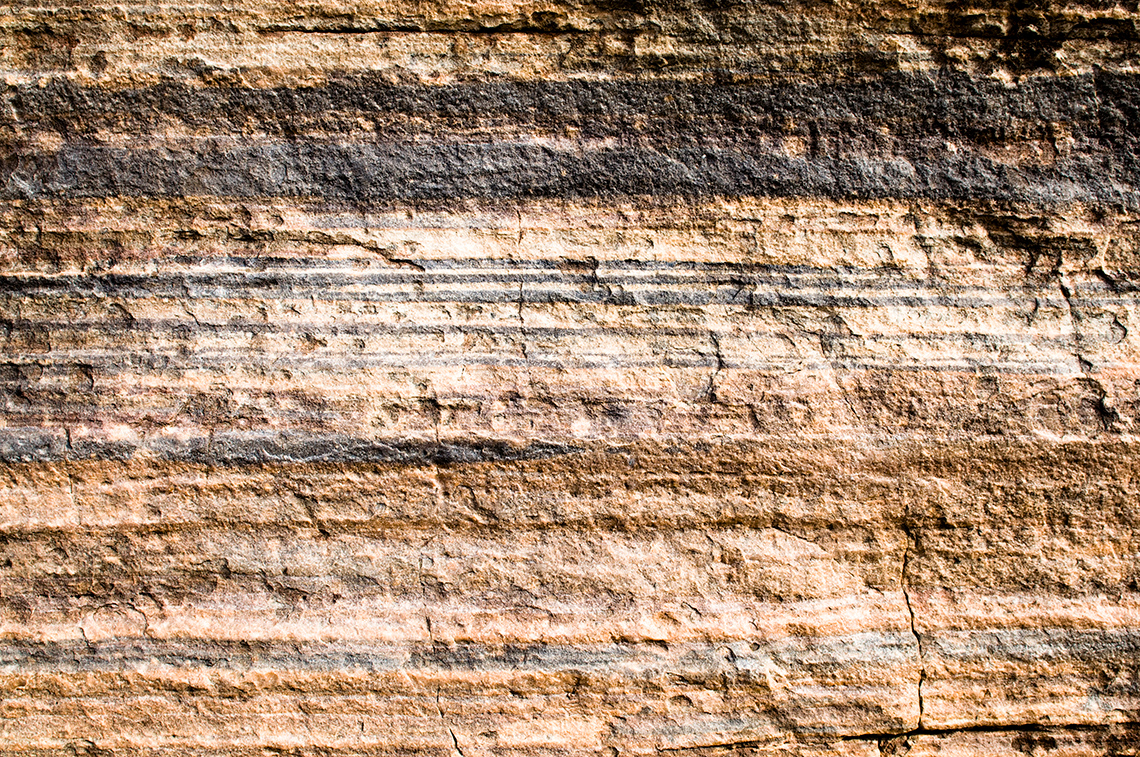
Types of rocks
The rocks that are part of the Canadian Shield in Ontario consist of two of the three rock categories. Geologists use the following categories with their descriptions to classify rocks.
Press the following tabs to access the three categories of rocks found Ontario.
Igneous rocks:
- are formed from magma when it cools
- generally have no layers
- have variable textures
- contain no fossils
Metamorphic rocks:
- are formed from heat and pressure
- can have some layers of minerals
- rarely contain fossils
Sedimentary rocks:
- form when sediments are deposited and squeezed together
- large rocks are weathered by wind, rain, freeze, thaw, and plant roots, which break rock into small pieces, or sediment
- sediment is then deposited into layers that cement together under extreme pressure
The rock cycle
Nature is filled with cycles such as the water cycle, the nitrogen cycle, as well as the life cycles of animals and plants. Rocks have cycles too! In fact, the three different types of rocks (igneous, sedimentary, and metamorphic) are formed through the rock cycle.
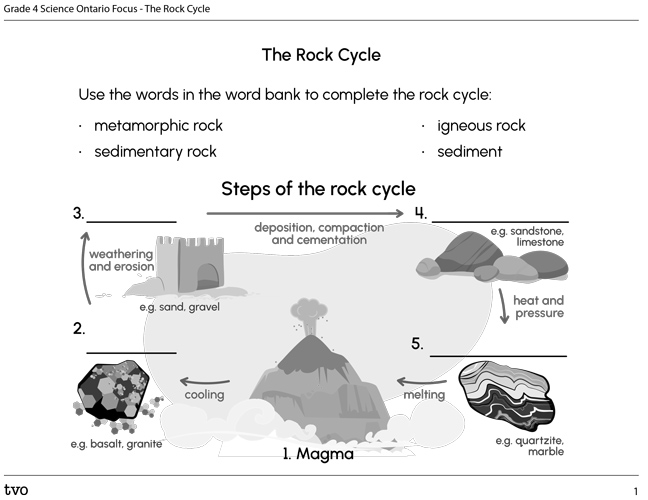
Examine the following diagram to see how igneous, sedimentary, and metamorphic rock are formed. Be sure to explore the information on the arrows.

Steps of the rock cycle are presented in a circular diagram and labeled from one to five. In between each step, there are arrows. In clockwise order starting at the bottom, the labels read as follows: One, Magma. An arrow labeled “cooling” points to igneous rock. Two, Igneous rock. An arrow labeled “weathering and erosion” points to sediments. Three, Sediments. An arrow labeled “deposition, compaction, and cementation” points to sedimentary rock. Four, Sedimentary rock. An arrow labeled “heat and pressure” points to metamorphic rock. Five, Metamorphic rock. An arrow labeled “melting” points to magma, completing the cycle.
Using the numbers on the rock cycle diagram as a guide, examine the different steps and determine how cooling, melting, weathering, erosion, deposition, compaction, and cementation help to form and break down rocks. Check out the following carousel to explore each step!

Step 1. Magma comes out of a volcano and starts to cool. As it cools, it hardens and forms igneous rock.

Step 2. Hardened igneous rock gets exposed to rain, wind, and weather that erodes the rock down into smaller pieces.

Step 3. The smaller pieces or sediment can continue to be eroded, be transported by wind or water, and then deposited on land or at the bottom of a river. Time and pressure act on the sediments. The layers of sediment get cemented together.

Step 4. The cemented layers get hard and form sedimentary rock. The sedimentary rock can then be affected by more heat and pressure. For example, tectonic plates can rub against each other, or some of the sedimentary rock can be shoved underground. The heat and pressure change the sedimentary rock.

Step 5. When the heat and pressure affect sedimentary rock, it is changed to metamorphic rock, and the cycle begins again.
Pause and reflect
Characteristics of rocks
Let’s take a closer look at that rock you selected earlier. What are its characteristics? Is it layered? Are several materials bonded together? Is the rock all one texture or colour? What kind of rock do you think you may have? Explain your thinking.
Record your answers on paper, digitally, or orally. You may wish to include a sketch or picture of your rock.
Let’s rock on!
Another way to help combine the three types of rock and the rock cycle is to make a model of the cycle.
Before beginning your experiment, explore the following video that explains the scientific experimentation process. This will help guide you as you work your way through this activity.
Check out the following video to learn about the steps of the Scientific Experimentation Process.
Safety
Before you begin:
Hands-on Science
Hands-on science
Using jellybeans, caramels, chocolate, or play dough, create a model of each of the three different types of rocks Make sure to recreate the process of how they are formed!
Materials-Needed
Materials-needed
To do this experiment, you will need the following materials:
Once you have assembled your materials, press the following tabs to access the experiment’s steps.

Let’s start! If you are using candies with wrappers, unwrap the candies. Using the plastic knife, cut up each candy into fourths. This simulates erosion and the breakdown of larger rocks into smaller pieces. The resulting pieces of candy or play dough will act as sediments.

Using your hands, compact the sediments together to form “sedimentary rock”.

Place the rock into the plastic bag and seal it. Apply heat and pressure with your hands. The sample is now a “metamorphic rock”.

Remove the “metamorphic rock” from the plastic bag and place it on the plate, or in a bowl or mug.

If you are working with candy, microwave the candy rock for 30 seconds until it becomes a liquid. The rock is now “magma.” Be sure to use oven mitts to remove the container from the microwave, or ask an adult for help. You can also use a hair dryer instead of a microwave to heat up the candy.
If you are working with play dough, press down on your “metamorphic rock” with your hands until it is flat and resembles a puddle of liquid rock.

Once the magma cools and hardens, the sample will be “igneous rock”.
When the igneous rock is weathered and eroded, sediments will be formed and the process will repeat itself.
Pause and Reflect
Natrual processes of rocks
Recall how you “created” each type of rock. What natural processes were involved in making a sedimentary rock? Metamorphic rock? Igneous rock? What role do these processes play in the rock cycle? How did scientific experimentation help consolidate your learning about these rocks and the rock cycle?
Record your answers on paper, digitally, or orally.
Consolidation
Now it’s your turn
Ontario rocks are easy to find and observe. However, the rock cycle, the process of making rocks, may seem complicated. Let’s check our learning with a flowchart!
Each card shows a step of the rock cycle. Put the steps in the correct order.
Complete "The Rock Cycle" in your notebook or using the following fillable and printable document. If you would like, you can use speech-to-text or audio recording tools to record your thoughts.
Pause and Reflect
Similarities and differences of rocks
In your own words, describe the similarities and differences between sedimentary, igneous, and metamorphic rocks.
Record your answers on paper, digitally, or orally.
Reflection
As you read through these descriptions, which sentence best describes how you are feeling about your understanding of this learning activity? Press the button that is beside this sentence.
I feel…
Now, record your ideas using a voice recorder, speech-to-text, or writing tool.