Minds On
Machines
This learning activity highlights people, places, or innovations that relate directly to the province of Ontario. Enjoy the exploration!


Machines are an important part of people’s lives. From simple machines that help people lift heavy objects to the wheel and axle on a bicycle, machines help people do work more easily. There are many types of machines, both simple and complex.
Think!
Think!
Make a list of simple machines (pulleys, wedges, etc.), and a list of complex machines made from more than one simple machine (bulldozers, tow trucks, etc.).
If possible, work with a partner to create your lists. Record your answers on paper, digitally, or orally.
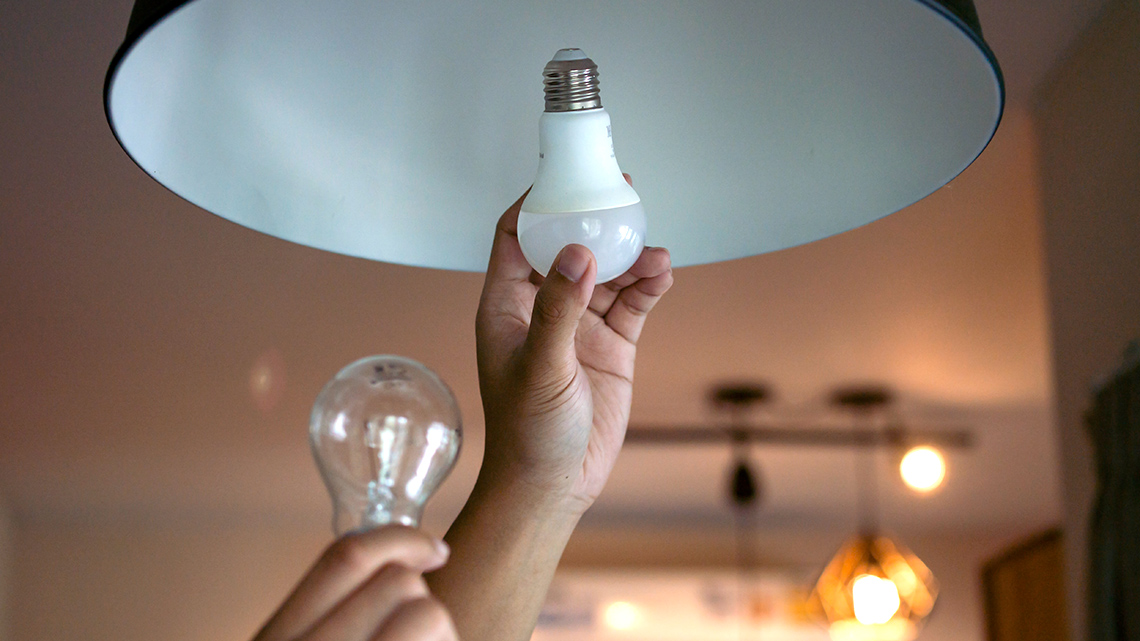
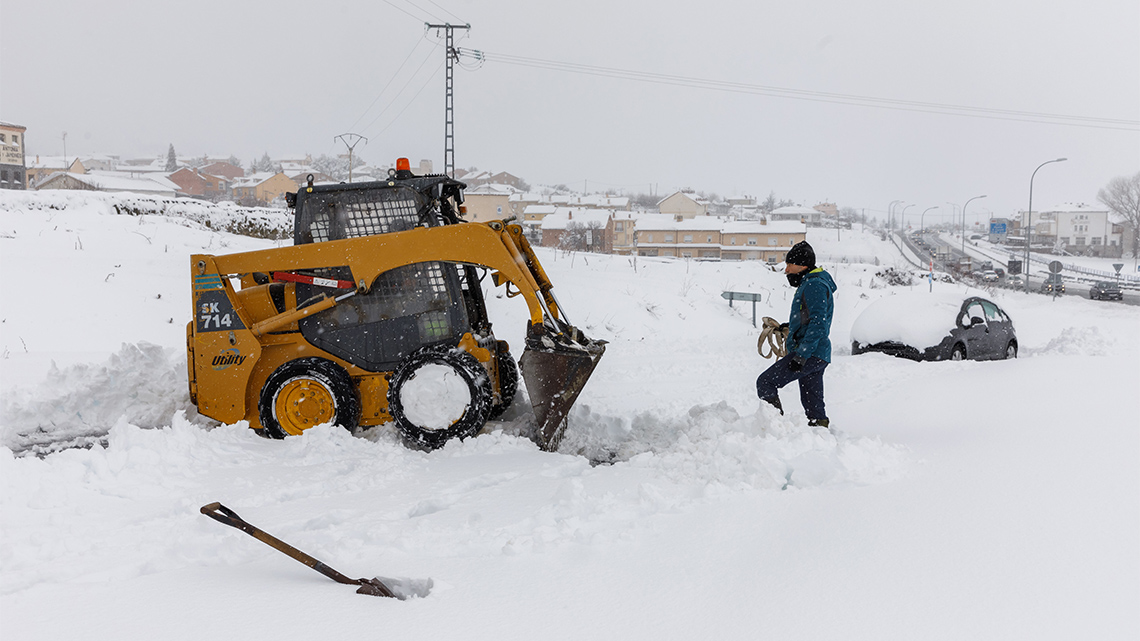
Use the following images to help you brainstorm ideas.
Examine your list. Think about what each simple and complex machine is used for. How does the machine make people’s lives easier?
Action
Mighty machines
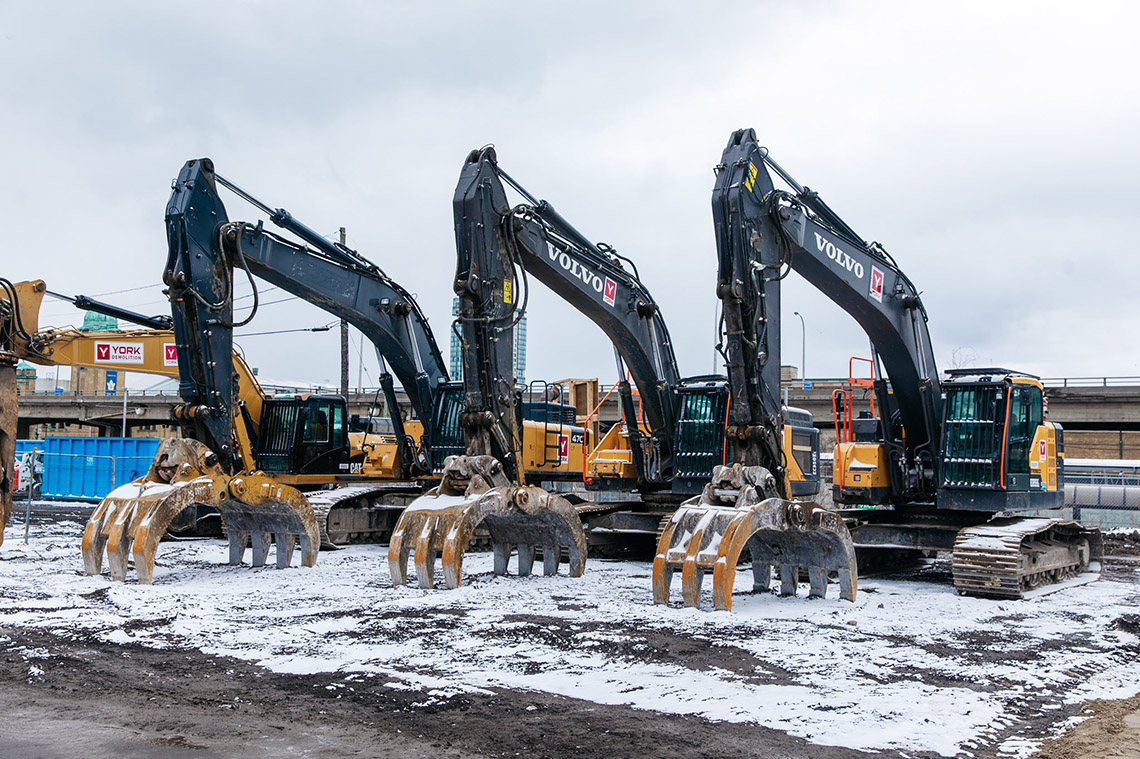
Hy Hoe Excavators at the groundbreaking announcement for the construction of the new Ontario subway line in Toronto, March 27, 2022 (Doug Ford/Twitter)
Heavy machines are seen working all over Ontario, making big jobs easier to accomplish. Complex machines like excavators and bulldozers are built around the principles of simple machines.
CCheck out the following Finding Stuff Out with Zoe video entitled “Machines” to learn more about the relationship between simple and complex machines.
Types of simple machines
The video we previously explored explained that there are six types of simple machines:
- lever
- screw
- pulley
- inclined plane (ramp)
- wheel and axel
- wedge
Simple machines make work, a force acting on something to move it across a distance, easier. Pushing, pulling, and lifting are types of work.
Mechanisms can also transmit different types of motion — think about steering a car or truck. We turn the steering wheel, and the wheels change direction. A rack and pinion uses a pair of gears which change rotational motion into linear motion. The circular pinion engages teeth on a flat bar known as the rack. Rotational motion applied to the pinion will cause the rack to move back and forth from side to side.

Some or all of these mechanisms can be found in many complex machines.
Simple machines make it easier to lift and move objects without a lot of effort. Imagine how tired workers would be at a mine or large construction site if they had to move dirt and rock by hand. The machines they use allow them to use less of their own energy to move larger amounts of heavy objects.
Check out the following Finding Stuff Out with Zoe video entitled “Machines” to see an example of a mighty mining machine at work.
That’s one mighty big machine! It can excavate 240,000 tons of coal in one day!
Levers
One of the simple machines listed above is the lever. It looks like a teeter-totter in the video clip you examined earlier. The parts of the lever are labelled in the following diagram, showing the fulcrum, load, and effort. The effort is the work which must be done to move the load. Notice the direction of the arrows for the load and effort. The load is pushing down on one arm of the lever, and the effort is pushing in the same direction, but on the other arm of the lever.
What will happen if a force pushes down on the effort arm of the lever? Let’s find out by setting up a lever.

An illustration of a class one lever. In the centre of the illustration, there is an equilateral triangle labeled “fulcrum.” A diagonal line starts to the left of the triangle and rises to the right. It is resting across the top point of the triangle. There is a box near the left-most side of the diagonal line labeled “load.” There is an arrow pointing to the highest point of the line on the right labeled “effort.”
It’s time to build and design!
Before beginning your engineering design, explore the following video that explains the Engineering Design Process. This will help guide you as you work your way through this activity.
Safety
Before you begin:
Hands-on Science
Creating a lever
Press the following tabs to access the materials needed and design process for creating your own lever.
A list of materials you need includes:
- ruler or sturdy piece of cardboard about 30 cm long by 5 cm wide
- toilet paper roll or paper tube
- plastic cup or empty fruit cup
- scissors
- variety of weights (rocks, building blocks)
- tape or glue
Glue or tape the plastic cup to one end of the ruler with the opening facing upward.
Using the scissors, cut a slit on one side of the toilet paper roll. Then create a matching slit on the opposite side so that you can slide the toilet paper roll over the ruler until it is in the middle of the ruler. The toilet paper roll will act as the fulcrum. Make sure that the ruler can slide easily through the roll.

A toilet paper roll rests on a counter. There is a slit cut in each side of the roll such that a ruler can pass through the toilet paper roll with equal lengths on either side. There is a small plastic cup attached to one end of the ruler, with the opening of the cup facing upward.
Position the paper roll in the middle so that the ruler is balanced.
Place a weight (load) in the cup at one end of the ruler and note what happens to each end of the lever.
Move the fulcrum (paper roll) closer to the end with the load. Note what happens.
Place a lighter weight or object on the other end of the lever. If nothing happens, then adjust the position of the fulcrum until the heavy load is raised up.
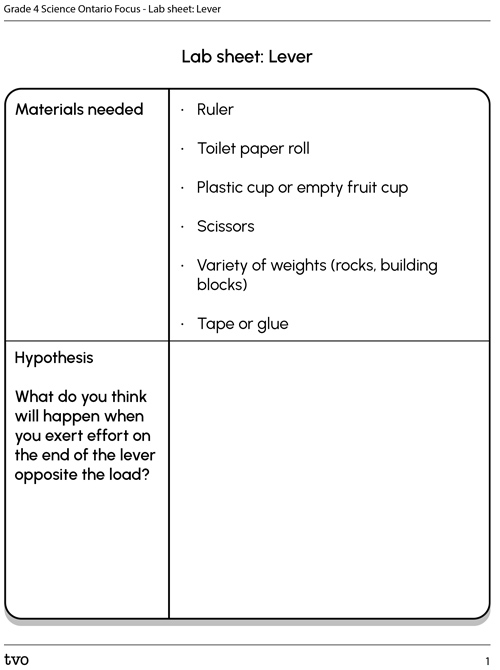
Complete the “Lab sheet” in your notebook or using the following fillable and printable document. If you would like, you can use speech-to-text or audio recording tools to record your thoughts.
By placing a heavier force on the opposite end of the load, the load is lifted in a horizontal direction.
Taking it further
Record your answers on paper, digitally, or orally.
Take a closer look at your lever.
- What would have happened if the fulcrum had been moved farther away from the load?
- Would it take more or less force to lift the load?
Adjust the lever to answer these questions. Continue to use the lever to experiment with different sized loads and fulcrum placements. Use diagrams and labels to record your findings.
When engineering a model did I…

Science is about reflecting and reimagining. Was your experiment successful?
Is there anything that you would change about your experiment design to improve it or the outcome?
Even if your experiment was not successful, what did you learn or confirm about the topic you were investigating?
Consolidation
Simple machines make life easier

A toilet paper roll rests on a counter. There is a slit cut in each side of the roll such that a ruler can pass through the toilet paper roll with equal lengths on either side. There is a small plastic cup attached to one end of the ruler, with the opening of the cup facing upward.
By adding a fulcrum to a ruler, a lever or simple machine was created. A machine that can make work easier. By moving the fulcrum closer to the heavy load, the lever was able to raise a heavy object with very little effort.
Think!
Think!
Be prepared to answer the following questions. You may wish to record your thoughts on paper, digitally, or orally.
- Does the length of the lever arm affect the amount of load that can be lifted?
- Where can levers be used in real life to help make work easier?
Describe how a downward motion lifts an object up.
Optional investigation 1:
Create your own lever experiment to determine which fulcrum position can lift the heaviest load with the least amount of force. An alternative idea would be to investigate another simple machine. Recall the samples given in the video.
Think about the rack and pinion mechanism.
- sketch and label a rack and pinion
- list uses for rack and pinion mechanisms
Optional Investigation 2:
Create a working rack and pinion. You’ll need to have a rack, a pinion, and something to turn the pinion.
When conducting an experiment, did I…
Reflection
As you read through these descriptions, which sentence best describes how you are feeling about your understanding of this learning activity? Press the button that is beside this sentence.
I feel…
Now, record your ideas using a voice recorder, speech-to-text, or writing tool.
