Minds On
Changes

Matter is always changing! These changes can happen naturally, or they can be caused by humans.
There are two types of changes that can occur to matter:
- physical change
- chemical change
Press the following tabs to access each type of change.
Physical change happens when a substance changes its form or shape, but it’s still the same substance.
For example, heating liquid water will make the water change physically into water vapour. However, both the liquid and the vapour are still the same substance, water!
Physical changes can be reversed.
Access this video clip to learn more about a physical change.
Chemical change happens when a substance changes into a completely new substance. Essentially, the smallest components of the substance, molecules, break apart and form new molecules with the broken-apart molecules from another substance.
For example, heating paper enough will cause it to ignite (catch on fire) and burn. This breaks apart the molecules in the paper and forms new substances like smoke and ash. Chemical changes cannot be done or reversed.
Explore this video clip to learn more about a chemical change.
Student Success
Think!
What physical changes and chemical changes are you aware of?
Make a list for each of these changes. How are these changes different and similar to each other?
Record your lists in a notebook or another method of your choice.
If possible, share and discuss your lists with a partner.
Note to teachers: See your teacher guide for collaboration tools, ideas and suggestions.
Action
Let’s code!
How can we simulate chemical and physical changes in different types of matter (e.g., water and paper) when heat is applied to them?

We can introduce a variable, such as temperature, to choose how much of that variable it takes to make the change happen and observe the result.
Imagine a pot of water on the stove.
How many degrees Celsius does it take to start change in state from water to liquid to steam to gas?
- Our task is to interact with a coded simulation to see what happens when heat is applied to water - Model A.
An optional task is to complete the code for a simulation that demonstrates what happens when heat is applied to paper - Model B.
Scratch
Let’s see how we can use Scratch to explore two models:
- heat is applied to water (Model A)
- heat is applied to paper (Model B)
Model A has been completed for you. Model B is started with sprites, backdrops, and a few scripts of code.
Model A: Heating water
In Heating Water Scratch project, you will use the up and down keys to heat up the water then observe what happens when the water reaches a given temperature.
Click on the following Scratch(Opens in a new window) link to explore code that simulates heating water.
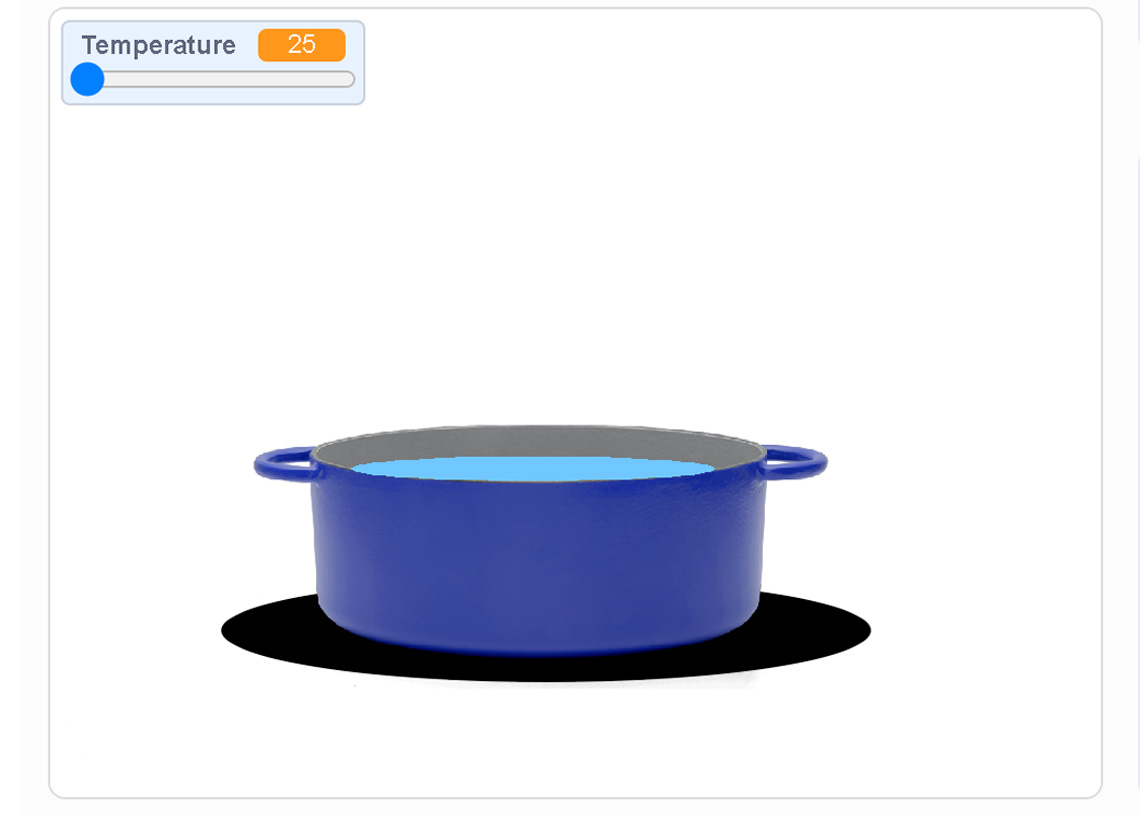
What happens as you move the temperature slider? Don’t forget to turn on the stove!
Click ‘See Inside’ in the Scratch program to access the code.
What temperature makes the vapour sprite appear?
Temperature is a variable in this code. Explain why using a variable in the simulation helps us to understand how the addition of heat to water can cause it to change state?
Record your thinking in a method of your choice.
Model B: Heating paper & writing code
Click on the following Scratch(Opens in a new window) link to explore code that simulates heating paper.
What happens when you touch the match to the paper?
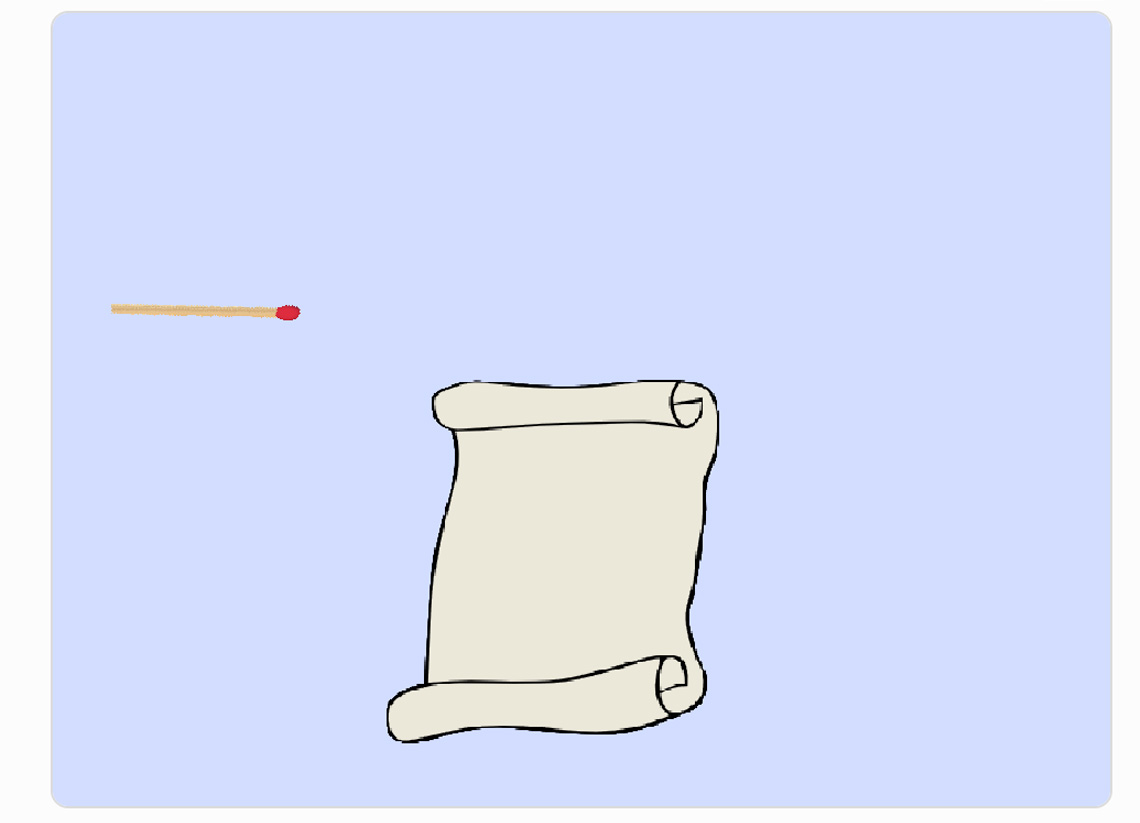
This program has four different sprites: Fire, Smoke, Match, Paper. Click ‘See Inside’ in the Scratch program to access the code for each of these sprites.
What do you notice about the code? How are they similar? Different?
Student Success
Let's think about code!
When you start your own project in Scratch, you will be making code using blocks. A block is a small piece of code that appears to be a puzzle piece or a building block. You can use blocks to build your own code. Each kind of block controls an action. There are 9 kinds of blocks available at the start! As you learn more, you may find other types of blocks to add to your code.
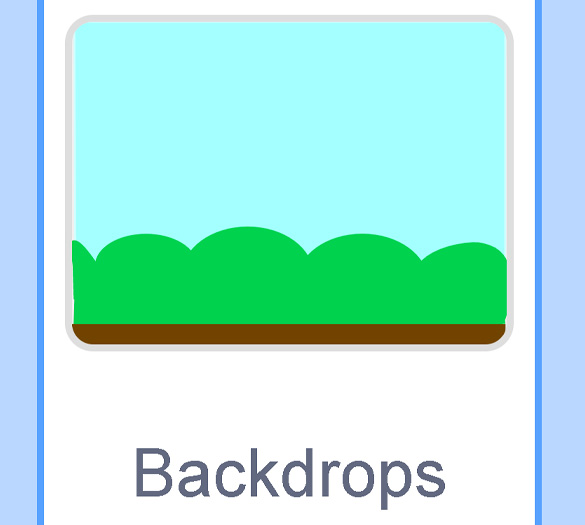
Each block describes an action that is performed by a character. An action is like an instruction. A character can be a sprite or a backdrop. A sprite is an image of a person or object. A backdrop is an image of a background or a place. Your code creates actions that affect a sprite or a backdrop. You can choose if you are using a sprite or a backdrop.
As you make your code, you are connecting blocks to make a code block. Your block of code is known as a code block or a script! The space where you build your code is also known as the scripts area. Press and place each of your blocks into the centre area to make your code. When you activate your code, it is known as running your code.
To start creating code, press on a block and move it to the center area. Press and snap or place your next block under your current block. Now you have created a code block!
Once you have made a code block, your code should perform an action. The action can be made by a character like a sprite or a backdrop. You can make as many characters as you like. You can make different coding instructions for each one!
You can change the order of your blocks or delete a block at any time. You can also copy or duplicate a section of your code. To copy code, right-click on the first block you want to copy. It will copy all of the blocks that follow it. Connect your copied code to the bottom of the code block you want to it added to!
Note to teachers: See your teacher guide for collaboration tools, ideas and suggestions.
To explore some possible code elements and blocks that you may come across in this learning activity, press on the following tabs:
A sprite is a character that carries out the actions that you make with your code.
The backdrops can also be changed by your code. Some blocks change what the backdrop will do!
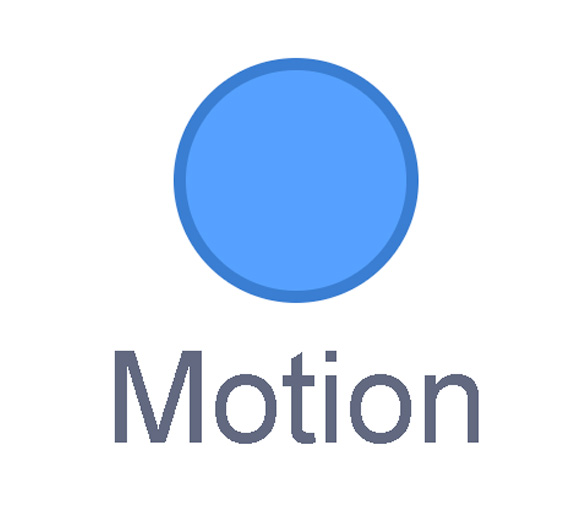
A motion block makes a sprite move! You can move, turn or ask a sprite to move to a certain position.
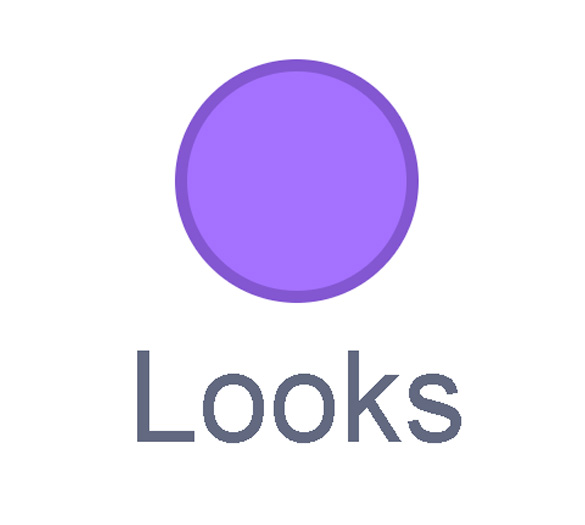
A looks block changes how a sprite looks! You can choose costumes for each of your sprites.
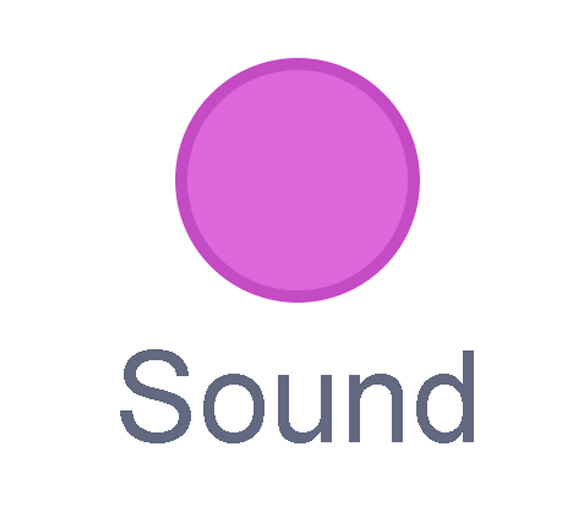
A sound block make audio, or a sound. You can use the audio that is included in Scratch. You can also record your own sounds!
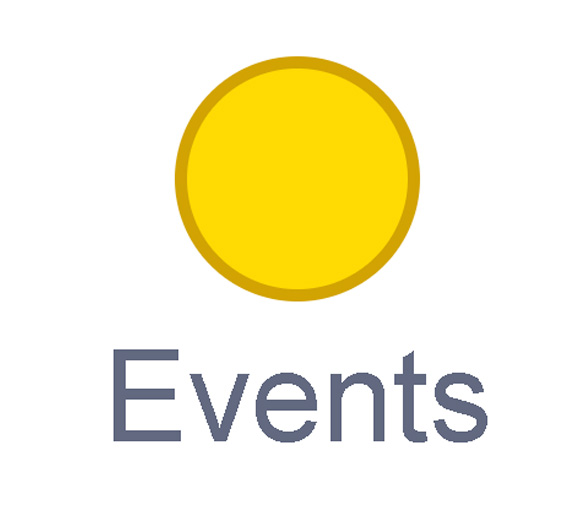
An events block is the start button for a code block. To decide when you want your code to run or start, place an events block at the beginning of your code. Your events block is how you decide when your code will start!
Your events block has to be your first block because it starts your code. You can choose how you want your code to start!
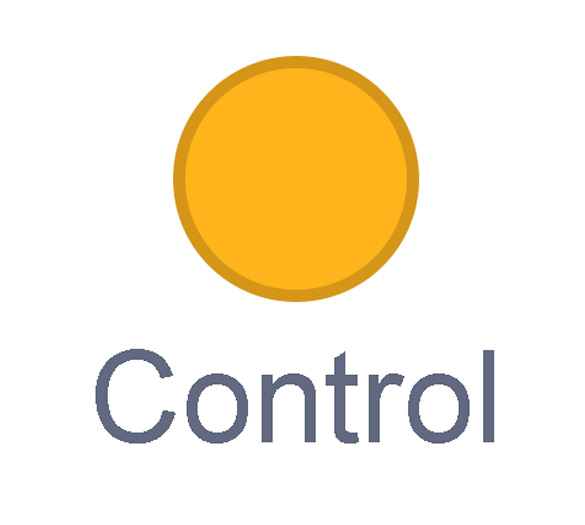
A control block is a block that controls when an action happens. A control block can change the order and timing of an action. You can use control blocks to wait, to repeat and even to loop your code!
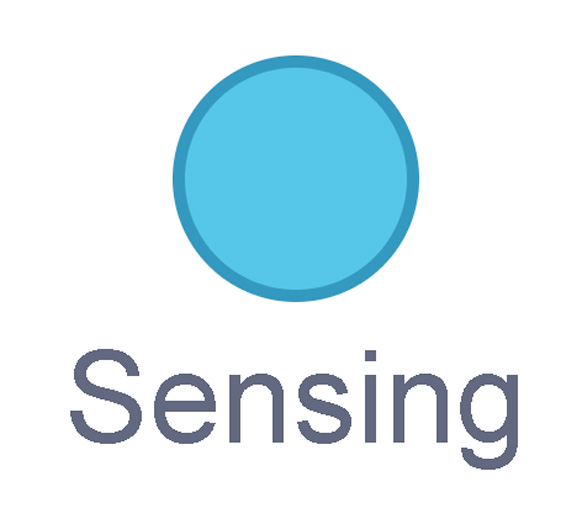
A sensing block is a block that helps characters work with each other.
For example, what happens if you have two sprites ask each other a question?
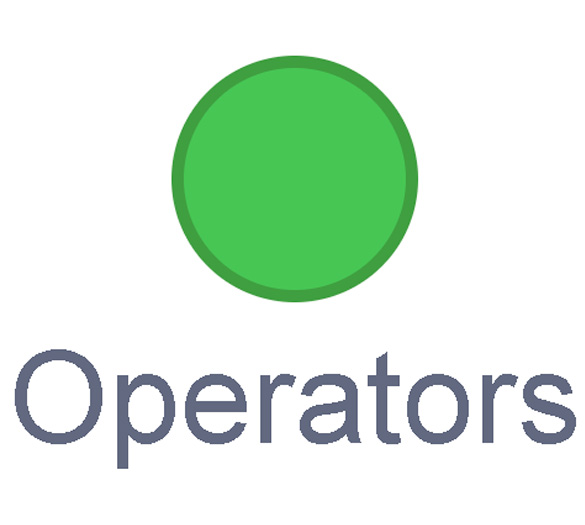
An operators block is a block that adds math to your code.
Operators blocks can be tricky to put together.
Before you can put an operators block in your code block, you have to add another block! You could use a sensing block or a variables block. You will need to fill any blank spaces that are part of your operators block. Press and drag a sensing or variables block to snap into any blank spaces. Now you can put your operator block in your code block!
A variables block is a block that keep track of information. A variables block helps to change how to code is run each time. It can be used to create a challenge in a game!

My Blocks is a special area to keep your very own blocks! You can save your own blocks in the My Blocks category.
Now that you have explored what kind of blocks you can use, let’s get coding!
Try It
Coding
Follow the step-by-step instructions to complete the code on your own Scratch account. This activity(Opens in a new window) is optional.
Press the following tabs to access the code instructions.
Time to code the fire sprite.
Click the image to enlarge in a new window.
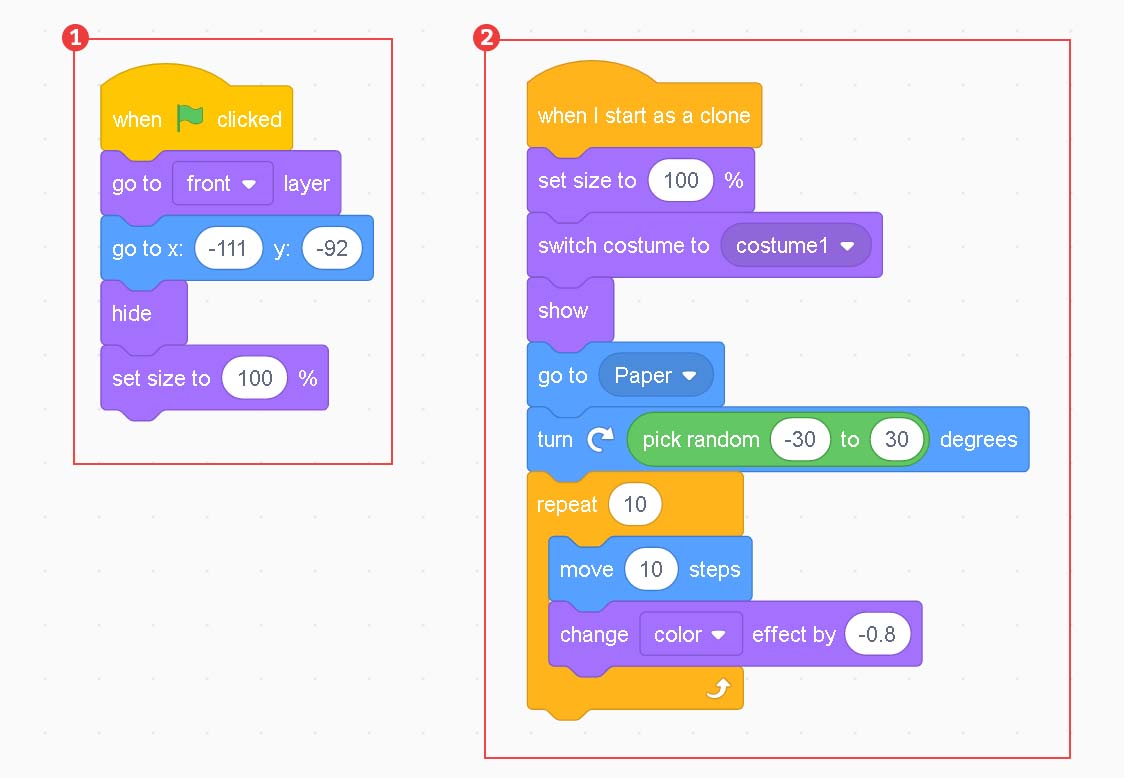
This is a two part Scratch code block sequence. Script 1 reads as follows: when green flag clicked, go to front layer, go to x: -111, y: -92, hide, then set size to 100%. Script 2 reads as follows: when I start as a clone, set size to 100%, switch costume to costume 1, show, go to paper, turn clockwise and pick random number between -30 and 30 degrees. The following block is nested: move 10 steps, change colour effect by -0.8, This nested block is set to repeat for 10.
The first block sequence ensures that when the user starts the program (when green flag clicked), the fire sprite goes to the front layer and hides until it is cloned. The second block sequence uses the go to Paper block to simulate the fire sprite “lighting” the paper, randomly turning and changing colour as it “burns.”
Time to code the smoke sprite!
Click the image to enlarge in a new window.
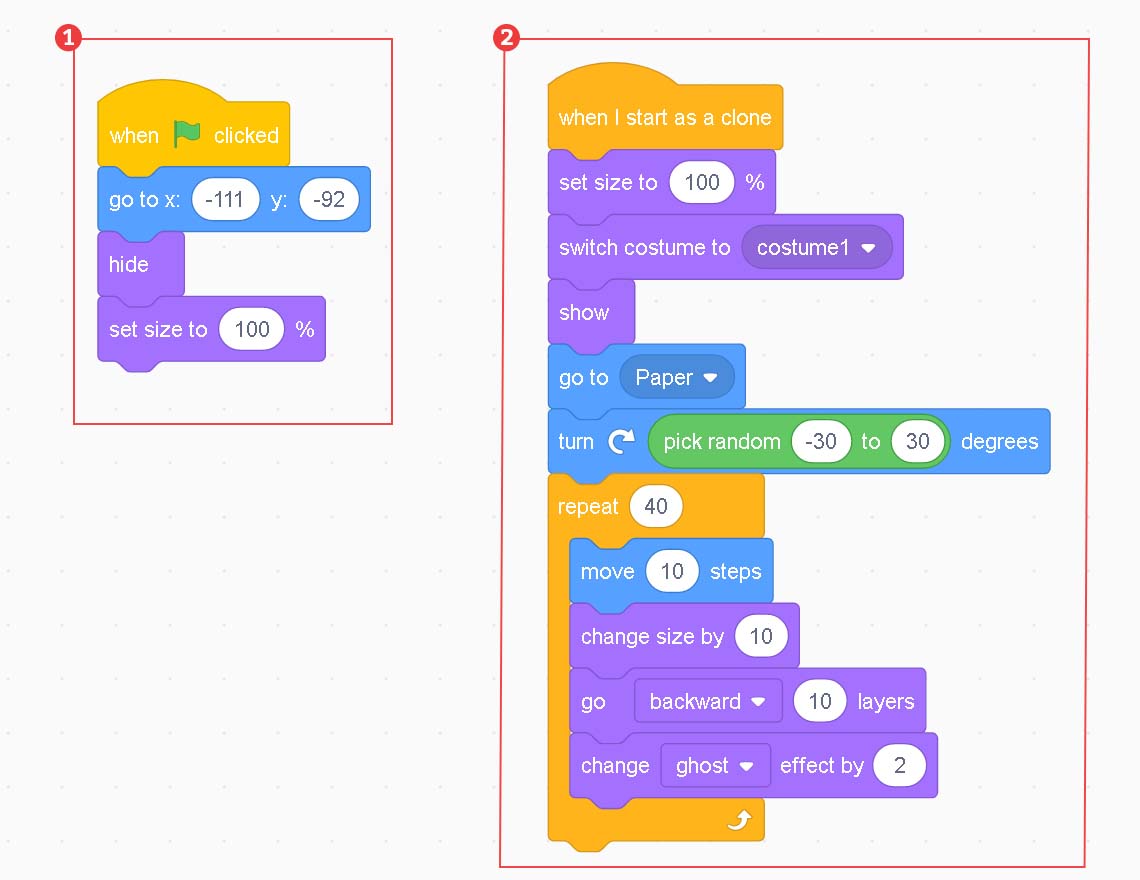
This is a two part Scratch code block sequence. Script 1 reads as follows: when green flag clicked, go to front layer, go to x: -111, y: -92, hide, then set size to 100%. Script 2 reads as follows: when I start as a clone, set size to 100%, switch costume to costume 1, show, go to paper, turn clockwise and pick random number between -30 and 30 degrees. The following block is nested: move 10 steps, change size by 10, go backwards 10 layers, change ghost effect by 2. This nested block is set to repeat for 40.
The code for the smoke sprite is very much like the code for fire, starts off hidden, goes to Paper, but show a new block of code change ghost effect by 2. This ghost effect allows the steam to appear to fade in and out.
Click the image to enlarge in a new window.
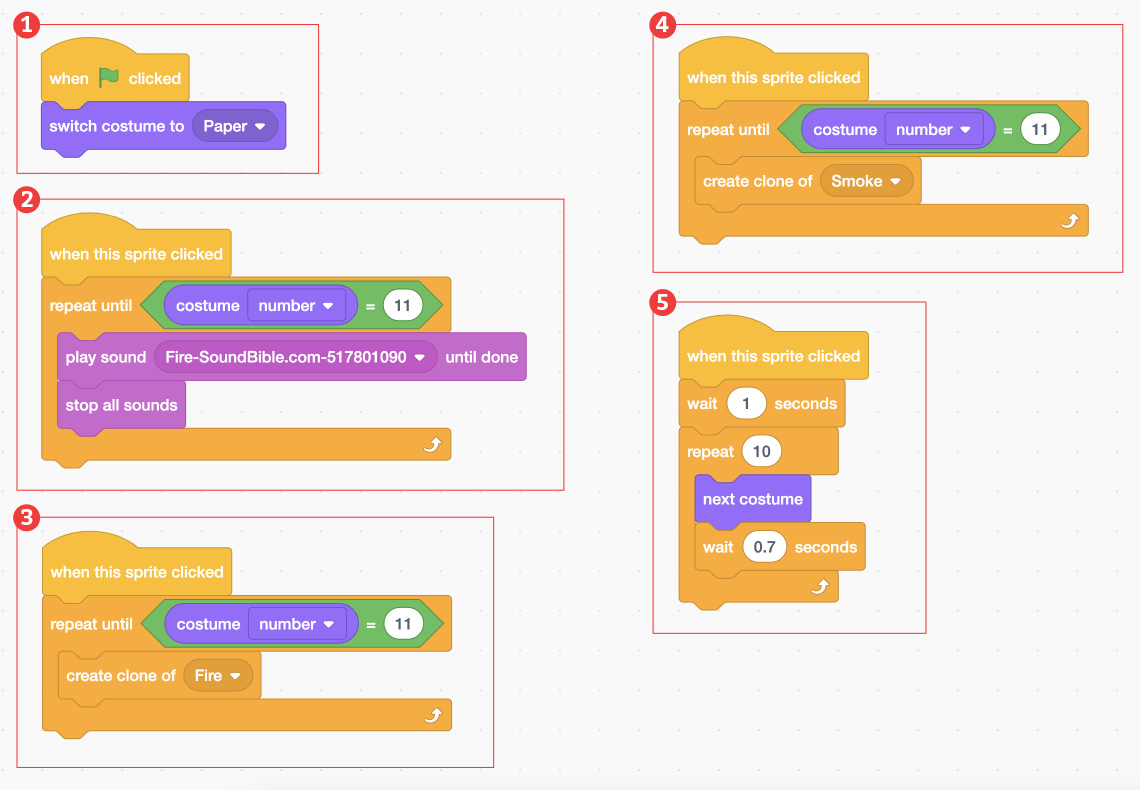
Block 1 shows a when green flag clicked Event block followed by a switch costume to Paper Looks block. Block 2 shows when this sprite clicked Event block followed by a repeat until Control block. Embedded in the repeat until block is an Operator block with a costume number embedded in the first space followed by =11. Two Sound blocks, play sound Fire-SoundBible.com-517801090 and stop all sounds are nested in the repeat until block. Block 3 shows when this sprite clicked Event block followed by a repeat until Control block. Embedded in the repeat until block is an Operator block with a costume number embedded in the first space followed by =11. The Control block, create clone of Fire, is nested in the repeat until block. Block 4 shows when this sprite clicked Event block followed by a repeat until Control block. Embedded in the repeat until block is an Operator block with a costume number embedded in the first space followed by =11. The Control block, create clone of Smoke, is nested in the repeat until block. Block 5 shows when this sprite clicked Event block followed by a wait 1 seconds Control block. Next is a repeat 10 Control block nesting a next costume Looks block, followed by a wait 0.7 seconds Control block.
- This block ensures that the sprite’s costume switches back to “paper” (the first one) each time the user starts the program (when the green flag is clicked). You’ll notice in the other scripts that this script is important because it resets the costume changes that simulate the paper “burning,” because of the flame.
- This script facilitates the actual cloning of the “fire” sprite, which repeats until the “paper” sprite reaches costume 1 (completely burned look).
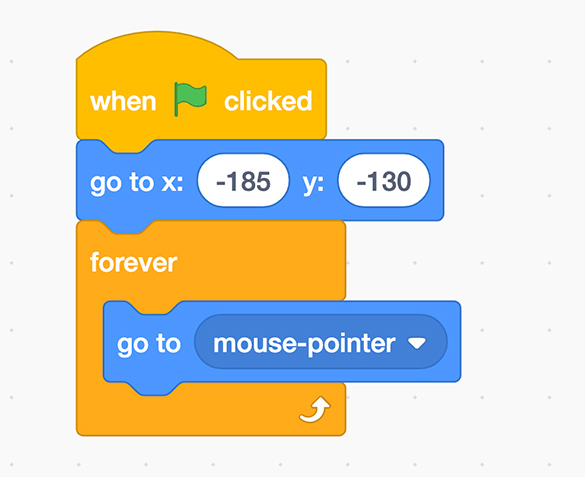
This is a Scratch code block sequence for the match sprite, which reads as: when green flag clicked, go to x: -185, y: -130, followed by a nested block. The block continues as go to mouse-pointer. This is nested by the “Forever” block.
This ensures that the sprite always follows the mouse after the green flag is clicked.
What do our “changes of state” models tell us?
In our models, we demonstrated the changes that occur when thermal energy is applied to substances.
Answer the following questions. Record your answers in a method of your choice. Share your ideas with a partner, if possible.
Heat is applied to water Model A:
Describe the changes of state that occur. Are these physical changes or chemical changes? How do you know? At what temperature do these changes occur? What is the thermal energy that is applied? How does the increase of thermal energy impact the substance?
Press ‘Answer’ to access the answers to the above questions.
The physical change of liquid water reaches its boiling point at 100 degrees Celsius. The liquid water changed state to water vapour (gas). This is a physical change because it is still the same substance (or molecule). A new substance was not formed in this change – it is still water.
Explore the following video clip, which demonstrates the change in state from ice – a rigid, sold structure – to liquid water, to water vapour (gas). An increase in thermal energy means an increase in the amount motion of molecules.
Notice the difference in how much the molecules move (or don’t move) during each state.
Heat is applied to paper Model B:
Describe the changes of state that occur. Are these physical changes or chemical changes? How do you know? What causes this to happen? How does the increase of thermal energy impact the substance?
Press ‘Answer’ to access the answers to the above questions.
The chemical change of paper reaching its ignition point is when the paper catches on fire. The molecules in the paper (cellulose) break down and form new chemicals – water vapour, carbon dioxide gas, and carbon. Thermal energy is also released in this chemical change. This is a chemical reaction known as combustion.
Check out the following video clip, which demonstrates the change from one substance to another in the combustion of wood (from which paper is made).
Notice that the wood is not completely burned when this is happening. The unburnt wood still breaks down into very small pieces called particulates, which rise in the air due to the heat energy being released. This is otherwise known as smoke.
Consolidation
Test it out!
Before we discuss our physical and chemical change models, did you…
Learning check!
For each sentence, select the missing word from the drop-down menu.
Pause and Reflect
My coding program
Let’s reflect on the following questions:

- What did you enjoy about creating or altering your coding program?
- What is one thing you want to continue to practice?
- How has exploring, altering and writing code helped you to describe the differences between physical and chemical changes in matter?
Record your thoughts in a notebook or another method of your choice.
Reflection
As you read through these descriptions, which sentence best describes how you are feeling about your understanding of this learning activity? Press the button that is beside this sentence.
I feel…
Now, record your ideas using a voice recorder, speech-to-text, or writing tool.